
As an Amazon Associate, I earn from qualifying purchases. This means I may earn a commission if you purchase through links on this page — at no extra cost to you.
Handmade Christmas decor has a warmth that store-bought sets rarely match, and it does not have to drain your budget to look expensive. The secret is not making everything from scratch. It is choosing a clear palette, reusing what you own, and spending time on a few high-impact projects. A paper garland across a mantel, a bowl of dried orange slices, and a few oversized ribbon bows can change a whole room for very little money.
This guide starts with a budgeting strategy, then gives you nine projects to mix and match. Pick three or four rather than trying to do them all. If you are decorating a compact home, pair these ideas with small-space Christmas decor ideas so every piece earns its place.
Start With a Budgeting Strategy, Not a Shopping List
The fastest way to overspend is to buy decorations one pretty item at a time, with no plan. A strategy keeps spending focused and makes inexpensive materials look intentional, because everything works together.
Pick One Palette and Stick to It
Choose two main colors and one metallic or natural accent before you make or buy anything. Easy combinations include red and cream with kraft brown, forest green and white with gold, or navy and silver with wood. When paper, ribbon, and ornaments repeat the same colors, a plain card garland looks designed rather than last-minute. Build the palette around the color you already own most of.
Shop Your Home First
Before spending anything, gather candidates from around the house: glass jars, baskets, trays, candlesticks, mugs, wooden boards, spare frames, leftover ribbon, and neutral blankets. These become your display infrastructure. A tray turns three jars into a centerpiece. A basket hides a small tree’s base. A stack of books lifts an ornament to a better height. List what you have, then note only the gaps — usually paper, twine, glue, and ribbon.
Know What to Look for at Dollar Stores and Thrift Shops
Budget and thrift stores are best for raw materials and plain basics. Look for:
- Plain glass jars, vases, and candle holders to dress up with ribbon
- Undecorated wreath bases, wooden beads, bells, and plain baubles
- Craft paper, card stock, twine, wire, glue sticks, and basic paint
- Secondhand frames, brass candlesticks, baskets, and trays
- Fabric offcuts, plaid scarves, or runners for bows or tree skirts
Check glass for chips, make sure frames have intact backs, and wash thrifted textiles and jars before use. Buying in one trip also stops repeat small purchases that quietly add up.
9 DIY Budget Christmas Projects That Look Expensive
Each project uses inexpensive materials and simple steps. Work on a covered table, keep hot glue away from small children, and let pieces dry fully before hanging.
1. Paper Garlands and Folded Paper Stars
Paper gives you the most decoration for the least money, and stores flat afterwards.
- Materials: card stock or craft paper in your palette, scissors, a ruler, string or twine, and glue or a stapler
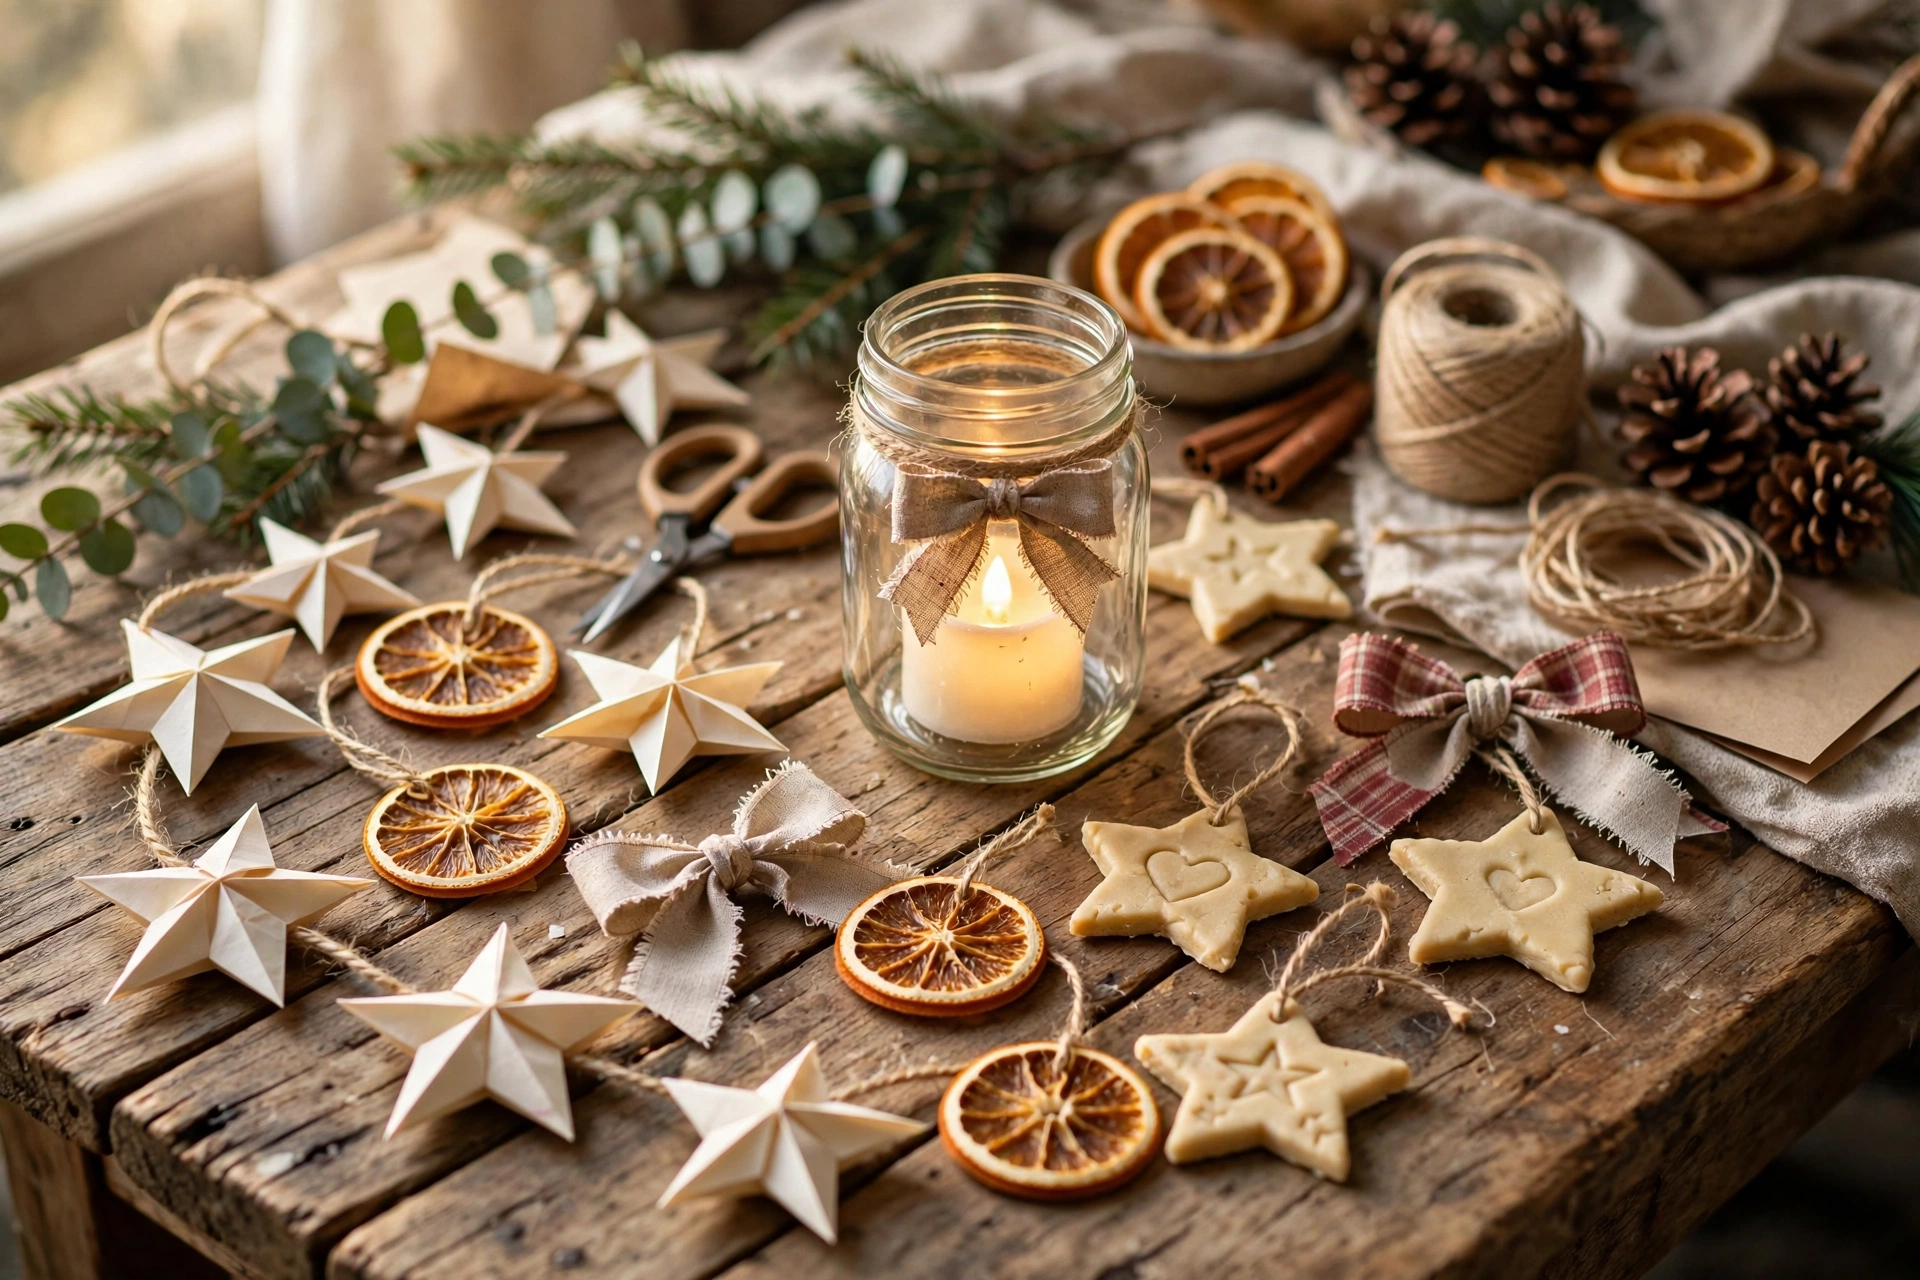
For a garland, cut circles, stars, or trees, punch a hole in each, and thread them onto twine, spacing them evenly. For folded stars, cut paper into strips or squares, fold and glue the points following a simple template, then hang stars at different heights in a window. Mix two sizes of the same shape — even spacing is what makes a simple garland look polished.
🛒 Shop This Look:
2. Dried Orange Slices
Dried citrus adds natural color to garlands, wreaths, and gift wrap.
- Materials: oranges or lemons, a sharp knife, paper towels, a baking tray with parchment or a rack, and twine
Slice the fruit evenly, blot away juice, and dry the slices in a low oven or dehydrator until dry and slightly translucent, turning them partway through. Thread cooled slices onto twine, or tie single slices onto branches and parcels. Safety notes: keep the oven supervised, and treat slices as decoration only — do not eat slices that have been handled or stored with craft materials. Keep them away from pets, and discard any that develop mold.
3. Salt-Dough Ornaments
Salt dough is a classic because the ingredients are in most kitchens and the ornaments take paint beautifully.
- Materials: plain flour, fine salt, water, a rolling pin, cookie cutters, a straw, acrylic paint, and ribbon
Mix flour and salt, add water gradually to form a firm dough, roll it out, cut shapes, and use the straw to make a hanging hole. Bake at a low temperature until hard, cool, then paint and thread with ribbon. Press a sprig of greenery into the dough before baking for an embossed effect. Safety notes: salt dough is not food — label ornaments clearly, keep them from pets and small children, and store them somewhere dry.
4. Cardboard Ornaments and Gingerbread-Style Houses
Cardboard is free, sturdy, and perfect for flat ornaments and little house silhouettes that look like gingerbread with white paint. The techniques in these cardboard DIY decorations transfer directly to Christmas shapes.
- Materials: clean cardboard, a pencil, scissors or a craft knife, a white paint pen or fine brush, and twine
Draw stars, houses, or trees onto the cardboard, cut them out, and add dots, scallops, and window details with white paint to mimic icing. Adults should do any craft-knife cutting on a protected surface. Cardboard is flammable, so keep these away from candles, heaters, and open flames, and use them only with cool LED lights.
5. Foraged Greenery Swags and Garlands
Greenery adds the texture that makes budget decor feel lush. Use trimmings from your own garden where you have permission, or buy one bunch and split it across several displays.
- Materials: evergreen clippings, pinecones, floral wire or twine, pruning shears, and ribbon
Lay branches in overlapping layers, bind the stems with wire or twine, and finish with a bow at the binding point. Hang swags on doors, stair rails, and mantels, or lay a short garland down a table. For bases and construction in more detail, see how to make a wreath for every season. Safety notes: shake clippings outdoors to remove insects, wash your hands afterwards, keep unknown berries away from children and pets, and never forage where spraying may have taken place or collecting is not allowed.
6. Oversized Ribbon Bows
One large bow can upgrade a wreath, chair back, lantern, or tree top, and ribbon by the roll is often cheaper than finished bows.
- Materials: wide wired ribbon in your palette, scissors, and a short piece of wire or twine
Form two or three loops on each side, pinch the center, secure it with wire, then fluff the loops and cut the tails into V shapes. Wired ribbon holds its shape, which is what makes a bow look tailored instead of drooping. Make all your bows from one roll so they match, and repeat them in odd numbers — three down a staircase garland, for example.
7. Jar Lanterns With Faux Snow
Grouped jar lanterns create the warm glow that makes simple rooms feel festive.
🛒 Shop This Look:
- Materials: clean glass jars, Epsom salt or coarse sugar, glue, twine, and battery-operated tealights or LED candles
Brush glue over the lower half or rim of each jar, roll it in Epsom salt for a frosted effect, let it dry, tie twine around the neck, and set an LED tealight inside. Use battery lights rather than real flames: they are safer around paper, greenery, and cardboard, there is no hot wax to manage, and timers let the jars glow each evening without attention. Keep the coating dry, as humidity makes it clump.
8. Wrapping-Paper Wall Art
Framed wrapping paper reads as seasonal art for a fraction of the cost of a print — and you can swap it out in January.
- Materials: wrapping paper in a bold pattern or your palette colors, spare or secondhand frames, scissors, and tape
Remove the frame backing, cut the paper to size, smooth it flat, and reassemble. Hang two or three frames together, choosing patterns at different scales — one large motif, one small repeat — so the grouping looks curated. This also uses up the last piece of a favorite roll too small for parcels.
9. Twig Stars and Mini Twig Trees
Garden twigs become rustic stars and trees that add height and a natural finish to shelves.
- Materials: straight dry twigs, pruning shears, hot glue or twine, and optional paint
For a star, cut five equal lengths, arrange them into a star, and bind or glue each crossing point. For a mini tree, cut twigs in decreasing lengths and glue them horizontally across a vertical twig trunk. Leave the wood natural, or paint the tips white for a frosted effect. Let hot glue cool fully before handling, and display twig pieces away from flames and heaters, as dry wood catches easily.
What Is Worth Buying vs. Making
Make the items where handmade texture is the point: garlands, ornaments, bows, swags, and table decorations. Small imperfections add charm. Buy where safety, durability, or finish matter most. LED lights and battery tealights are worth buying new, since lights are electrical items — check them for damaged wires each year and follow the manufacturer’s guidance. A sturdy tree stand, reusable wreath base, and one roll of good wired ribbon also earn their cost over several seasons. Plain baubles are often cheaper in a multipack than made, and fill out a tree so handmade ornaments stand out. Rule of thumb: spend money on light, structure, and reusability; spend time on surface decoration.
FAQ
How far in advance can I make DIY Christmas decorations?
Paper, cardboard, salt-dough, and twig projects can be made several weeks ahead and stored flat in a dry box. Dried orange slices are best made closer to decorating time and checked before hanging, as they are a food item and can attract moisture. Spreading projects across a few evenings keeps the process enjoyable rather than rushed.
How do I make inexpensive decorations look cohesive?
Repeat your palette, materials, and shapes. If your garland uses paper stars, echo stars on the tree and table. If you choose kraft paper and greenery, carry that pairing through wrapping, swags, and centerpieces. Repetition and grouping items in odd numbers do more for a polished result than any single expensive piece.
Are homemade decorations safe around children and pets?
They can be, with sensible choices. Use LED lights instead of flames, keep salt-dough ornaments, small bells, and unknown berries out of reach, secure hanging items firmly, and keep decorations away from heaters and open fires. Supervise hot glue, craft knives, and ovens.
What if I am not crafty at all?
Start with the no-skill projects: jar lanterns, framed wrapping paper, and tying ready-cut greenery into swags. These rely on arranging rather than making, and deliver most of the visual impact. Add a paper garland only if you enjoy the first ones.
Conclusion
Expensive-looking Christmas style is mostly planning, not spending. Set a palette, shop your home first, buy plain materials wisely, and make a small set of projects you repeat around the room. Paper, citrus, cardboard, greenery, ribbon, and glass jars can carry a whole scheme when used consistently and lit with safe LED light. Choose your first three projects, gather materials in one go, and give yourself a few relaxed evenings — your home will feel handmade and welcoming, and your budget will survive the season.
🛒 Shop This Look:



