
As an Amazon Associate, I earn from qualifying purchases. This means I may earn a commission if you purchase through links on this page — at no extra cost to you.
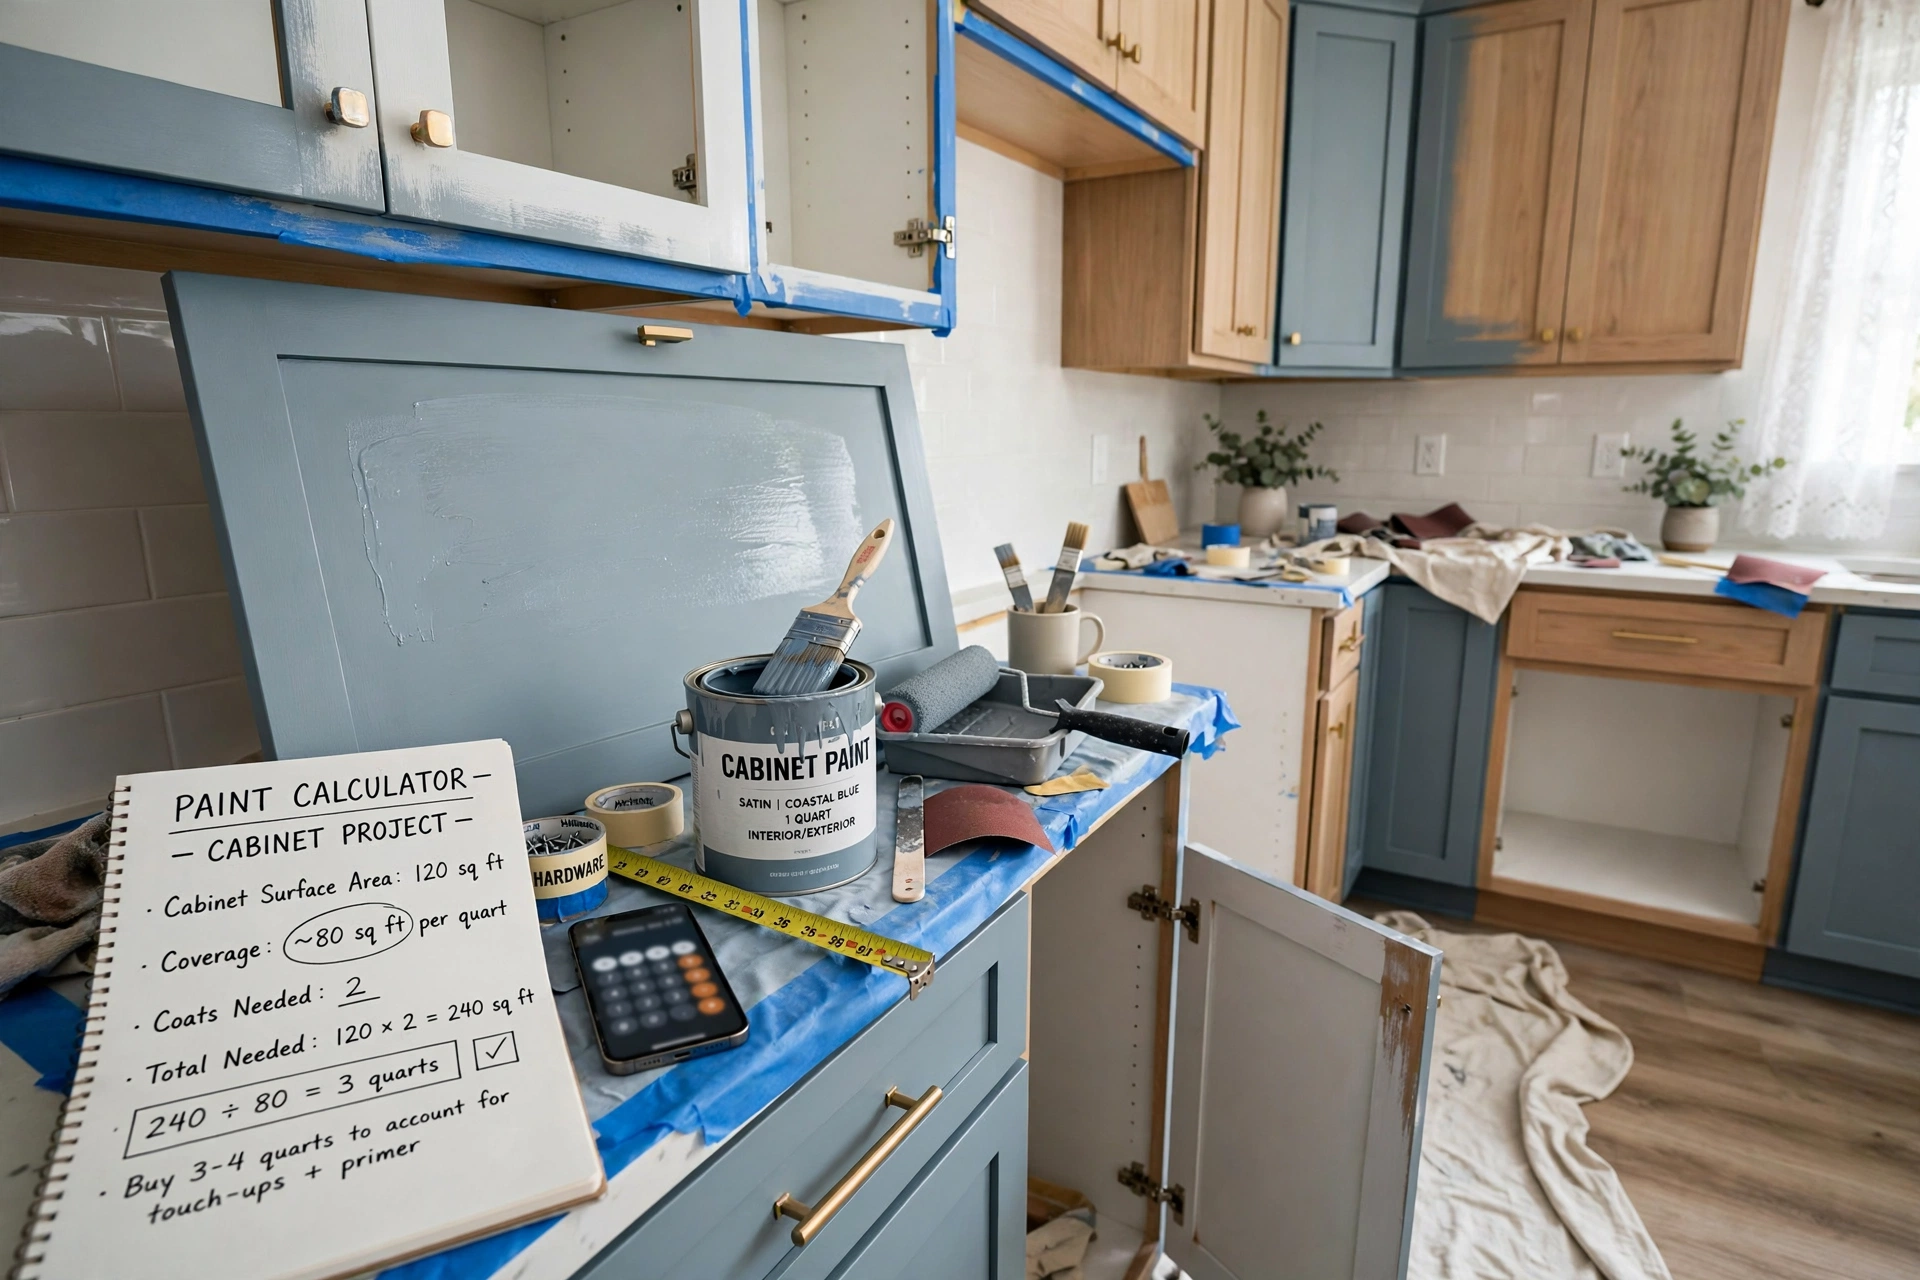
Use this guide to calculate how much paint you need for kitchen cabinets: count your doors and drawer fronts, multiply by 2 (front and back), and estimate 1 gallon of primer and 1-2 gallons of paint for an average kitchen (20 doors/drawers). A standard door (approx. 2×3 ft including both sides) needs about 1/10 gallon per coat. Always buy 10% extra for touch-ups and future repairs.
Quick Calculation Method
Step 1: Count Surfaces
Count every door and drawer front. Multiply by 2 (you paint both sides of doors). Add the cabinet boxes (frames).
Step 2: Estimate Square Footage
Average door: 6 sq ft (both sides). Average drawer front: 2 sq ft. Cabinet boxes: roughly equal to door total.
Step 3: Calculate Paint
Cabinet paint covers ~350 sq ft per gallon per coat. You need 2 coats.
Formula: (Total sq ft × 2 coats) ÷ 350 = gallons needed
Example: Average Kitchen
- 18 doors × 6 sq ft = 108 sq ft
- 8 drawers × 2 sq ft = 16 sq ft
- Boxes ≈ 124 sq ft
- Total: 248 sq ft × 2 coats = 496 sq ft
- 496 ÷ 350 = 1.4 gallons → buy 2 gallons
Primer Calculation
Primer covers ~300 sq ft per gallon. One coat is usually enough.
Formula: Total sq ft ÷ 300 = gallons of primer
Average kitchen: 248 ÷ 300 = 1 gallon
Pro Tips
Buy all paint at once for color consistency. Keep the leftover for touch-ups — store in a cool, dry place. If changing from dark to light, add 50% more paint for extra coats.
Choosing the Right Paint and Sheen for Cabinets
Not all paint belongs on kitchen cabinets. Walls can get away with standard latex, but cabinets take daily abuse — greasy fingers, water splashes, banging pots — so they need a harder, more washable finish. The best choice is a cabinet-specific enamel or an alkyd-modified acrylic paint (often labeled “cabinet and trim” paint). These cure to a harder film than wall paint, resist blocking (that’s when two painted surfaces stick together, like a door touching its frame), and stand up to scrubbing.
For sheen, satin is the sweet spot for most kitchens: it has a soft glow that looks high-end, hides minor imperfections better than semi-gloss, and still wipes clean easily. Semi-gloss is the most durable and scrubbable option and works well in busy family kitchens, but it highlights every flaw in the surface — so your prep work needs to be excellent. Avoid flat and eggshell on cabinets; they scuff easily and don’t hold up to the grease and moisture of kitchen life. Whatever paint you choose, buy the primer from the same brand line when possible — manufacturers formulate their primers and topcoats to work together, and mixing brands is a common source of adhesion problems.
How to Paint Kitchen Cabinets: The Condensed Process
Getting the quantity right is only half the battle — here’s the process that makes the paint actually last. Start by removing all doors, drawers, and hardware, and label everything (painter’s tape on the back of each door with its location saves hours of confusion later). Clean every surface with a degreaser — kitchens accumulate an invisible film of cooking grease that will cause paint to peel if you skip this. TSP substitute or a good degreasing cleaner both work; rinse and let dry fully.
Next, sand lightly with 120- to 150-grit sandpaper. You’re not stripping to bare wood — you’re just scuffing the existing finish so the primer can grip. Wipe away all dust with a tack cloth or damp rag. Apply one coat of quality primer (stain-blocking primer if you’re covering oak grain or dark stain), let it dry per the label, then lightly sand with 220-grit to knock down any raised grain. Now apply your first coat of cabinet paint in thin, even layers — thick coats drip, sag, and take forever to cure. Let it dry fully, do a very light sanding between coats, then apply the second coat.
The step most DIYers skip is the cure. Latex-based cabinet paint may feel dry in hours but takes up to 30 days to fully harden. Be gentle with your cabinets for the first few weeks: avoid slamming doors, don’t hang anything heavy on fresh hooks, and clean gently. Rushing this step is the number one reason DIY cabinet paint jobs chip prematurely.
Calculation Mistakes That Waste Paint (or Leave You Short)
The most common mistake is forgetting surfaces. People count door fronts and forget the backs of doors, the cabinet frames (which can equal the door area), the inside of glass-front cabinets, and extras like the island, pantry doors, or a desk area. Walk the kitchen with a notepad and count everything you’ll actually paint — both sides.
The second mistake is ignoring the application method. If you’re spraying, add 15–20% to your estimate for overspray and the paint that stays in the equipment. Brushing and rolling waste very little. The third mistake is underestimating dramatic color changes: going from dark stained wood to white can take three coats instead of two, which increases your paint needs by 50%. When in doubt, round up to the next full gallon — an unopened gallon is returnable at most stores, but running out mid-project means a second trip and potential color mismatch between batches.
Cabinet Paint FAQs
Do I really need to sand before painting cabinets? Yes — at minimum a light scuff-sand. Paint needs a slightly roughened surface to grip. The only exception is if you’re using a bonding primer specifically designed for glossy surfaces, and even then, a quick sand improves the odds. Skipping this step is the most common cause of peeling cabinet paint.
Can I paint cabinets without removing the doors? You can, but the result won’t be as good. Painting in place means drips collect in corners, you can’t reach edges properly, and hardware gets in the way. Removing doors takes an hour and dramatically improves the finish. Label everything as you go.
How long do painted cabinets last? A properly prepped and painted cabinet job using quality cabinet paint typically lasts 8–10 years before needing touch-ups, and often longer in low-use kitchens. The prep work — degreasing, sanding, priming — matters far more for longevity than the paint brand.
What About the Insides of Cabinets and Drawers?
One question the calculator doesn’t answer: should you paint the interiors? The honest answer is usually no — and skipping them saves meaningful paint and time. Cabinet interiors take little visual abuse and almost no one sees them; the factory finish inside is typically durable enough to leave alone. The exceptions: if the interiors are stained, damaged, or smell of smoke or mustiness, a coat of stain-blocking primer plus paint solves problems that cleaning can’t. Glass-front cabinets are the other exception — their interiors are visible, so paint them to match the exterior for a finished look.
If you do paint interiors, use the same cabinet paint (not wall paint) since interiors face moisture and abrasion from dishes and cans. Consider a lighter color than the exterior for dark-painted kitchens — white or light interiors make it dramatically easier to find things in deep cabinets. And line shelves with quality shelf liner after the paint fully cures; it protects your fresh paint from the daily slide of dishes and lets you skip repainting interiors for years.
When to Touch Up vs. When to Repaint
Even the best cabinet paint job needs maintenance, and knowing the difference between a touch-up and a repaint saves weekends. Touch up when you have small chips (usually around handles and edges), minor scuffs, or a single damaged door — lightly sand the spot, feather the edges, dab on matching paint with a small brush or artist’s brush, and blend. Keep a small jar of your exact paint (labeled with brand, color name, and sheen) specifically for this; a baby food jar’s worth is plenty.
Repaint when the finish is failing broadly — widespread chipping, yellowing, or adhesion loss across many doors — or when you’re changing colors. Spot-touching a failing finish is like bailing a leaking boat: the underlying problem (usually prep or paint choice) will keep producing new chips. A full repaint done right, with proper degreasing and priming, resets the clock for another 8–10 years. And here’s the thing most people learn too late: the touch-up jar only works if the paint is still good. Latex paint lasts about 2–3 years in the can once opened (less in heat or freezing); write the date on the lid and replace it when it thickens, smells off, or won’t stir smooth.
Storing Leftover Paint the Right Way
That leftover half-gallon is only useful if it survives storage. Transfer leftovers to smaller airtight jars — a half-empty gallon with lots of air inside skins over and degrades faster than a full small jar. Wipe the rim clean before sealing (dried paint on the rim breaks the seal), tap the lid tight with a mallet, and store upside down briefly to create an airtight seal — or just store jars upright in a climate-controlled spot. Never store paint where it freezes or bakes: both extremes ruin latex paint permanently.
Label everything: color name and code, brand and sheen, room, and date. “White paint” on a mystery can is useless two years later when you need to match it. And keep a painted swatch — a stir stick dipped in the paint and dried — taped to the can. When touch-up time comes, you’ll thank yourself for the thirty seconds this took.
🛒 Shop This Look:
🛒 Shop This Look:
🛒 Shop This Look:



