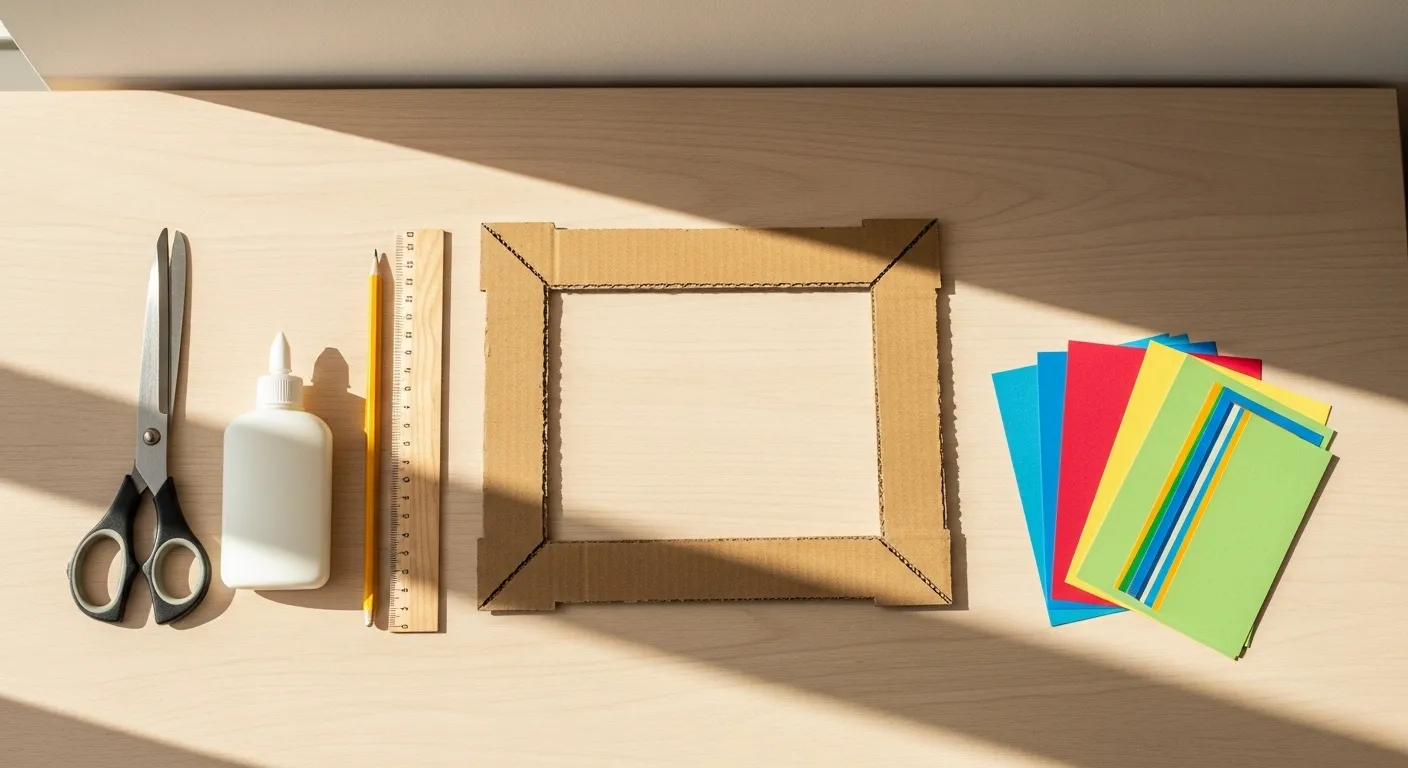
Making photo frames from cardboard is one of the simplest ways to create custom wall decor without spending much money. Cardboard is easy to cut, shape, and decorate, making it ideal for beginners who want to try small creative projects. With basic tools and a little patience, plain packaging boxes can be turned into frames that look neat and personal.
This guide walks through different cardboard frame ideas that vary from simple designs to more decorative styles. Each project focuses on clear steps so beginners can follow along comfortably. The goal is not perfection but creating useful frames that hold memories while adding character to your space.
1. Basic Rectangular Cardboard Photo Frame for First-Time Makers

Start with a simple rectangular frame to learn the basic process. Cut two cardboard rectangles, one solid piece for the back and one with a window opening for the front. Make sure the opening is slightly smaller than the photo so the edges stay hidden. Glue the front piece onto the back along three sides, leaving the top open so the photo can slide inside.
Reinforce the edges with extra cardboard strips so the frame does not bend easily. Smooth the surface before decorating to improve the final look. A simple stand can be added on the back using a folded strip of cardboard. This basic frame helps beginners understand measuring and cutting before moving to more detailed designs.
2. Double-Layer Thick Cardboard Frame for Strong Support
A double-layer frame provides better durability than single-sheet cardboard. Cut identical frame shapes and glue them together carefully so the edges match evenly. Press the layers under a heavy book while drying to keep the surface flat. This extra thickness helps the frame stay firm over time.
Once dry, trim the edges lightly to remove uneven spots. You can cover the edges with paper tape or thin strips of colored paper for a cleaner finish. This method is useful for larger photos because thicker cardboard prevents bending.
3. Wrapped Paper Decorative Cardboard Frame
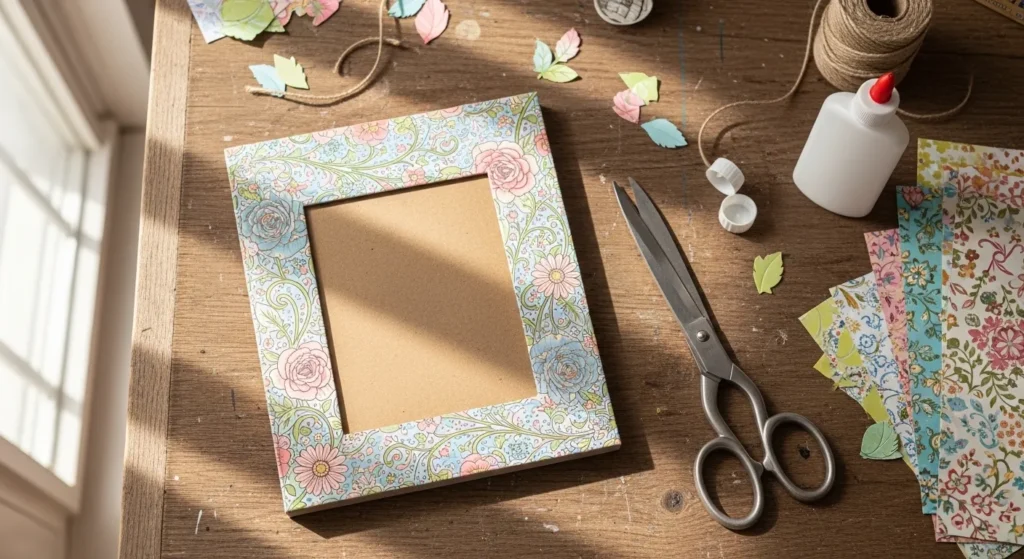
Wrapping cardboard with decorative paper is an easy way to improve appearance. After cutting the frame shape, glue patterned paper onto the surface and fold the edges neatly to the back. Smooth out bubbles while the glue is still wet to avoid wrinkles.
Choose thicker wrapping paper so the cardboard texture does not show through. Neutral patterns work well for everyday use while bright prints suit children’s rooms. This technique hides rough cardboard edges and gives the frame a polished look.
4. Fabric Covered Cardboard Frame for Soft Texture
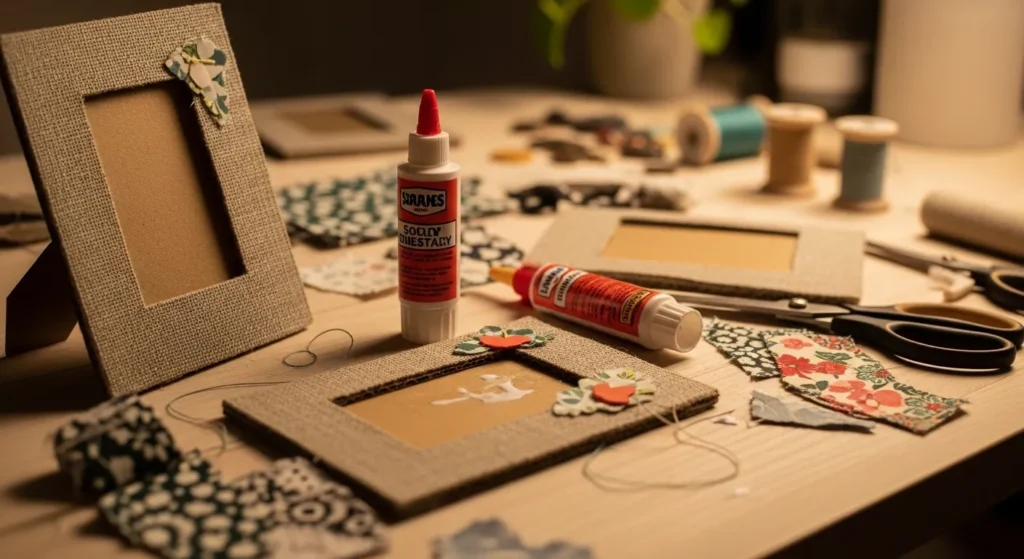
Fabric-covered frames introduce texture and warmth. Cut the cardboard frame first, then glue fabric evenly across the surface. Pull the fabric gently so it stays smooth and trim excess material around the edges. Fold the corners carefully to avoid bulky areas.
Thin cotton or linen works best because thick fabrics are harder to shape. Fabric frames suit bedrooms and cozy spaces where softer materials look natural. A protective backing keeps the fabric secure.
5. Painted Cardboard Frame With Smooth Finish
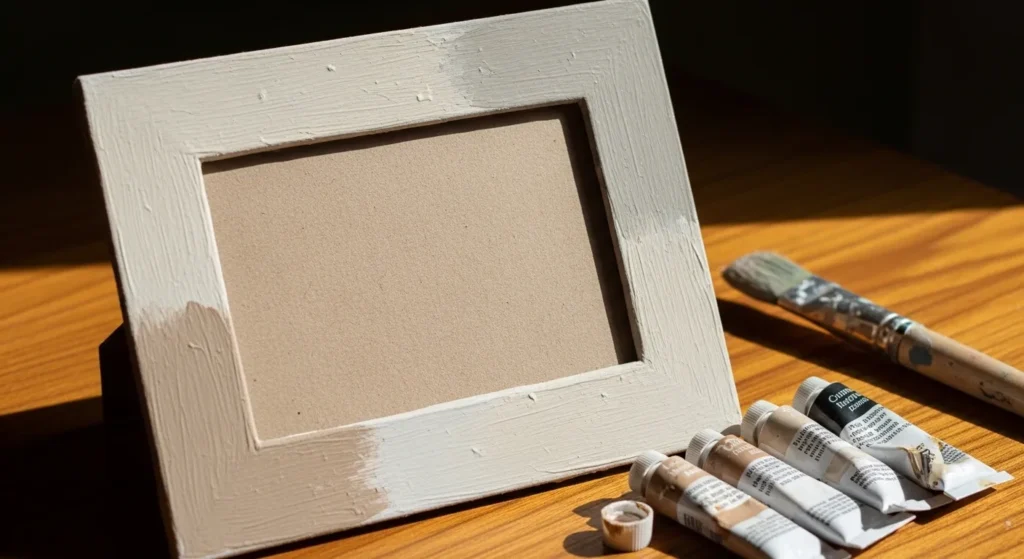
Painting cardboard transforms its appearance completely. Apply a thin base coat first and let it dry before adding another layer. Multiple thin coats produce a smoother finish than one thick coat. Neutral colors help the frame match different interiors.
Light sanding between coats improves the surface texture. A clear protective layer can be added after painting to prevent scratches. Painted frames are simple but versatile.
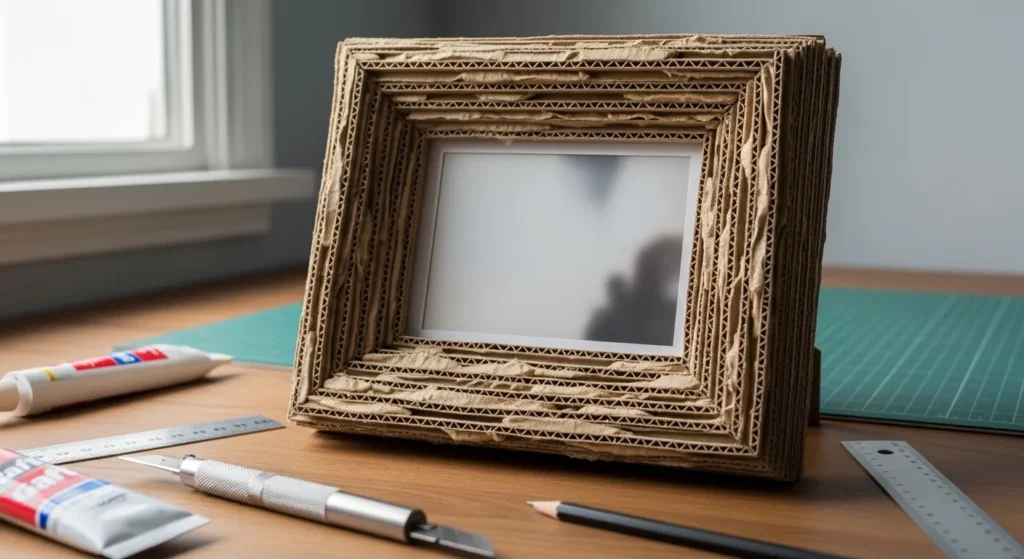
6. Rustic Corrugated Cardboard Frame With Visible Texture
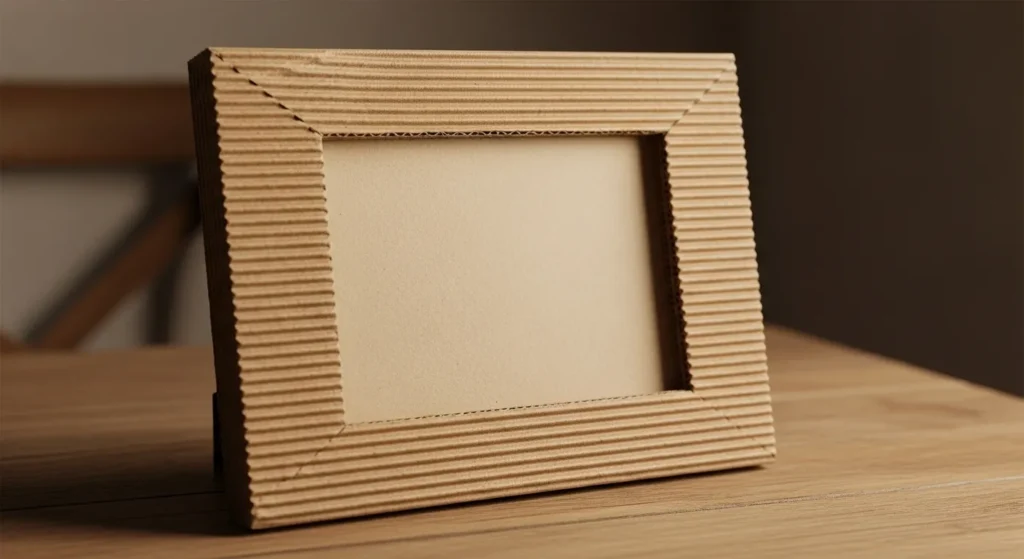
Corrugated cardboard creates a rustic style when the textured edges remain visible. Cut strips showing the inner pattern and glue them around the frame opening. The layered texture becomes part of the design.
Natural brown cardboard works best for this style. A light protective coat helps preserve the texture. This design looks simple but distinctive.
7. Layered Border Decorative Frame With Depth
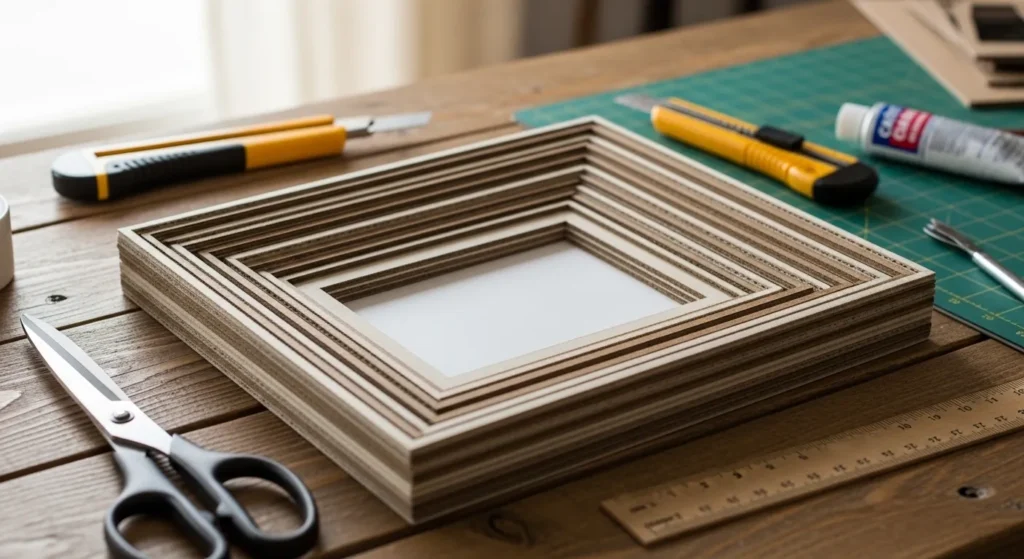
Adding layered strips around the edges creates depth. Cut thin cardboard strips and glue them evenly along the border. Each layer builds a slightly raised effect that makes the frame look more detailed.
Keep spacing consistent for a balanced appearance. Painting the finished layers helps unify the design. This method adds dimension without complexity.
8. Stand-Up Desk Cardboard Frame With Folded Support
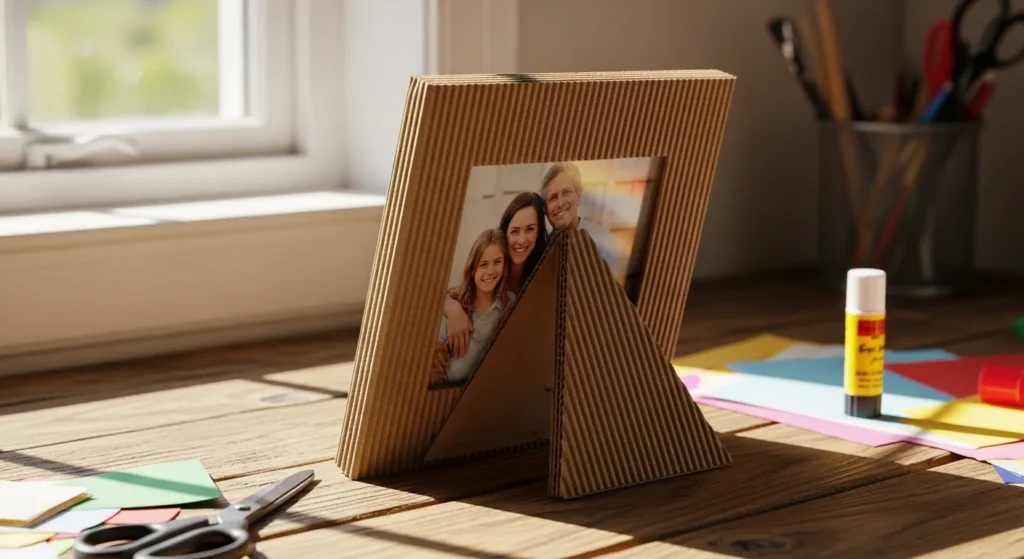
Desk frames need stable support. Attach a folded cardboard stand to the back using strong glue. The angle should allow the frame to stand without tipping forward.
Test the stand before final gluing. Reinforcing the fold with extra cardboard increases strength. This frame works well on desks and shelves.
9. Hanging Cardboard Frame With String Support
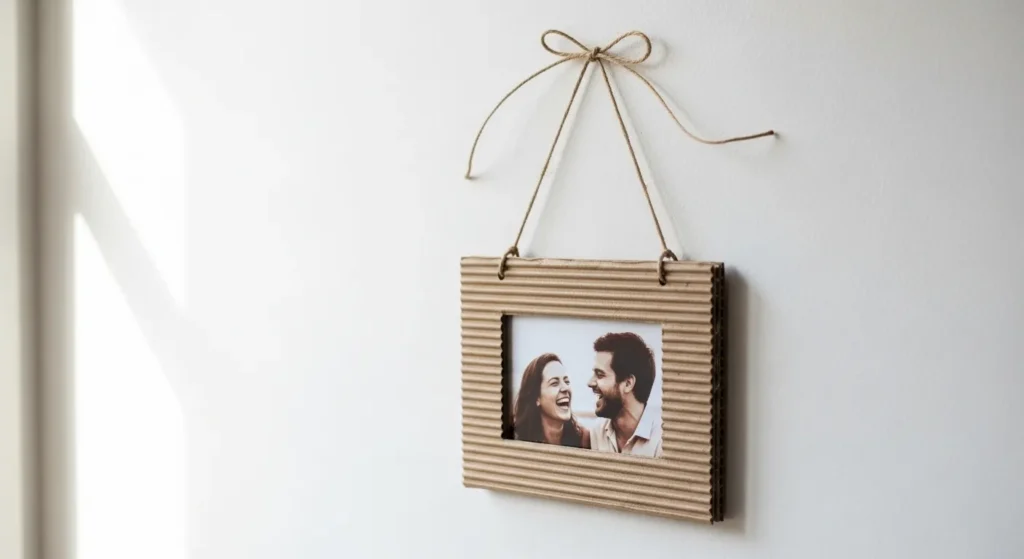
A hanging frame requires a secure attachment. Punch small holes near the top corners and tie a string through them. Make sure the knots are tight so the frame stays level.
Lightweight cardboard works best for hanging designs. Decorative string adds character while keeping the design simple. Hanging frames save table space.
10. Multi-Photo Collage Cardboard Frame Layout
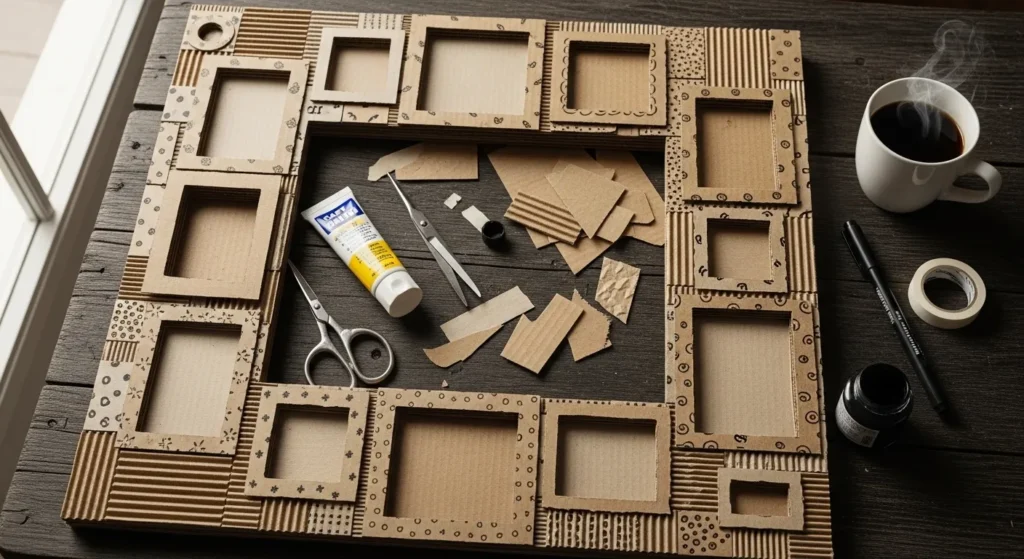
Collage frames hold several photos together. Draw multiple openings before cutting to maintain alignment. Leave enough space between openings so the cardboard remains strong.
Arrange photos by theme for a coordinated look. Reinforcing the back prevents bending. Collage frames display memories in one place.
11. Geometric Cut-Out Cardboard Frames for Modern Style
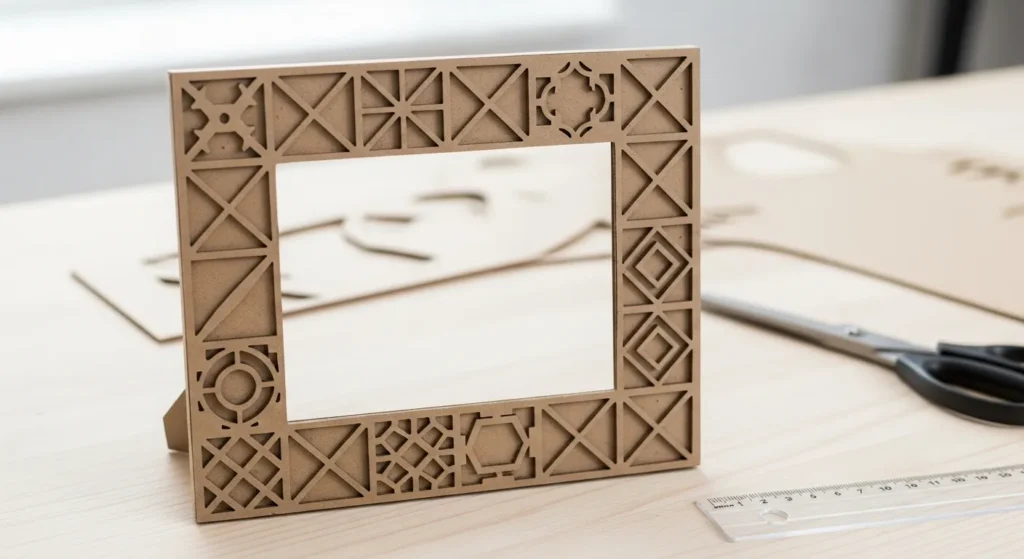
Geometric frames give a contemporary look to cardboard wall art. Using shapes like triangles, hexagons, or diamonds around the photo opening adds visual interest while keeping the frame lightweight. This style works well for single photos or minimalistic spaces.
Measure and mark the shapes carefully before cutting. Layering thin cardboard pieces can create raised geometric edges for added depth. Painting or covering with patterned paper enhances the modern aesthetic and makes the design stand out on walls.
Conclusion
DIY cardboard photo frames are an affordable, creative, and highly customizable way to display memories. From simple beginner-friendly designs to layered, embellished, and multi-functional frames, the possibilities are endless. These projects teach basic crafting skills while producing unique, personal decorations for your home.
Whether for gifts, wall displays, or desk decor, cardboard frames combine creativity with practicality. Using paint, fabric, paper, or embellishments adds style and personality, transforming everyday cardboard into functional and beautiful photo displays. This makes it easy for beginners to create charming handmade art without expensive materials.