
As an Amazon Associate, I earn from qualifying purchases. This means I may earn a commission if you purchase through links on this page — at no extra cost to you.
You can frame a poster for under $20 using IKEA RIBBA frames ($10-15), Amazon basic frames ($12-18), or DIY magnetic hangers ($8-12). The cheapest professional-looking option is IKEA’s RIBBA in standard poster sizes — it includes a mat and looks far more expensive than it is.
5 Methods Under $20
1. IKEA RIBBA Frame ($10-15)
Available in 12×16, 19×27, and 24×36. Includes mat. Clean, modern look. The best value in framing, period.
2. Amazon Basics Frame ($12-18)
Multiple sizes, Prime shipping. Slightly less sturdy than IKEA but perfectly fine.
Amazon Basics Rectangular Wood Poster Frame, 18″ x 24″, Black
Best for a clean, budget-friendly frame for a standard 18×24 poster.
3. Magnetic Poster Hangers ($8-12)
Wooden magnetic bars for top and bottom. Minimalist, modern, no glass. Great for posters you change often.
FALAMON Magnetic Poster Hanger Frame, 24×36, Teak Wood
Best for a minimalist, glass-free display for posters you change often.
4. Thrift Store Frames ($3-8)
Buy ugly framed art at thrift stores, discard the art, keep the frame. Spray paint if needed ($5).
Rust-Oleum 372699 Acrylic Enamel 2X Spray Paint, 12 oz, Ultra Matte Black
Best for unifying thrift-store frames in one matte black finish.
5. DIY Clipboard Display ($5-10)
Large artist clipboards from art supply stores. Industrial-chic look, super easy to swap prints.
Extra Large Clipboard Pack, 4 Tabloid Clipboards, 11.5 x 17.5 in, Solid Hardwood (Stockroom Plus)
Best for an industrial-chic, changeable display that makes swapping prints easy.
Cost Breakdown Example
Poster: $12 (Etsy download, printed at Staples)
Frame: $14 (IKEA RIBBA 19×27)
Total: $26 for a framed piece that looks like $80+
Tips
- Standard sizes (18×24, 24×36) have the cheapest frames
- Skip the mat to save $5-10 (but mats make art look more expensive)
- Buy frames during IKEA sales or Amazon Prime Day
- For odd sizes, magnetic hangers work with any dimensions
Choosing the Right Frame Size and Mat
Frame sizing is where cheap framing looks expensive or cheap — the frame-to-art ratio matters more than the frame’s price. The standard approach: the frame matches the poster’s exact dimensions (a 24×36 poster in a 24×36 frame), with the poster going edge-to-edge. This is clean, modern, and the cheapest path since standard poster sizes have abundant standard frames. The gallery approach adds a mat: a 24×36 poster matted to fit a larger frame (say, 28×40 overall) with 2 to 3 inches of mat visible on each side. Matting instantly elevates the presentation — the white space gives the art visual breathing room and a museum-like quality — but it requires buying both a mat and a larger frame, roughly doubling the cost. For your favorite posters, the mat is worth it; for rotating or casual pieces, edge-to-edge is fine.
Mat color is a quiet but powerful choice. Bright white mats look crisp and contemporary, making colors pop — ideal for modern prints and photography. Off-white and cream mats look softer and more traditional, flattering vintage-style posters and warm-toned art. Black mats are dramatic and work beautifully with black-and-white photography or bold graphic posters, but they shrink the perceived image size and can feel heavy in small rooms. Whatever you choose, the mat must be acid-free — standard paper mats yellow within a few years and can stain the poster where they touch. Acid-free mats cost only slightly more and protect indefinitely.
Best for a museum-like mat look while protecting the poster with an acid-free mat.
For odd-sized posters that do not match standard frames, you have three budget options. First, trim the poster to a standard size if the design allows (check that no important content sits near the edges). Second, use a magnetic hanger or clipboard display, which fits any dimensions — the best solution for non-standard sizes. Third, buy the next-larger standard frame and use a custom-cut mat to bridge the gap; many frame shops cut mats cheaply, and online mat cutters ship custom sizes affordably. What not to do: force an odd-size poster into a close-but-wrong frame, leaving gaps or buckling the paper — it always looks like a mistake.
Float mounting is the premium-look budget trick for art posters: the poster is mounted on a backing board slightly smaller than the frame, creating a thin shadow gap around all edges. It looks like a gallery float frame at a fraction of the cost. Use acid-free mounting corners (not glue) so the poster remains removable and undamaged. This presentation suits contemporary art posters beautifully and costs little more than standard framing.
Hanging and Displaying Framed Posters
A framed poster follows the same hanging rules as any wall art, and getting them right is what separates “poster on wall” from “art collection.” Height: center the piece at 57 inches from the floor (average eye level). Above furniture, leave 6 to 8 inches between the furniture top and the frame’s bottom edge — this connects the art to the furniture visually instead of floating it near the ceiling. For poster pairs or series, hang them with 2 to 3 inches between frames, aligned on center.
Large framed posters (24×36 and up) make excellent statement pieces above sofas, beds, and consoles — one confident large piece beats three timid small ones. Because budget frames are lighter than custom hardwood frames, large sizes stay manageable on standard picture hooks; anything under 15 pounds hangs fine on a single sturdy hook, while heavier pieces deserve two hooks for both security and level-keeping. On the wall, step back to the room’s entrance to evaluate — that first view is the one that matters.
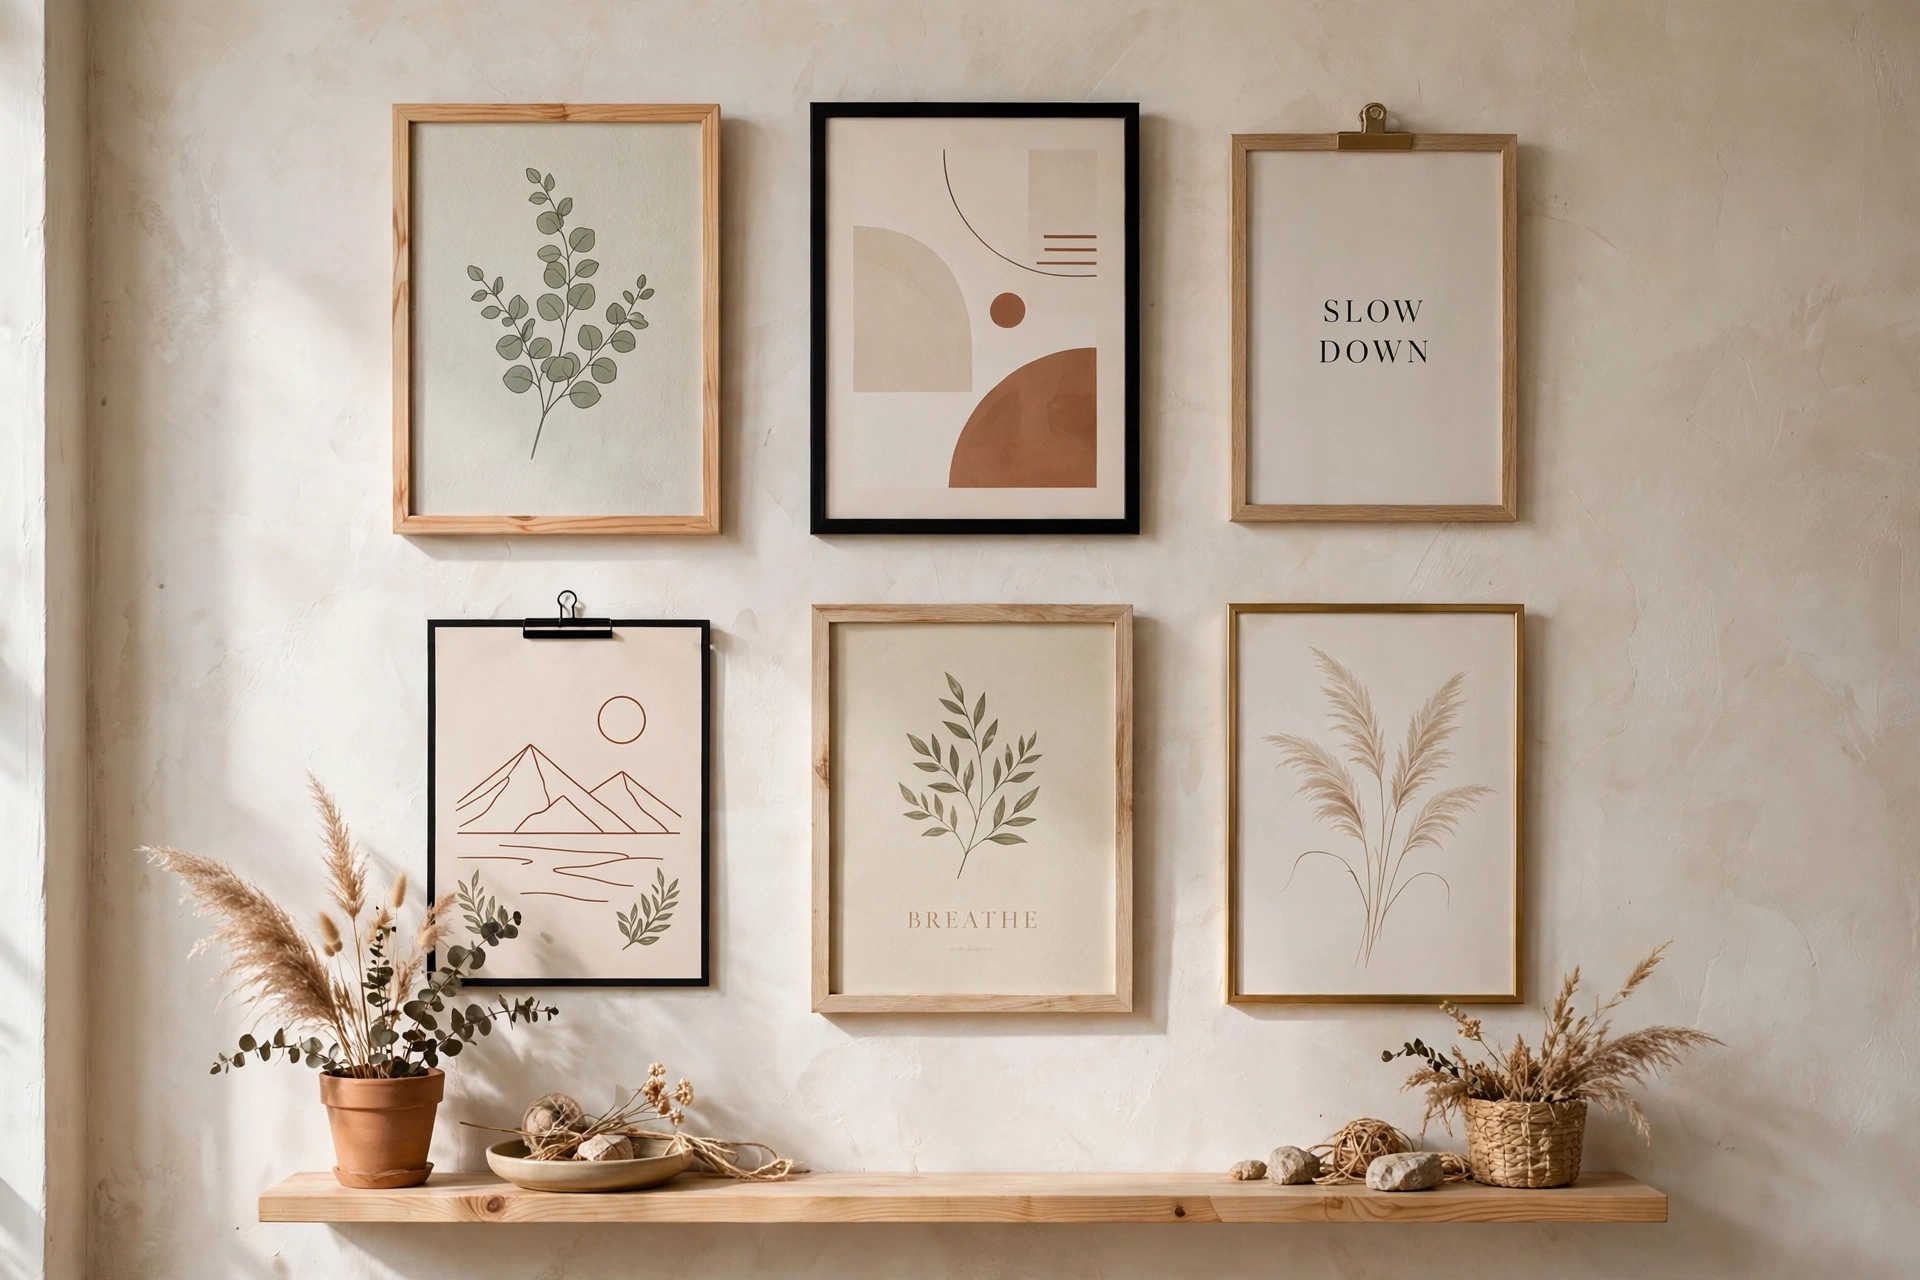
Gallery walls of framed posters are the budget decorator’s superpower. A grid of six identically framed 12×16 or 18×24 posters costs little (standard frames in bulk, consistent look) and delivers the visual impact of a much more expensive installation. Thrifted frames unified with spray paint achieve the same effect for even less. Picture ledges offer the no-commitment alternative: lean framed posters at varying depths, overlap slightly, and restyle in minutes without new nail holes — ideal for renters and the chronically indecisive.
MCS Original Poster Frame 24×36, Black, Lightweight (6-Pack)
Best for a gallery wall of identically framed 24×36 posters.
Consider leaning for oversized pieces: a 24×36 framed poster on the floor leaning against the wall behind a console, or on a mantel, looks intentionally casual and avoids the weight and hardware concerns of hanging large pieces. Add small adhesive bumper pads behind the top corners to protect the wall. And in kids’ rooms, hang framed posters at the child’s eye level, not yours — art they can actually see and enjoy beats art positioned for adult aesthetics.
Protecting Your Poster Long-Term
The difference between a poster that looks good for six months and one that looks good for ten years is protection from the four enemies: light, moisture, acids, and handling. UV light is the primary destroyer — it fades inks and yellows paper relentlessly. Never hang posters (even framed ones) in direct sunlight. For valuable or beloved posters, UV-filtering glass or acrylic is the single best investment; it slows fading dramatically. Standard glass offers minimal UV protection — better than nothing, but not preservation.
Acid damage is the silent killer. Cheap mats, cardboard backings, and wood-pulp mounting boards contain acids that migrate into the poster, causing yellowing and brittleness over years. The fix is cheap: acid-free mats, acid-free foam core backing, and archival mounting corners. These materials cost only slightly more than standard versions but prevent the slow chemical damage that ruins posters from behind. If you are framing a poster you care about, this is non-negotiable.
Moisture warps paper and breeds mold behind glass. Do not hang framed posters in steamy bathrooms or on exterior walls prone to condensation. If a poster will live in a humid room, ensure air circulation behind the frame (small bumper pads create a gap) and consider sealing the frame’s back with kraft paper tape to slow moisture ingress. Handling damage is the easiest to prevent: always handle posters by the edges with clean, dry hands (oils from fingers stain paper permanently), and store unframed posters rolled in tubes, never folded or stacked flat under weight.
For posters of genuine value (limited editions, vintage originals), consider professional conservation framing — UV glazing, acid-free everything, sealed backing. It costs more than the budget approaches in this article, but it is the correct choice for art worth preserving. The budget methods here are for the 95% of posters that are decorative rather than collectible; knowing which category yours falls into guides how much protection to invest.
DIY Framing Hacks That Look Professional
Beyond the standard methods, creative DIY approaches frame posters for almost nothing while looking deliberate. The wood-slat hanger: two thin wood strips (top and bottom), small magnets or screws sandwiching the poster’s edges, and a string for hanging. Total cost is a few dollars in craft-store wood, and the result looks like a Scandinavian design object. Stain or paint the wood to match your decor — natural wood suits minimal rooms, black suits modern ones.
The clipboard wall turns poster display into a changeable gallery: mount several large clipboards (or hardboard panels with binder clips) in a grid and clip posters in. Swapping art takes seconds, making it perfect for kids’ rooms, studios, and anyone who redecorates with the seasons. Paint the clipboards to match the wall for a seamless look, or leave them natural for industrial charm. Washi tape frames are the zero-cost option for lightweight posters: create geometric tape borders directly on the wall around the poster. It reads as intentional design, not laziness, when the tape lines are crisp and the geometry is deliberate — and it peels off cleanly.
The thrift-store upgrade path deserves emphasis: buy the ugliest framed art at thrift stores for a few dollars, discard the art, and keep the frame. Clean thoroughly, spray-paint in your chosen color (matte black is nearly universal), add an acid-free mat cut to fit your poster, and you have a custom-looking frame for under $10. Thrift stores are also the best source for unusual sizes and solid-wood frames that would cost a fortune new. Visit regularly — inventory turns over constantly, and the best frames go fast.
For a cohesive look across multiple DIY frames, unify with one paint color and consistent mat color. Five thrifted frames in different profiles, all sprayed matte black with white mats, read as a designed collection. The secret of professional-looking budget framing is consistency: consistent color, consistent mats, consistent spacing. Inconsistency reads as cheap; consistency reads as curated, regardless of what the frames cost.
When to Spend More Than $20
The under-$20 approach covers most poster framing beautifully, but honest exceptions exist. Oversized posters (larger than 24×36) need sturdier frames than budget options provide — a flimsy frame on a large poster bows, warps, and looks terrible within months. For large pieces, step up to mid-range frames with real wood or aluminum construction; the cost per square inch is still modest, and the result lasts.
Valuable posters — limited editions, signed prints, vintage originals — deserve conservation framing regardless of budget philosophy. A $200 vintage poster in a $15 frame with acidic mat is a false economy; the framing will damage the art it is meant to protect. Professional framing with UV glazing and acid-free materials preserves both the poster’s condition and its value. Similarly, posters in harsh environments (bright sun-facing walls, humid rooms) need UV or sealed framing to survive — the upgrade pays for itself in longevity.
Custom sizes beyond standard frames sometimes justify custom framing when the poster cannot be trimmed and alternative displays do not suit the room. Get quotes from local frame shops and online custom framers — prices vary enormously, and online options are often half the cost of storefront shops. And for the one poster you truly love above all others — the piece that anchors the room — spending $80 on a beautiful frame is not extravagance; it is proportionate. The $20 rule is a smart default, not a religion. Spend little on most, more on what matters most.
🛒 Shop This Look:
🛒 Shop This Look:
🛒 Shop This Look:



