Removing wallpaper can feel daunting, but with the right techniques, it’s entirely manageable without harming your walls. Old wallpaper, stubborn adhesive, or layers of paint can make the process tricky, yet careful preparation ensures a smooth, damage-free removal.
Knowing the best tools, methods, and precautions helps prevent scratches, gouges, or peeling plaster. With patience, the right products, and smart techniques, walls can be prepped for a fresh coat of paint or new wallpaper effortlessly.
Here are practical and effective ways to remove wallpaper while protecting your walls and ensuring a clean, professional finish.
1. Start with a Test Section
Image Prompt: small section of wallpaper being gently peeled with a putty knife
Before committing to large sections, test a small area of wallpaper. Gently lift a corner to see how easily it comes off and whether water, steam, or adhesive remover is needed.
This saves time and prevents accidental damage. It also gives insight into the wallpaper type—peelable, strippable, or glued—which determines the safest method to use for the entire wall.
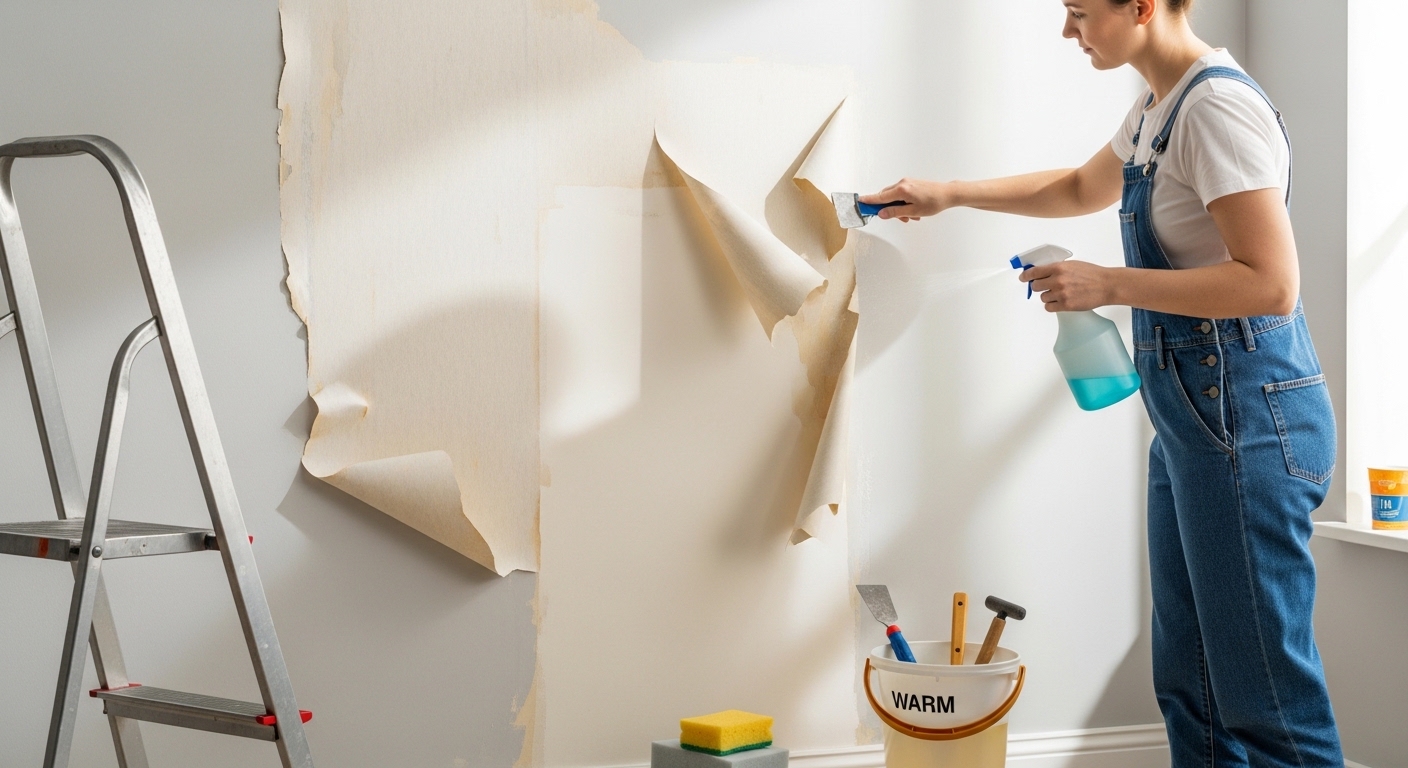
2. Gather the Right Tools
Image Prompt: tray of wallpaper removal tools: putty knife, spray bottle, sponge, gloves
Using proper tools ensures a smooth process. Essentials include a putty knife, scoring tool, spray bottle, sponges, gloves, and optionally a wallpaper steamer.
Having everything ready before you start reduces frustration and risk of mistakes. Each tool serves a purpose—scraping, softening adhesive, or protecting hands—so preparation is key for a clean removal without wall damage.
3. Protect the Floor and Furniture
Image Prompt: room with plastic sheets covering floor and furniture while wallpaper is being removed
Cover floors, baseboards, and furniture with drop cloths or plastic sheeting. Wallpaper removal can be messy, with water, adhesive, or torn paper dropping onto surfaces.
Protection ensures you don’t have to spend extra time cleaning up afterward. It also reduces stress, allowing you to focus on careful wall preparation without worrying about ruining your floors or furniture.
4. Score the Wallpaper
Image Prompt: close-up of a hand using a wallpaper scoring tool
For tough wallpaper, lightly score the surface using a wallpaper scoring tool. Tiny perforations allow steam or solution to penetrate the adhesive, loosening it from the wall.
Be gentle—over-scoring can damage drywall or plaster. Light, even scoring is usually enough to make removal easier, improving efficiency while protecting wall integrity during the process.
5. Use Warm Water and a Sponge
Image Prompt: sponge soaking wallpaper surface with warm water
Soak wallpaper with warm water to soften adhesive. Use a sponge or spray bottle to apply moisture evenly, letting it sit for several minutes.
Water loosens glue, making peeling easier. Avoid over-saturating to prevent water damage. Consistent, gentle application helps sections come off cleanly, reducing the chance of tearing or gouging the wall surface.
6. Apply Wallpaper Removal Solution
Image Prompt: bottle of commercial wallpaper remover solution and sponge
For stubborn wallpaper, commercial wallpaper removal solutions break down adhesive quickly. Apply according to instructions, letting it penetrate for several minutes.
These solutions reduce scraping effort and minimize wall damage. They’re especially effective for vinyl or multi-layered wallpaper, making the removal process faster and cleaner without compromising the surface beneath.
7. Peel Slowly and Carefully
Image Prompt: hand peeling wallpaper corner from wall
Start peeling at a corner, pulling slowly at a 45-degree angle. Rushing or yanking can tear the paper and damage drywall.
Use a putty knife to lift stubborn sections gently. Patience is key—slow, controlled removal reduces wall blemishes and ensures larger pieces come off intact for less cleanup.
8. Use a Wallpaper Steamer
Image Prompt: handheld wallpaper steamer in use on wall
For tough or older wallpaper, a wallpaper steamer softens adhesive effectively. Steam penetrates paper layers, loosening glue for easier peeling.
Hold the steamer against the wall for a few seconds, then scrape gently with a putty knife. Steaming is efficient for larger rooms and ensures minimal effort while preserving wall surfaces.
9. Remove Residual Adhesive
Image Prompt: sponge scrubbing wall to remove leftover wallpaper glue
After peeling, sticky adhesive may remain. Use warm water, vinegar solution, or a commercial adhesive remover to clean walls thoroughly.
Scrub gently with a sponge to prevent scratches. Removing all residue is critical before painting or applying new wallpaper, ensuring a smooth, professional-looking surface.
10. Repair Minor Wall Damage
Image Prompt: hand applying joint compound to small wall dents
Even with careful removal, minor scratches or dents may appear. Patch holes or gouges with joint compound, sand smooth, and prime before painting.
Addressing these imperfections ensures walls are fully prepped for the next finish. Proper repair maintains wall integrity and gives a flawless, polished look after the wallpaper is gone.
11. Work in Sections
Image Prompt: person removing wallpaper from a small section of wall at a time
Tackling the wall in small sections keeps the process manageable and reduces mistakes. Focus on a 2–3 foot area at a time, softening and peeling before moving on.
This method ensures even removal and prevents adhesive from drying out on untouched areas. It’s easier to control tools, manage moisture, and avoid unnecessary wall damage, making the process more efficient and less stressful.
12. Keep Tools Clean
Image Prompt: clean putty knife and sponge on a tray
Dirty tools can scratch or gouge walls. Rinse sponges, wipe putty knives, and remove adhesive buildup frequently during removal.
Maintaining clean tools ensures smooth scraping and minimizes wall imperfections. It also prevents adhesive from spreading, reducing cleanup and improving the overall quality of the removal process.
13. Avoid Harsh Scraping
Image Prompt: close-up of gentle scraping with putty knife
Scraping too aggressively can damage drywall, plaster, or paint. Use slow, controlled movements, applying just enough pressure to lift the paper.
Focus on peeling in small areas with minimal force. Gentle scraping preserves the wall surface, especially important for older walls that are prone to chipping or denting during wallpaper removal.
14. Steam for Vinyl Wallpaper
Image Prompt: steaming vinyl wallpaper in a kitchen backsplash area
Vinyl wallpaper can resist water and traditional solutions. Using a steamer softens the tough adhesive layer beneath, making removal easier.
Work carefully to prevent water dripping or overheating the wall surface. Steam penetration loosens vinyl effectively without tearing, keeping walls intact for repainting or new wallpaper installation.
15. Protect Baseboards and Moldings
Image Prompt: painter’s tape protecting baseboards while removing wallpaper
Tape off baseboards, molding, and trim before starting. Wallpaper removal solutions and water can damage wood finishes or paint.
Protection ensures a clean line and avoids extra sanding or repainting. It’s a small step that saves time and preserves your existing finishes, giving a neat, professional result.
16. Use Vinegar for Stubborn Glue
Image Prompt: sponge applying vinegar solution to sticky wallpaper adhesive
A mixture of warm water and vinegar dissolves tough wallpaper glue naturally. Apply, let sit for a few minutes, then scrape gently.
Vinegar is a safe, eco-friendly solution that protects the wall while loosening adhesive. It’s especially useful for older wallpaper with strong glue that resists water alone.
17. Dry Between Sections
Image Prompt: person wiping a damp wall section with a dry cloth
After removing wallpaper and adhesive, wipe the wall dry before moving to the next area. Moisture left on walls can damage drywall or make paint adhesion difficult later.
Drying between sections ensures each area is ready for repairs or painting. It prevents warping, bubbling, or mold growth, keeping walls smooth and fully prepped for the next finish.
18. Sand Smooth
Image Prompt: hand sanding patched drywall gently
Once adhesive is removed, lightly sand the wall to smooth any rough spots. This prepares surfaces for painting or new wallpaper.
Sanding evens out minor scratches or dents. Combined with patching where needed, it ensures a flawless wall surface, giving professional results without the risk of visible imperfections under a fresh coat.
19. Prime the Wall
Image Prompt: roller applying primer to freshly cleaned wall
After removing wallpaper and sanding, apply a quality primer. Priming seals the surface, blocks residual adhesive, and provides a uniform base for paint or new wallpaper.
Proper priming improves adhesion and prevents future peeling or uneven textures. It ensures your newly refreshed walls look clean, smooth, and long-lasting, ready for the next design update.
Conclusion
Removing wallpaper doesn’t have to be intimidating. With the right preparation, tools, and techniques, you can safely strip walls while preserving their integrity.
Patience, proper sectioning, gentle scraping, and adhesive management prevent damage and simplify the process. Each step—from testing a small area to priming afterward—ensures professional results without stress.
Following these methods transforms wallpaper removal into a manageable task, leaving your walls clean, smooth, and ready for their next style upgrade, whether it’s paint, new wallpaper, or other finishes.
FAQs
Can wallpaper be removed without water?
Peelable or strippable wallpapers may come off dry, but most require moisture, steam, or solutions for safe removal.
Will wallpaper removal damage plaster walls?
If done carefully with gentle tools and proper softening techniques, plaster walls remain intact with minimal risk.
How long does wallpaper removal usually take?
It depends on wall size, wallpaper type, and adhesive strength. Small rooms can take a few hours; larger spaces may take a day or more.
Can I reuse wallpaper after removal?
Typically not. Wallpaper often tears or loses adhesive effectiveness, making reuse impractical.
Do I need to prime walls after removing wallpaper?
Yes, priming seals surfaces, blocks residual glue, and ensures smooth, long-lasting results for paint or new wallpaper.