
As an Amazon Associate, I earn from qualifying purchases. This means I may earn a commission if you purchase through links on this page — at no extra cost to you.
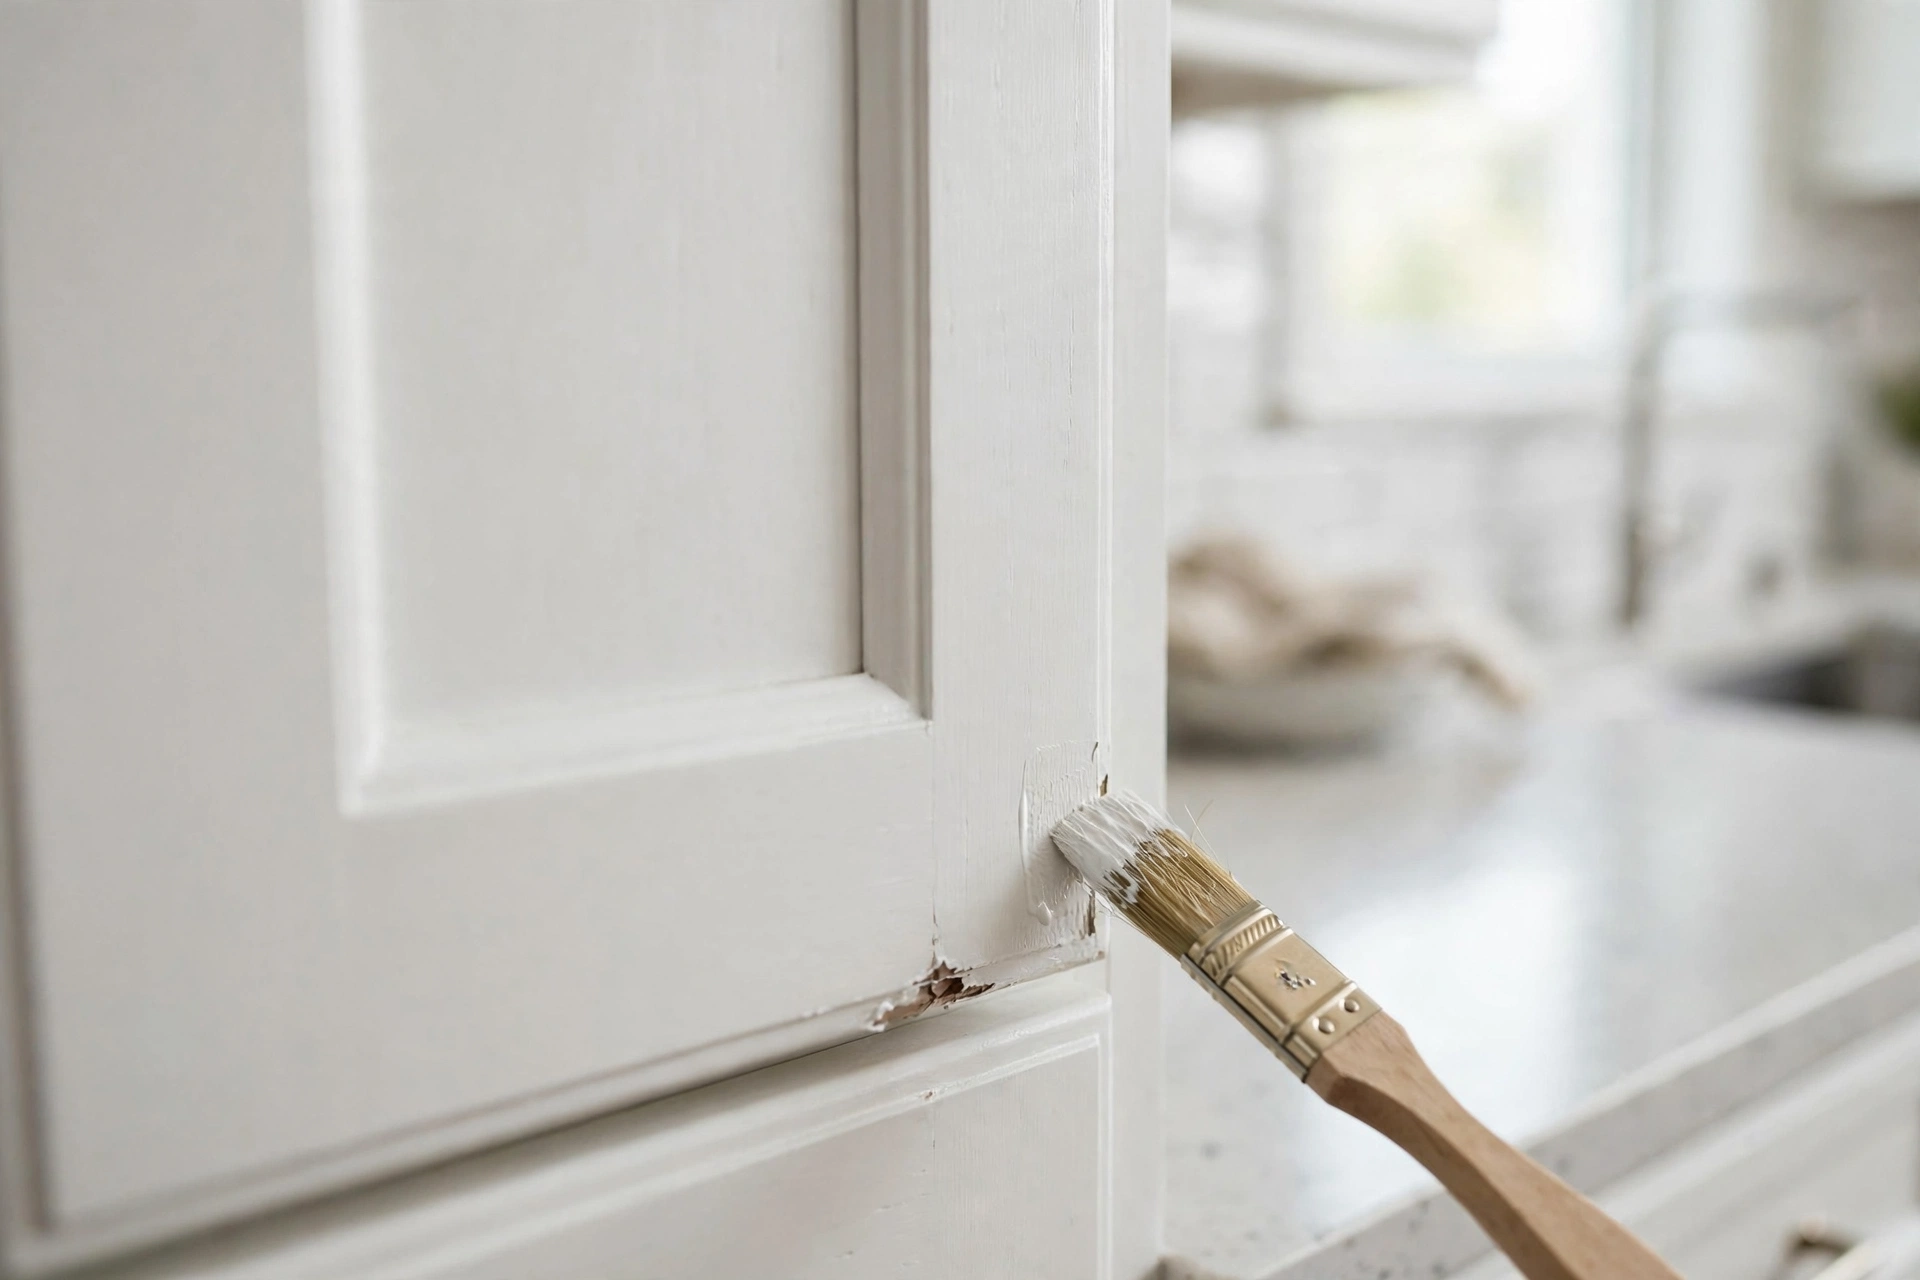
Fix chipped paint on kitchen cabinets by cleaning the area, lightly sanding the chip edges smooth, applying primer to any bare wood, then touching up with matching paint using a small artist’s brush. For best blending, feather the paint slightly beyond the chip and apply two thin coats. Keep a small jar of your cabinet paint for future touch-ups — chips are inevitable in busy kitchens. Related: Does It Cost to Paint Kitchen Cabinets.
What You’ll Need
- Matching cabinet paint (same sheen!)
- Small artist’s brush or touch-up pen
- 220-grit sandpaper
- Primer (if bare wood shows)
- Degreaser
Step-by-Step
1. Clean the Area
Degrease around the chip. Paint won’t stick to greasy surfaces.
2. Sand Smooth
Lightly sand the chip edges to remove any lifting paint and create a smooth transition. Don’t gouge the surrounding paint.
3. Prime Bare Spots
If wood or MDF shows through, dab on primer. Let dry fully.
4. Apply Touch-Up Paint
Use a small brush and apply thin coats. Two thin coats blend better than one thick one. Feather slightly beyond the chip edges.
5. Blend and Cure
Let dry 24 hours. The touch-up may be slightly visible at first but usually blends as paint cures over 1-2 weeks.
Preventing Future Chips
Add felt bumpers inside doors. Avoid slamming. Touch up promptly — exposed wood absorbs moisture and makes chips spread.
Why Kitchen Cabinet Paint Chips in the First Place
Chips are symptoms, and diagnosing the cause tells you whether a touch-up will hold or fail again in the same spot. The five usual culprits:
🛒 Shop This Look:
Moisture and steam. Cabinets near the stove, dishwasher, and sink live in a cycle of heat and humidity. Moisture softens paint film from beneath, especially latex paint that was not fully cured before the kitchen went back into service. Chips that cluster around the dishwasher or coffee station are almost always moisture-driven.
Impact. Rings, belt buckles, pot handles, toys, pet claws — cabinet edges and corners take constant small hits. Lower cabinets and the edges around pulls chip first because that is where hands and objects make contact.
Poor original prep. If the cabinets were painted over a glossy factory finish without sanding or bonding primer, the paint never truly adhered. These chips have a telltale sign: they peel in sheets or flakes with a smooth, shiny back, revealing glossy finish underneath. Touch-up paint will fail the same way until the adhesion problem is fixed.
Wrong product. Standard wall paint on cabinets is a chip waiting to happen. Wall paint stays relatively soft; cabinet enamel cures to a hard, durable film designed for handling. If your cabinets were painted with wall paint, expect chronic chipping no matter how careful the touch-ups.
Thermal movement. Wood expands and contracts with temperature and humidity swings. Rigid paint over moving wood eventually cracks at joints and edges — the fine cracks along stile-and-rail joints on cabinet doors are classic thermal movement.
Matching Your Touch-Up Paint Exactly
A touch-up in the wrong sheen is more visible than the chip it covers. Color gets the attention, but sheen mismatch is what catches the eye in raking kitchen light.
- Find the original can or color code. Check the garage, basement, or under the sink for leftover paint. The label gives you the exact color name, code, sheen, and product line. Photograph the label for your records even if paint remains.
- Match the sheen, not just the color. Cabinet paint is usually satin or semi-gloss. A flat touch-up on a satin cabinet will read as a dull spot from across the room. If you are unsure of the sheen, compare how light reflects off the cabinet at an angle — satin has a soft glow, semi-gloss a distinct shine.
- Get a computer color match if the code is lost. Bring a removable chip (from inside a door or behind a hinge) to a paint store for spectrophotometer matching. Do not match from a photo on your phone — screens lie about color.
- Test before committing. Brush your matched paint onto a hidden spot — the inside of a door or a spare piece of trim — and let it dry fully. Wet paint always looks different from dry paint. Check the match in daylight and under your kitchen lighting before touching up visible areas.
- Beware sheen naming differences. One brand’s “satin” can be another’s “eggshell.” When cross-matching brands, compare dried samples side by side rather than trusting the label word.
Build a touch-up kit now: a small labeled jar of the matched paint, a quality artist’s brush, 220-grit sandpaper, a dab of primer, and a note with the color code and purchase date. Store it in a climate-stable spot — extreme garage heat degrades paint. Future you will be grateful.
Small Chip or Big Problem? When Touch-Up Is Not Enough
Touch-up has limits. Use this rule of thumb: isolated chips smaller than a dime, with solid paint around them, are touch-up candidates. Anything beyond that needs a bigger repair.
Repaint the whole door or drawer front when: chips cluster in one area, paint is peeling or flaking beyond the chip, the finish is crazed (fine alligator cracking) across the surface, or moisture has swollen the substrate. Spot repairs on failing paint just create a patchwork that fails again.
Peeling paint means adhesion failure. If you can slide a putty knife under surrounding paint and lift it, the bond is gone. Touch-up paint stuck to failing paint will pop off with it. The fix is stripping or sanding back to a sound surface, priming with bonding primer, and repainting.
🛒 Shop This Look:
Swollen MDF or particleboard around the sink or dishwasher cannot be sanded back to sound material — the fibers have expanded permanently. Small areas can be sealed with shellac-based primer and filled, but widespread swelling means replacement is the honest answer.
When to call a professional: If more than a third of your cabinetry shows failure, or the cabinets were finished with catalyzed lacquer or conversion varnish (common in factory finishes), a pro respray will outperform any DIY effort. Pros spray in controlled conditions and use two-part finishes unavailable to homeowners.
Repairing Deep Chips: The Full Method
For chips that go through to bare wood or MDF — the kind with a visible crater — the quick dab method is not enough. Deep repairs need structure.
- Clean and degrease the area thoroughly. Deep chips collect kitchen grime in the recess.
- Feather the edges. Sand with 150-grit to taper the paint edges around the chip into a smooth ramp rather than a cliff. A cliff edge will always show as a ring through the touch-up.
- Fill deep gouges. For craters deeper than about 1/16 inch, press in stainable wood filler (for wood) or two-part filler, slightly overfilling. Let it cure fully — rushing this step causes shrinkage lines later.
- Sand the filler flush, progressing from 150-grit to 220-grit. The repair should feel invisible to your fingertip before you paint.
- Seal with primer. Bare wood, MDF, and filler all absorb paint differently than the surrounding finish. A coat of bonding primer equalizes absorption so the touch-up does not flash (dry to a different sheen). For MDF edges, shellac-based primer seals best.
- Apply 2–3 thin topcoats, sanding lightly with 320-grit between coats and wiping dust with a tack cloth. Thin coats level better and cure harder than one thick coat.
- Let it cure. Cabinet enamel needs up to 30 days for full hardness. Treat the repaired spot gently for the first couple of weeks — no scrubbing, no leaning pots against it.
Preventing Chips: A Long-Term Cabinet Care Routine
Touch-ups are maintenance; prevention is what keeps you from doing them monthly.
- Add felt bumpers inside every door and drawer so they close against cushion instead of wood. Replace bumpers yearly — they compress and fall off.
- Retrofit soft-close hinges and drawer slides. Slamming is the number-one chip accelerator, and soft-close hardware eliminates it. It is a moderate DIY project with outsized payoff.
- Reposition hardware if knuckles hit. If your knuckles strike the door frame every time you grab a pull, the pull is in the wrong place. Moving pulls a half inch can end years of impact chips.
- Degrease monthly. Kitchen grease settles on every horizontal surface and softens paint film over time. Wipe cabinets with a degreasing cleaner monthly — more often near the stove. Never use abrasive pads or harsh solvents on painted cabinets.
- Control steam. Run the range hood every time you cook, and leave it on for 10 minutes after. Wipe condensation off cabinet faces near the stove and dishwasher promptly.
- Touch up promptly. A fresh chip exposes substrate to moisture, and moisture makes chips spread. A two-minute touch-up now prevents a door repaint later.
- Use cutting boards and trivets near cabinets. Setting a hot pot against a cabinet door or banging a cutting board on the counter edge above a drawer front causes exactly the chips you are repairing.
FAQs
Can I use a paint pen instead of a brush? Paint pens work for tiny nicks on light-colored cabinets, but the paint is thin and rarely matches sheen. For anything larger than a pinhead, a brush and real cabinet paint give a far better result.
Why does my touch-up look darker than the surrounding paint? Usually one of three things: the paint was not mixed well (pigment settled), you applied it too thick (thicker film looks darker), or the surrounding paint has faded or yellowed over time while your touch-up is fresh. Stir thoroughly, apply thin, and accept that aged finishes never match perfectly.
How long before I can clean a touched-up spot? Wait at least two weeks before any scrubbing, and a full 30 days before aggressive cleaning. Early scrubbing will lift the repair.
My cabinets chip every time something touches them. Is the paint bad? Probably the prep or product, not your handling. Paint that chips from light contact usually lacked bonding primer or was wall paint instead of enamel. Widespread easy chipping points to a repaint, not more touch-ups.
Should I caulk the seam between the countertop and cabinets before touching up? That seam is a moisture entry point. If the caulk is cracked or missing, re-caulk it — but keep caulk off the cabinet faces you are painting, since paint does not bond well to silicone caulk.
🛒 Shop This Look:



