
As an Amazon Associate, I earn from qualifying purchases. This means I may earn a commission if you purchase through links on this page — at no extra cost to you.
Yes, you can paint laminate kitchen cabinets successfully using a bonding primer designed for slick surfaces. The process: clean thoroughly with degreaser, lightly scuff with 220-grit sandpaper (just to degloss, not sand through), apply STIX bonding primer or BIN Shellac, then two coats of cabinet-grade enamel. Properly prepped laminate paint jobs last 5+ years. The key is the primer — regular primer won’t stick to laminate’s plastic surface.
Why Laminate Is Tricky
Laminate is essentially plastic over particle board. Paint can’t penetrate it, so adhesion depends entirely on the primer’s grip. Skip the right primer and paint peels within months.
Step-by-Step
1. Clean: Degrease thoroughly. Laminate shows every bit of grime.
2. Scuff: Light 220-grit sanding just to dull the shine. Don’t sand through the laminate.
3. Prime: One coat of STIX or BIN Shellac. This is the critical step.
4. Paint: Two thin coats of urethane enamel.
5. Cure: 30 days for full hardness.
How Long Does It Last?
With proper prep, 5-7 years in normal use. High-wear areas (around handles, near the stove) may need touch-ups sooner. It’s not as durable as painting wood, but it’s far cheaper than replacing cabinets.
Materials and Tools: The Complete List
Gather everything before you start. Cabinet painting stalls when you discover mid-project that you are missing something.
Cleaning and prep
- Degreaser (trisodium phosphate substitute or a dedicated kitchen degreaser)
- 220-grit sandpaper and/or fine sanding sponges
- Tack cloth or damp microfiber cloths for dust removal
- Painter’s tape and rosin paper or drop cloths
- Screwdriver or drill for removing doors, drawers, and hardware
- Numbered labels or tape for marking each door’s position
Priming and painting
- Bonding primer (STIX, BIN Shellac, or a primer explicitly labeled for slick/laminate surfaces)
- Cabinet-grade paint: urethane-trim enamel or acrylic enamel in satin or semi-gloss
- High-density foam rollers (4-inch) for flat surfaces
- Quality angled brush (2-2.5 inch) for edges and details
- Paint tray, stir sticks, and a spray bottle of water for keeping edges wet
Budget roughly for two gallons of paint for an average kitchen (more for large kitchens), one gallon of primer, and a full set of rollers and brushes. Buy all your paint at once to avoid batch color differences.
Prep: The Step Nobody Should Skip
Prep determines 90% of the outcome. Rushing it is the number-one cause of peeling cabinet paint.
1. Remove everything. Take off all doors, drawers, hinges, knobs, and pulls. Label each door and its corresponding opening with numbered tape — doors that look identical often are not. Store screws and hinges in labeled bags.
2. Clean twice. Kitchen cabinets accumulate a film of cooking grease that is invisible but lethal to paint adhesion. Wipe every surface with degreaser, rinse, and repeat. If the cloth still shows grime, clean again. Paint applied over grease fails within months no matter how good the primer is.
3. Scuff sand. Using 220-grit sandpaper, lightly sand every surface you will paint — just enough to dull the glossy finish and give the primer something to grip. You are deglossing, not removing material: do not sand through the laminate layer. On detailed areas, use a sanding sponge that conforms to profiles.
🛒 Shop This Look:
4. Remove all dust. Wipe every surface with a tack cloth or a barely-damp microfiber cloth. Dust trapped under primer becomes texture in your final finish.
5. Mask and protect. Tape off walls, counters, appliances, and the interiors of cabinet boxes. Lay drop cloths. Set up a dedicated painting area for doors — sawhorses in a garage or spare room work well, giving you space to paint both sides without touching wet surfaces.
Priming and Painting: Full Step-by-Step
1. Apply bonding primer. One full coat on every surface, applied thin and even. Bonding primer looks thin and unimpressive — that is normal. Its job is adhesion, not coverage. Let it dry fully per the can’s instructions (usually a few hours).
2. Inspect and sand lightly. After the primer dries, run your hand over it. Lightly sand any rough spots or drips with 220-grit, then wipe clean. This intermediate sanding is what separates professional-looking results from amateur ones.
3. First coat of paint. Apply thin, even coats with the foam roller on flat areas and the brush on edges and details. Thin coats are critical — thick coats on laminate are prone to sagging, drips, and poor curing. Let dry completely.
4. Sand between coats. Lightly sand with 220-grit or a fine sanding sponge, wipe clean, and apply the second coat. Two thin coats outperform one thick coat in every way: smoother finish, better adhesion, truer color.
5. Evaluate. Most kitchens need exactly two coats over primer. Dark or bold colors over light laminate may need a third. Judge in good light before deciding.
6. Cure — the hard part. The paint feels dry in hours but takes up to 30 days to fully harden. Reinstall doors carefully after 24-48 hours, but treat the finish gently for the first month: no harsh cleaners, no slamming, and add felt bumper pads to prevent sticking.
Common Mistakes and How to Fix Them
Paint is peeling
Cause: inadequate prep or wrong primer. Unfortunately, there is no touch-up fix for widespread peeling — the affected area must be scraped, sanded, reprimed with bonding primer, and repainted. This is why prep matters more than anything.
Visible brush strokes or roller texture
Cause: paint applied too thick, or cheap tools. Sand smooth and recoat thinly with a high-density foam roller. Adding a paint conditioner (like Floetrol for water-based paints) can help paint level out.
Drips and sags
Cause: overloaded brush or roller. Let the drip dry completely, sand it flush, and recoat. Do not try to wipe a wet drip — it makes it worse.
Doors sticking to frames
Cause: reinstalled before full cure, or paint buildup on contact points. Add felt or silicone bumper pads, and if paint has fused surfaces, carefully score the seam with a utility knife.
🛒 Shop This Look:
Uneven sheen
Cause: inconsistent coat thickness or painting in direct heat/sunlight. A final thin, even coat usually resolves it. Paint in moderate temperatures (roughly 60-80°F) for the most even cure.
FAQs
How long does painted laminate really last?
With proper prep and quality materials, 5-7 years of normal kitchen use is realistic. High-touch areas around handles and the stove may need touch-ups sooner. It will not match the durability of factory-finished wood cabinets, but it costs a fraction of replacement.
Can I paint laminate without sanding?
“No-sand” claims usually rely on liquid deglossers or ultra-high-bond primers. A light scuff sand is still the most reliable approach and takes far less time than people fear — an average kitchen’s doors can be scuffed in an afternoon. If you skip sanding, use the best bonding primer available and accept slightly higher risk.
Should I spray or roll?
Spraying gives the smoothest, most professional finish but requires equipment, masking, ventilation, and practice. Rolling with high-density foam rollers gives excellent results for DIYers with far less setup. Either way, thin coats are the rule.
Can I paint just the doors and not the boxes?
You can, but the color and sheen must match the existing boxes or the mismatch will be obvious. This works best when the boxes are already a neutral color in good condition. Most people end up painting everything for a cohesive result.
What sheen should I use on cabinets?
Satin is the most popular — wipeable without being shiny. Semi-gloss is more durable and easier to clean but highlights imperfections. Avoid flat or eggshell on cabinets; they are not scrubbable enough for kitchen duty.
Is it worth hiring a professional?
Professional cabinet painting typically costs a few thousand dollars for an average kitchen. Consider it if your kitchen is large, the laminate is in tricky condition, or you want a sprayed factory finish. DIY saves substantially and is very achievable — just do not rush the prep or the cure time.
When NOT to Paint Laminate
If the laminate is already peeling, bubbling, or delaminating, paint won’t fix it. Replace those doors or consider refacing instead.
Choosing a Color for Painted Laminate
Color choice affects both how much you enjoy the kitchen and how the paint job holds up visually over time.
- White and off-white: timeless, brightens the kitchen, and touch-ups are easy to blend. Shows wear fastest, so keep leftover paint for touch-ups.
- Greige and light gray: forgiving of minor imperfections and everyday grime; the current safe neutral.
- Navy, deep green, charcoal: dramatic and on-trend. Dark colors show dust and chips more visibly on painted laminate, so commit to occasional touch-ups.
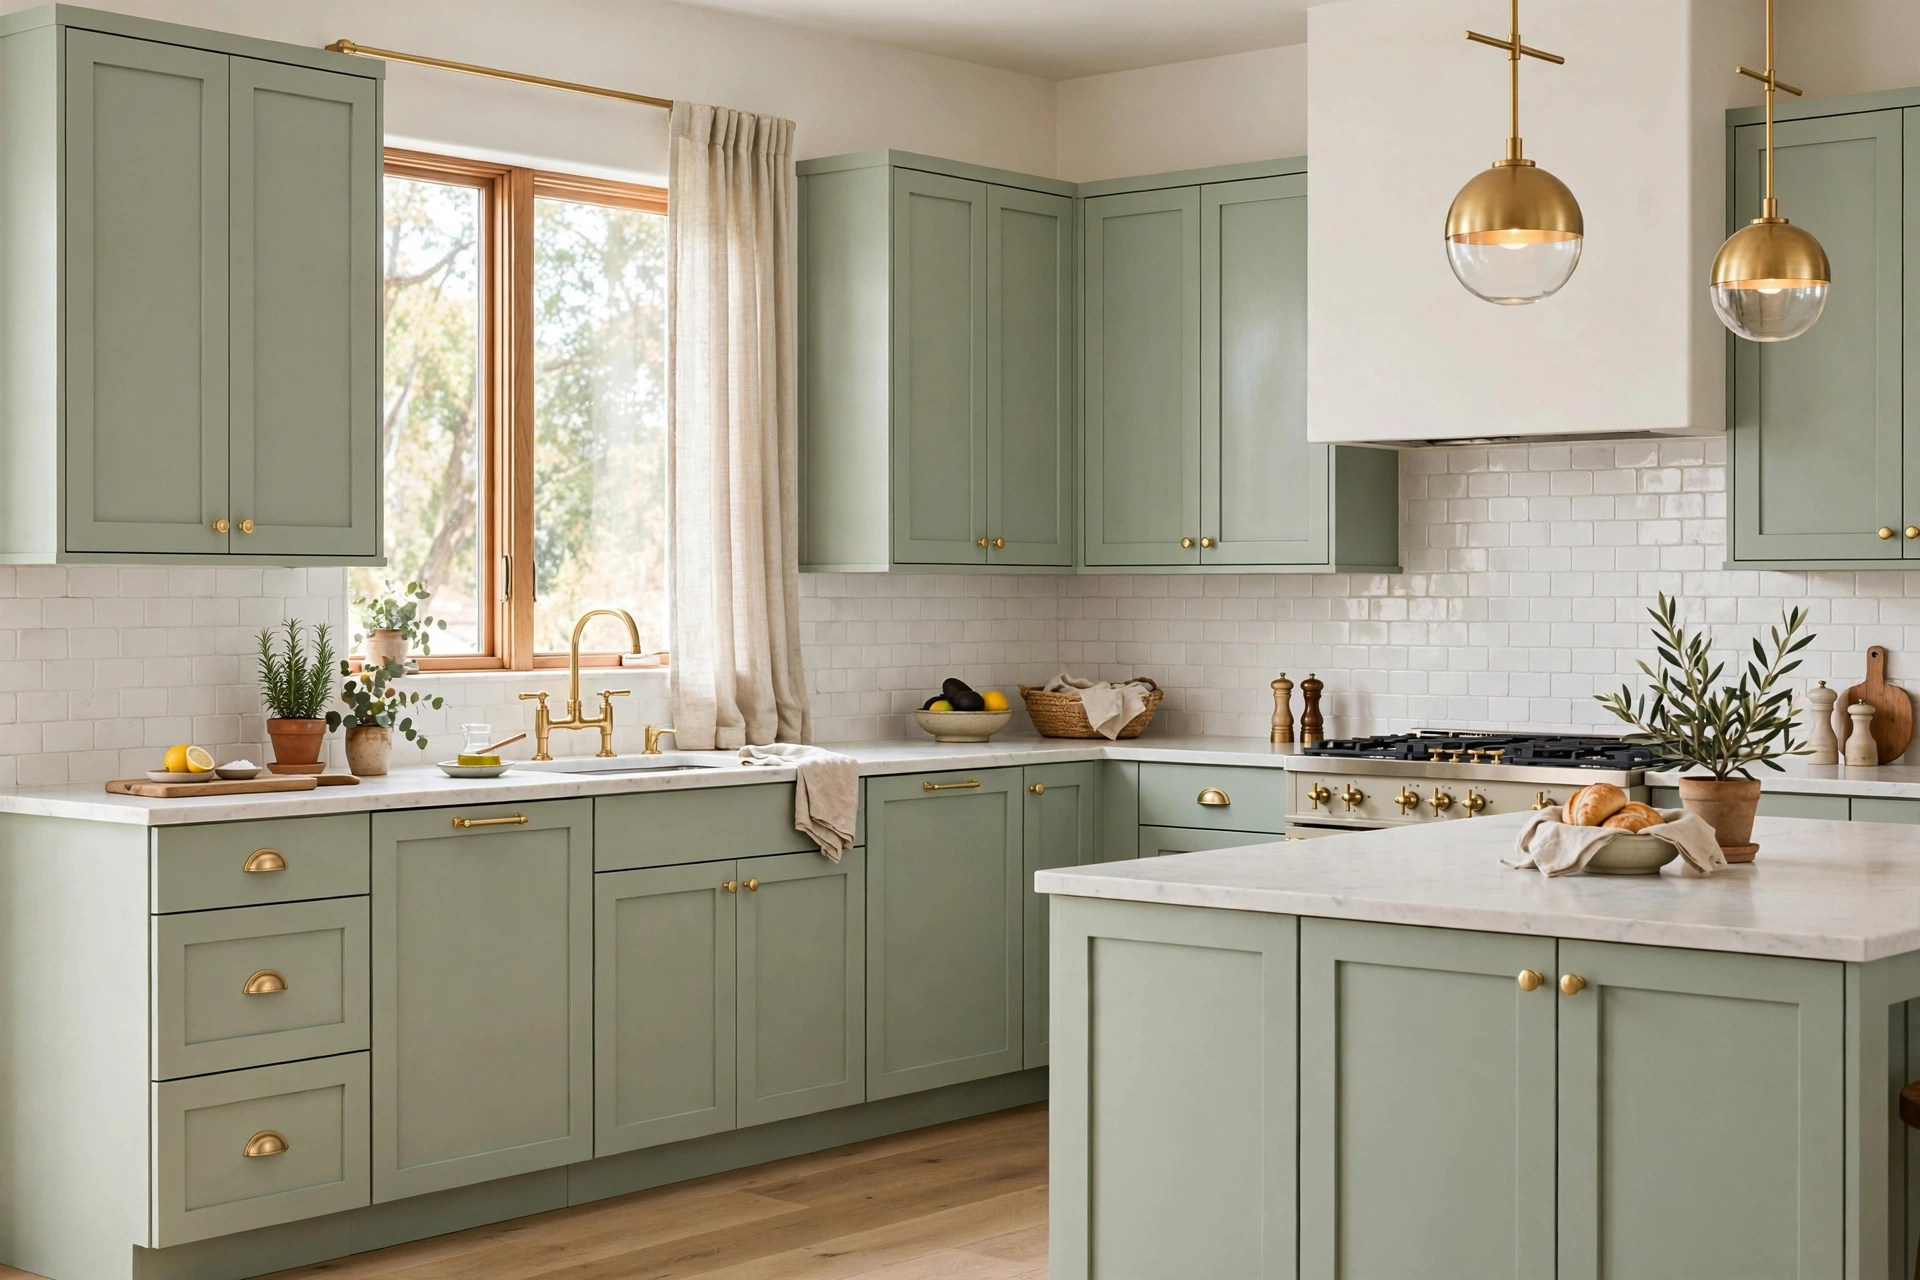
- Two-tone: dark island or lower cabinets with light uppers gives you personality plus practicality — the most-touched lower areas in a forgiving mid-tone, uppers in bright white.
Whatever you choose, test the color on a spare door or an inconspicuous cabinet side first, and view it in your kitchen’s actual lighting morning and evening before committing to gallons.
Maintaining Painted Laminate Cabinets
A painted laminate finish lasts longest with gentle care. Clean with a soft cloth and mild dish soap — never abrasive pads or harsh chemical cleaners, which wear through paint faster on laminate than on wood. Wipe up cooking splatter promptly rather than letting grease bake on. Keep a small jar of your exact paint for touch-ups; dab chips with a fine artist’s brush and they disappear. Check hinges and handles yearly — loose hardware stresses the paint around screw holes. With this light maintenance, your 5-7 year finish can stretch toward the longer end of that range, keeping the kitchen looking fresh far beyond what the project cost.
🛒 Shop This Look:



