
As an Amazon Associate, I earn from qualifying purchases. This means I may earn a commission if you purchase through links on this page — at no extra cost to you.
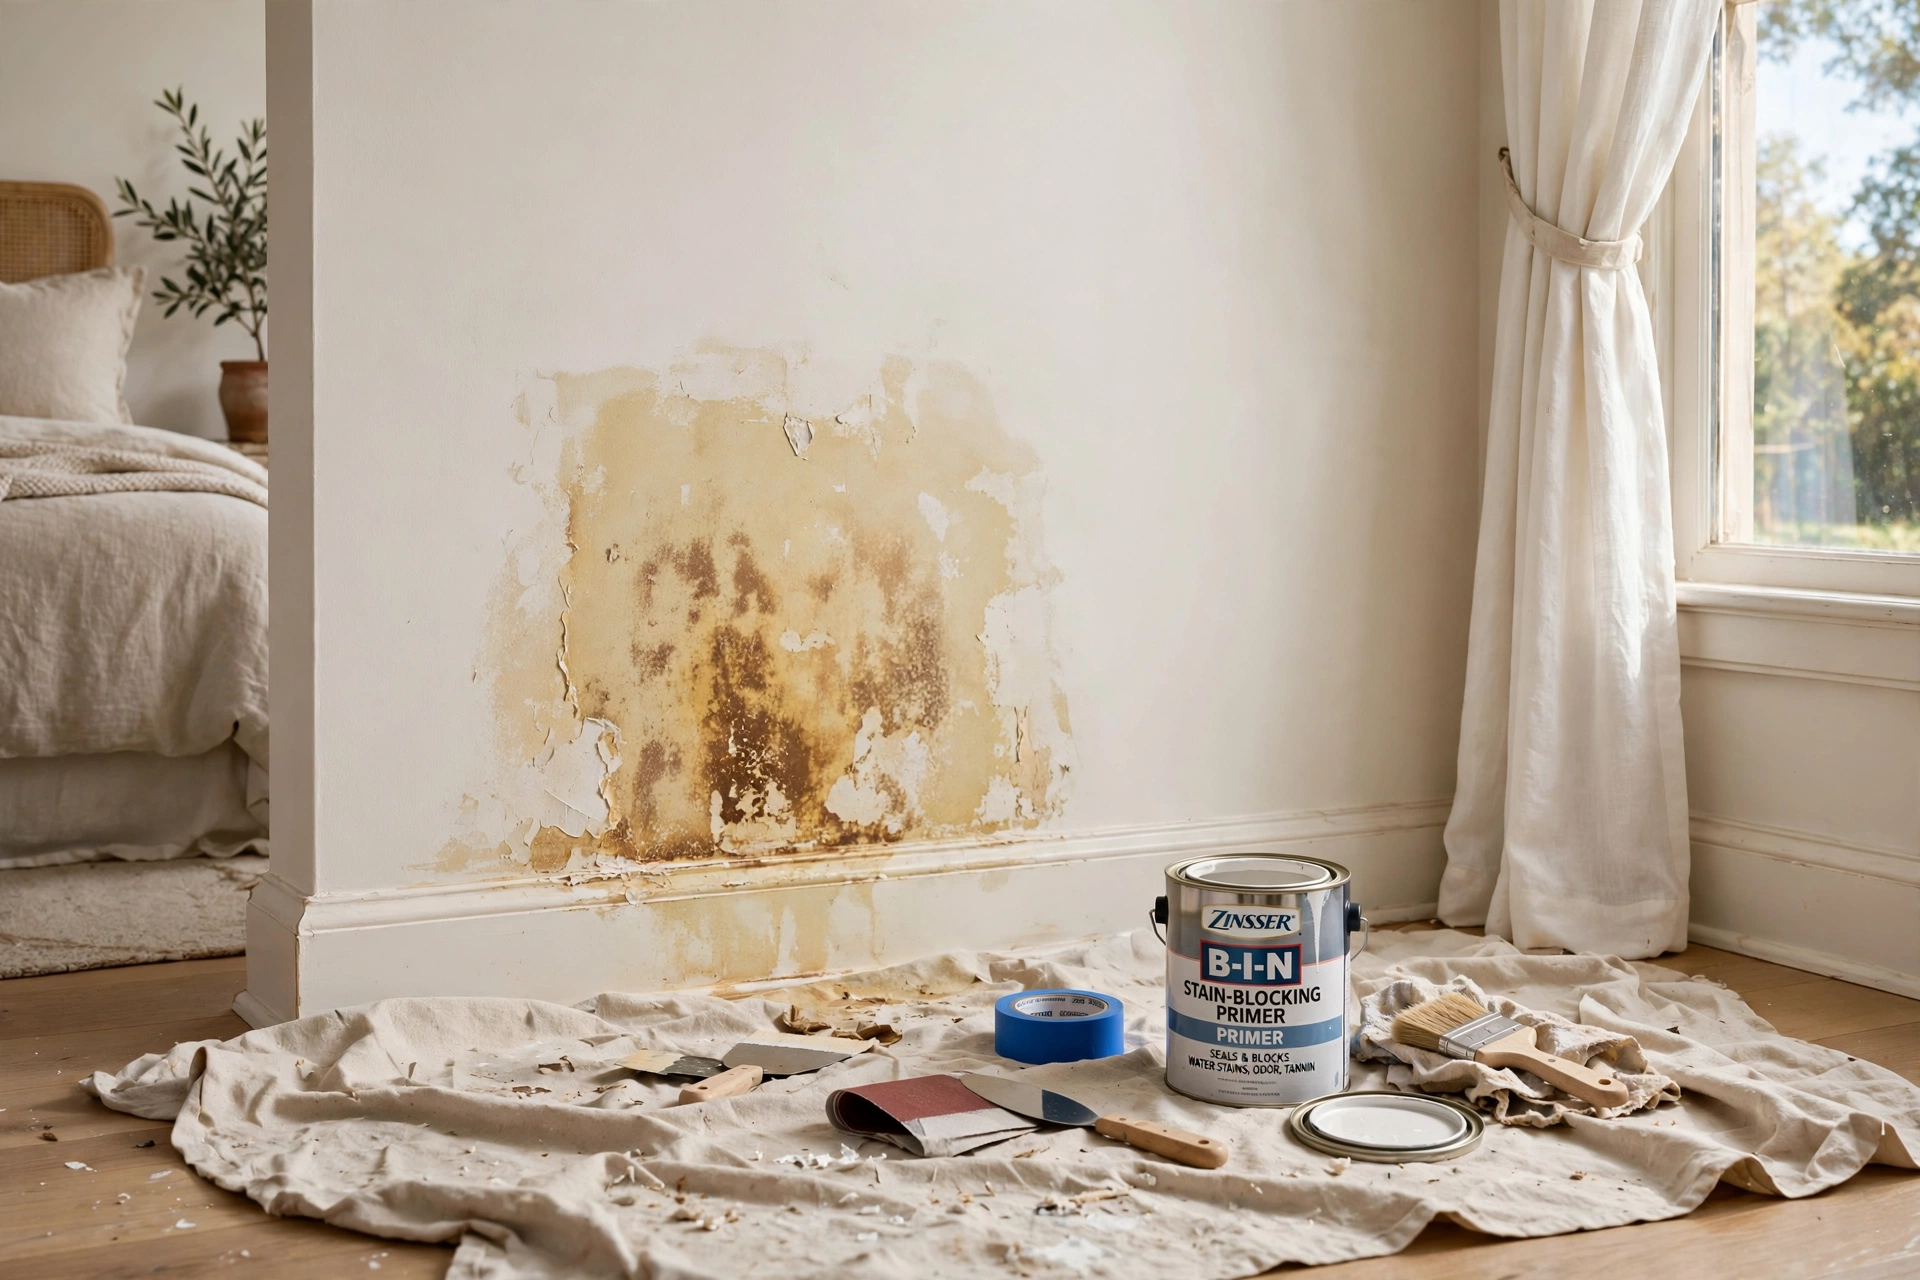
You’re repainting a wall and ugly brown or yellow stains keep bleeding through your fresh paint — water marks, smoke damage, wood tannins, or old nicotine. Regular paint won’t cover these; the stains migrate right through. Here’s how to permanently seal bleed-through stains before your topcoat.
Identify Your Stain Type
Water stains: Brownish rings or blotches, often with a defined edge. Must ensure the leak is fixed first — no primer stops active water.
Nicotine/smoke: Yellowish-brown film, often worse near ceilings. Has an odor. Requires thorough cleaning before priming.
Wood tannins: Pinkish-brown bleed from knots or redwood/cedar. Common when painting wood paneling or trim.
Rust: Orange-brown around nail heads or metal. Needs rust-inhibiting treatment.
Ink/marker: Dark lines that ghost through multiple coats of regular paint.
Step 1: Clean Thoroughly
For nicotine and smoke: Wash walls with TSP substitute or a degreasing cleaner. Rinse well. For water stains: Ensure completely dry (use a moisture meter if unsure — readings should be below 16%). For all stains: A clean surface gives primer the best adhesion.
Step 2: Choose the Right Primer
Shellac-based primer (Zinsser BIN): The nuclear option. Seals everything — water stains, nicotine, tannins, odors. Dries in 45 minutes. Strong fumes; ventilate well. This is what professionals reach for when nothing else works.
Oil-based primer (Zinsser Cover Stain): Excellent for water stains and tannins. Longer dry time (2 hours) but very effective. Good adhesion to glossy surfaces.
Stain-blocking latex (Zinsser Bulls Eye 1-2-3): Works for mild stains. Easier cleanup (water-based) but may need two coats for stubborn bleed-through. Not sufficient for heavy nicotine or tannins.
Step 3: Apply Correctly
Spot-prime the stain first, extending 2-3 inches beyond the visible edge (stains often extend further than they appear). Let dry completely. Then prime the entire wall for uniform absorption — spot-primed areas can flash through the topcoat if you don’t. Apply two finish coats of quality paint.
Why Stains Bleed Through: The Science in Plain English
Understanding why bleed-through happens makes every fix more effective, because you stop treating the symptom (the visible stain) and start treating the mechanism (migration). Standard latex paint forms a porous film as it dries — microscopically, it is more like a sponge than a sheet of glass. Water-soluble stain compounds (tannins from wood, nicotine residue, water-mark minerals) dissolve into any moisture present and wick upward through that porous film toward the surface, exactly like coffee wicking up a paper towel. Each coat of regular paint just gives the stain a fresh porous layer to travel through, which is why the stain reappears in the same shape every time.
Stain-blocking primers work by a completely different mechanism: they form a non-porous, sealed film that migrating compounds cannot pass through. Shellac-based primers are the most impermeable — shellac resin seals so completely that it blocks water-soluble stains, oil-soluble stains, and odors simultaneously. Oil-based primers seal well against most stains but remain slightly permeable to the most aggressive ones (heavy nicotine, knot tannins). Standard latex primers are porous like paint, which is why they fail against bleed-through despite being called “primer.”
🛒 Shop This Look:
This is also why the stain often looks worse after the first coat of paint than before. Wet paint re-dissolves the stain compounds and gives them a fresh vehicle for migration — the paint literally feeds the stain a ride to the surface. If you have already painted over a stain and watched it return, you have seen this mechanism in action. The fix is not more paint; it is a sealer coat between the stain and the paint.
Surface Preparation: The Step Everyone Skips
Primer adheres to the surface you give it, so preparation determines whether the whole job holds. Start by removing anything loose: scrape flaking paint, sand rough edges smooth, and fill holes or cracks with spackle (walls) or wood filler (trim). A stain-blocking primer cannot bridge a crumbling surface — seal the stain, yes, but give the primer something sound to grip.
Degloss glossy surfaces. Stain-blocking primers — especially shellac-based — adhere well to most surfaces, but a glossy oil-painted trim or varnished paneling still benefits from a quick scuff-sand with 150-grit paper. You are not trying to remove the old finish, just to break the gloss so the primer has microscopic texture to bite into. Wipe away all sanding dust with a damp cloth or tack cloth afterward; dust under primer becomes bumps under paint.
For nicotine and smoke damage, cleaning is not optional preparation — it is half the job. Wash walls top to bottom with a TSP substitute or degreasing cleaner, working in sections and rinsing before the dirty solution dries back onto the wall. Heavy nicotine may need two passes. You will know you are done when the rinse water runs clear and a white cloth wiped on the wall stays white. Priming over uncleaned nicotine film traps the contamination under the primer, where it continues to off-gas odor and can eventually compromise adhesion.
For water stains, verify dryness before doing anything. Press the area firmly — soft or spongy drywall means the material itself is damaged and needs cutting out and patching, not priming. For intact but stained drywall, a moisture meter reading below 16% confirms it is dry enough. Painting over damp drywall seals moisture in, which grows mold behind your fresh paint — a far worse problem than the stain.
Special Cases: Knots, Ceilings, Crayon, and Masonry
Bleeding knots in wood: Knots concentrate tannins and resin, and they bleed aggressively — often pushing through even oil-based primer. Spot-prime each knot with shellac-based primer (two coats, letting the first dry fully), extending slightly beyond the knot. For new pine paneling or trim with many knots, prime every knot individually before the full prime coat. This is tedious and non-negotiable; skipped knots will announce themselves within months.
Water stains on ceilings: Ceilings show every flaw because of raking light, and water stains on ceilings usually mean a roof or plumbing leak above. Fix the leak, verify dryness, then spot-prime with shellac-based primer — ceilings are the highest-visibility surface for bleed-through, so use the strongest sealer. Note that ceiling paint is flat and shows flashing (sheen differences) badly, so after spot-priming, roll the entire ceiling with primer for uniformity before topcoating.
Crayon, marker, and ink: Wax-based crayon repels water-based primer — the primer beads up instead of adhering. Wipe crayon marks with mineral spirits first to remove the wax, then prime. Permanent marker and pen ink are dye stains that ghost through multiple paint coats; shellac-based primer seals them in one coat where latex primer might need three.
🛒 Shop This Look:
Stains on masonry and concrete: Efflorescence (white mineral deposits) and rust stains on concrete or brick need a masonry-specific approach: clean with a masonry cleaner, let dry thoroughly, and use a primer rated for masonry. Standard wood/drywall stain blockers do not bond properly to alkaline masonry surfaces.
Pet stains on subfloor: If you are repainting or refinishing floors and find pet urine stains on the subfloor, seal them with shellac-based primer before laying new flooring — this locks in both the stain and the odor. Skipping this step means the smell returns every humid summer.
Topcoat Tips for a Flawless Finish Over Primer
Stain-blocking primers — especially shellac-based — do not sand or topcoat like normal primer, so adjust your technique. Shellac primer dries fast (about 45 minutes) but stays slightly tacky-feeling and has a strong odor; ventilate well and do not judge dryness by touch alone. It also dries with a rougher texture than latex primer. Lightly sand the primed area with 220-grit paper after it dries to knock down the texture, then wipe clean — your topcoat will go on far smoother.
Apply two finish coats, always. The first topcoat over stain-blocking primer can look uneven — shellac primer is white and chalky, oil primer is off-white, and both absorb the first coat differently than bare drywall does. The second coat evens everything out. This is not the place to stretch one coat; the entire point of the job is a uniform, sealed surface.
Watch for flashing: spot-primed areas can show through the topcoat as dull or shiny patches if the surrounding wall was not primed. The prevention (priming the whole wall after spot-priming, from Step 3 above) is better than the cure, but if flashing appears, one more full coat of quality paint over the entire wall usually resolves it. Using a paint-and-primer-in-one product as your topcoat adds extra sealing insurance on stain-prone walls.
Keep leftover primer labeled and stored properly. Shellac-based primer has a shorter shelf life than latex (roughly a year once opened, less in heat), and a dried-out can discovered mid-project means a hardware store run. Write the purchase date on the lid.
Preventing Future Bleed-Through
The best stain repair is the one you never need. A few habits prevent most bleed-through scenarios: fix roof and plumbing leaks at the first sign — a small water stain sealed promptly is a 30-minute job, while one left for a year can mean replacing drywall. Run bathroom exhaust fans during and after showers to prevent the moisture damage that later bleeds through paint. When painting new wood, especially pine and cedar, prime knots with shellac-based primer as a matter of routine, even if they are not currently bleeding — prevention is one quick coat now versus a full repair later.
In homes with smokers (or purchased from smokers), assume every wall needs the full nicotine protocol — cleaning plus shellac-based primer — before repainting, even walls that look clean. Nicotine film is often invisible until fresh paint’s moisture reactivates it, at which point yellow-brown ghosting appears through your new color. Treating it as a given rather than a surprise saves an entire repaint.
Finally, keep a small kit: a quart of shellac-based primer, a brush, and sandpaper. Most bleed-through starts as a small spot — a knot waking up, a minor leak mark, a scuff of marker. Sealing it the week it appears takes twenty minutes. Waiting until repainting day turns it into a project.
When to Call a Professional
If stains cover large areas, if there’s mold (not just staining), or if the cause is structural (ongoing leak, chimney issues), get professional assessment. Sealing over an active problem just hides it temporarily.
🛒 Shop This Look:



