
As an Amazon Associate, I earn from qualifying purchases. This means I may earn a commission if you purchase through links on this page — at no extra cost to you.
Yes — beginners can absolutely do DIY wall treatments, and some of the most popular ones are genuinely beginner-friendly. Peel-and-stick wallpaper, stencils, and limewash are excellent first projects that need little more than patience and basic tools, while board and batten or shiplap take a bit more skill but are still very learnable with a free weekend and a YouTube tutorial. The key is picking the right treatment for your skill level.
Difficulty Ratings for 8 Popular DIY Wall Treatments
Here is an honest difficulty rating for the treatments beginners ask about most, on a scale from 1 (anyone can do this today) to 5 (plan carefully, borrow tools, and practice first).
1. Peel-and-Stick Wallpaper — Difficulty 1/5
The easiest wall treatment there is. There is no paste, no water tray, and no professional installer needed. You unroll the paper, stick the top edge in place, and smooth downward with a squeegee or credit card. Mistakes peel right back off, which makes it extremely forgiving. Expect to spend about 2–3 hours on one accent wall.
2. Stencils — Difficulty 1/5
Stenciling is basically painting with a guide. You position the stencil, apply paint with a dense foam roller or stencil brush using very light coats, and repeat. The only real skill is learning not to overload the brush — thin coats prevent paint bleeding under the stencil. It is slow but nearly foolproof, making it ideal for renters and first-timers.
3. Limewash Paint — Difficulty 2/5
Limewash looks fancy but is genuinely forgiving. The finish is supposed to be cloudy and textured, so visible brush strokes and overlap marks are part of the look, not flaws. You apply it in random crisscross motions with a large block brush. The main challenge is working fast enough that wet edges blend before drying.
4. Textured Paint (Rollers and Techniques) — Difficulty 2/5
Textured paint — applied with textured rollers, rag rolling, or sponging — sits firmly in beginner territory. It is regular painting with a fun tool, and the texture hides minor wall imperfections that would show through a flat finish. Keep a “wet edge” (work continuously across the wall without letting sections dry between roller passes) and you will get a professional-looking result.
5. Picture-Frame Molding — Difficulty 2.5/5
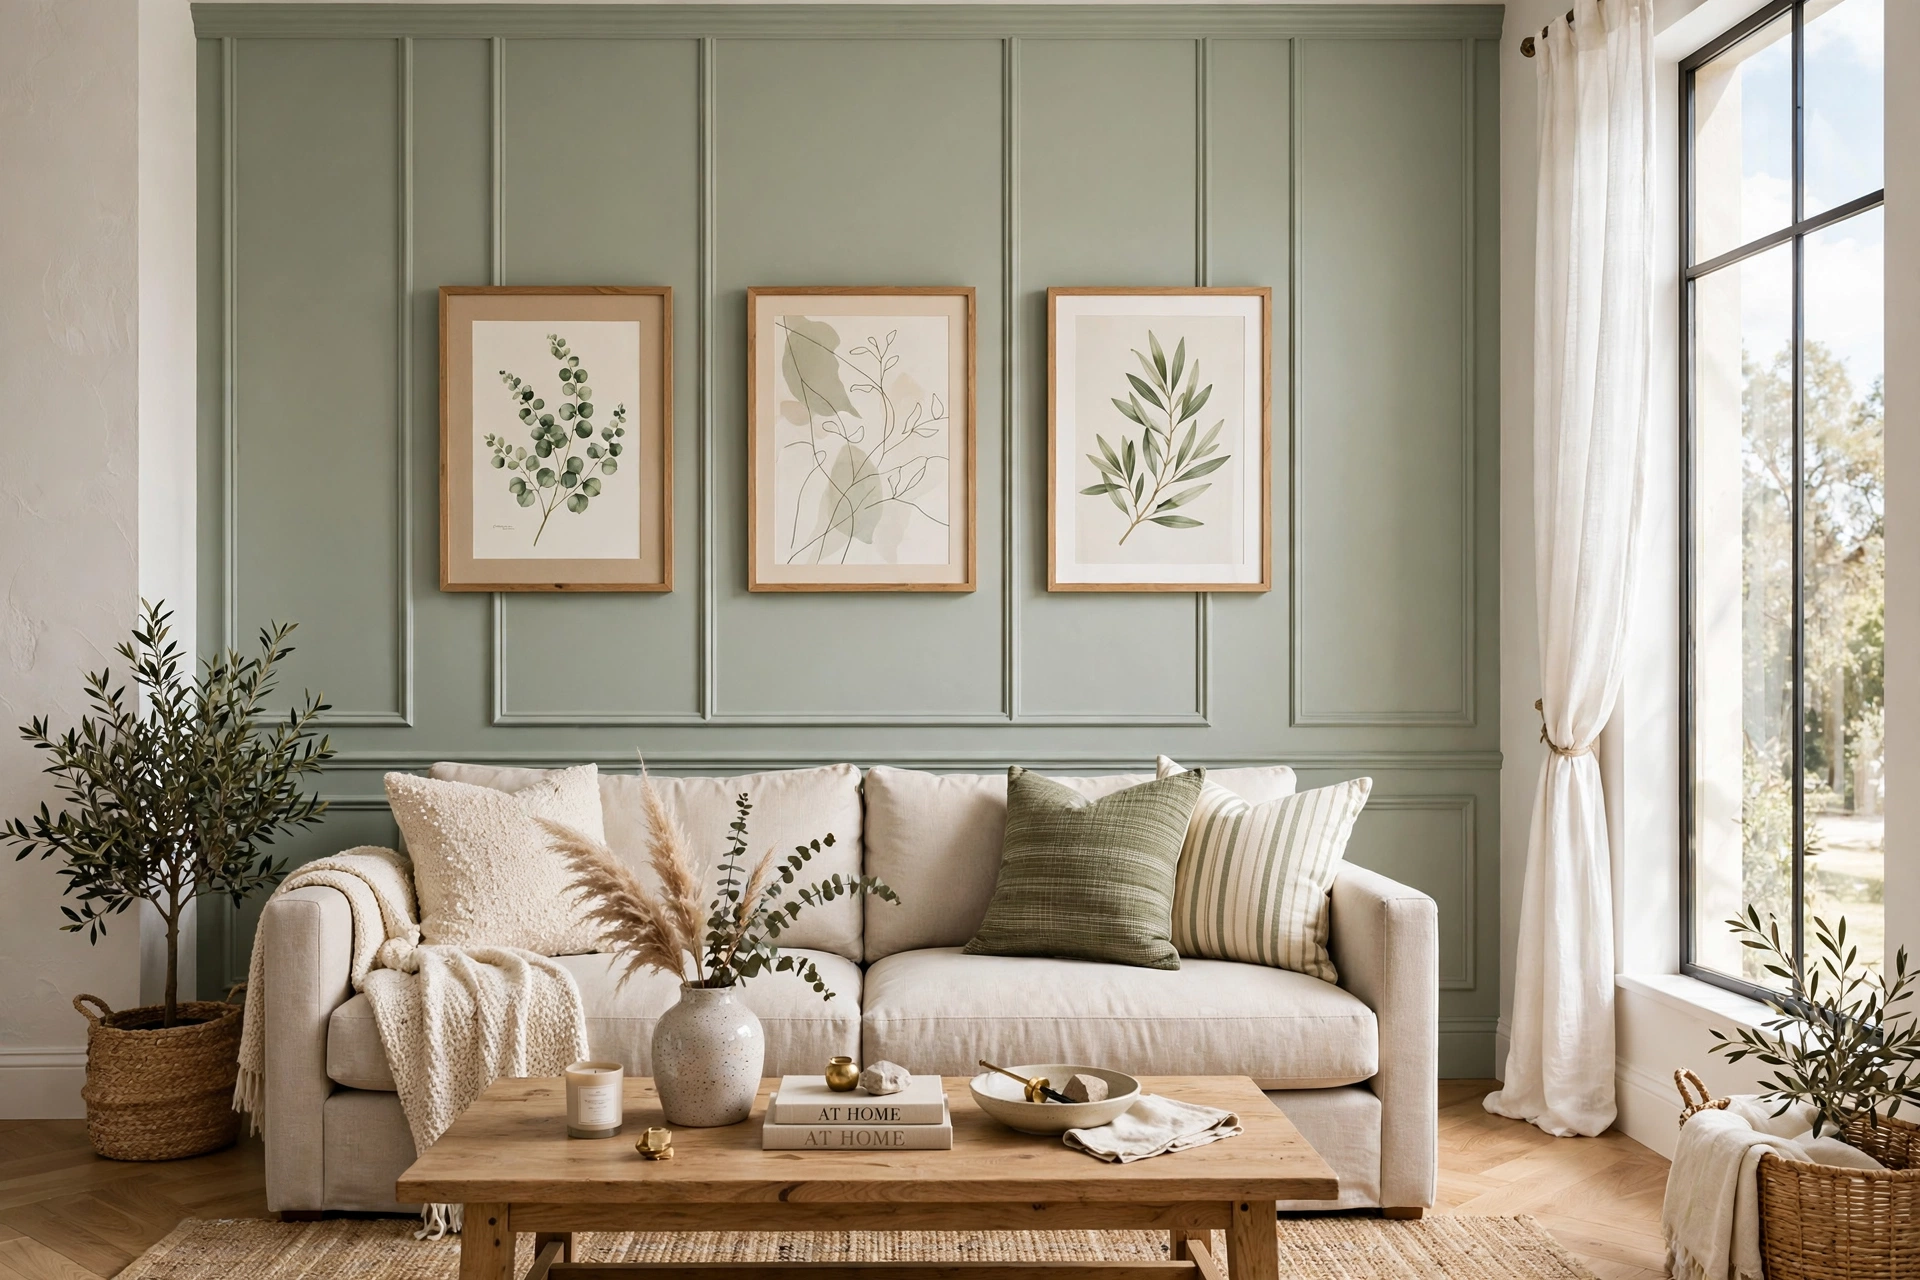
Picture-frame molding (gluing decorative trim rectangles to the wall in a grid pattern) looks high-end but involves mostly measuring, cutting straight pieces, and attaching them with adhesive or a brad nailer. The hardest part is cutting clean 45-degree miters at the corners. A cheap miter box and handsaw handle this fine — you do not need a power saw for your first attempt.
🛒 Shop This Look:
6. Board and Batten — Difficulty 3/5
Board and batten is the most beginner-friendly of the “real woodwork” treatments. It is essentially vertical strips of inexpensive trim board nailed over the wall in a pattern, usually painted to match the wall. You need to cut boards to length, keep everything level, and caulk the seams — all learnable skills. Plan for a full weekend on your first wall.
7. Shiplap — Difficulty 3.5/5
Shiplap panels (real or faux) interlock horizontally and are nailed to the wall. It is more demanding than board and batten because every row must be perfectly level — one crooked row shows up everywhere above it. You will also need to handle outlets and awkward corners. Many beginners succeed, but read up on leveling techniques first.
8. Wainscoting — Difficulty 4/5
Traditional wainscoting combines a chair rail, lower panels or molding, and sometimes beadboard. It is the hardest on this list for beginners because it demands precise measuring, multiple miter cuts, and fitting pieces around trim and baseboards. It is doable as a second or third project, but it is not the best place to start.
Tools You Will Need
The good news: most wall treatments need a surprisingly small toolkit. Here is the core set that covers the first six treatments on this list:
- Measuring tape and pencil — measure twice, cut once applies to everything.
- Level (at least 24 inches) — crooked lines ruin the whole effect.
- Painter’s tape — for clean paint edges and marking layouts.
- Utility knife and straight edge — cutting wallpaper, scoring, trimming.
- Paint rollers, brushes, and trays — your main paint supplies.
- Smoothing squeegee — for wallpaper and vinyl applications.
- Miter box and handsaw — for cutting trim and molding pieces.
- Caulk and caulk gun — fills gaps between trim and wall for a clean finish.
- Stud finder — worth having before nailing anything into walls.
Power tools you may want eventually but do not need on day one: a brad nailer (you can use a hammer and finish nails instead), a power miter saw, and a jigsaw.
Best Beginner Picks (Start Here)
If you have never done a wall treatment before, start with one of these three:
- Peel-and-stick wallpaper — the fastest win. Do one accent wall in an afternoon and see if you enjoy the process.
- A stencil — cheapest entry point; a quality stencil, a roller, and a sample pot of paint cost very little.
- Limewash — the most forgiving paint finish, and it looks far more expensive than it is.
Once you are comfortable with one of these, step up to picture-frame molding or board and batten. Save shiplap and full wainscoting for when you have finished one simpler woodwork project — your measurements and cuts will be far better by then.
🛒 Shop This Look:
Tips That Make the Difference
- Prep the wall properly. Clean it, fill holes with spackle, and sand smooth. Most treatment failures are really prep failures.
- Start on a small wall. A powder room or hallway wall lets you learn without committing a whole weekend.
- Buy 10–15% extra material. Mistakes and pattern matching eat more than you expect, and running out mid-project is the classic beginner frustration.
- Watch one full tutorial before starting. Seeing someone else do the whole process once saves more time than it takes.
The Most Common Beginner Mistakes (and How to Sidestep Them)
Beginners rarely fail because a treatment is too hard — they fail because of a handful of predictable, avoidable errors. Knowing these in advance is worth more than any tool upgrade:
- Skipping wall prep. Applying wallpaper over dusty walls, trim over unsanded bumps, or paint over greasy patches guarantees adhesion problems. Thirty minutes of cleaning, spackling, and sanding prevents the most common failure mode across every treatment type.
- Measuring the wall but not the obstacles. Outlets, light switches, vents, and thermostats interrupt every treatment. Plan around them before you start: decide whether trim dies into the obstacle’s edge or gets notched around it, and mark outlet positions on wallpaper before smoothing it down.
- Starting on the most visible wall. Your skills improve dramatically between the first hour and the third. Start on a secondary wall — a hallway, a bedroom corner — so the learning curve happens where fewer eyes land.
- Buying exactly enough material. Pattern matching, miscuts, and breakage consume more than expected. The 10–15% overage rule exists because running out mid-project means a second trip, a possible dye-lot mismatch, and a stalled weekend.
- Working too slowly with fast-drying products. Limewash, textured finishes, and wallpaper paste all have working windows. Read the product’s open time before starting, and arrange your workflow — cut pieces, stage tools, clear the area — so you can work continuously once you begin.
- Ignoring the room’s conditions. High humidity slows drying and weakens wallpaper adhesive; cold rooms make paint thick and hard to level; direct sun dries one section while you are still working the next. Aim for moderate temperature and humidity, and avoid painting a wall that is in direct afternoon sun.
Realistic Time and Cost Expectations
Knowing what a project actually demands prevents the two classic beginner frustrations: running out of weekend and running out of budget. All figures below are approximate for a single standard accent wall (roughly 8×10 feet):
- Peel-and-stick wallpaper: 2–4 hours, approximately $80–$200 in materials depending on the paper quality and pattern.
- Stenciling: 4–8 hours (it is slow, repetitive work), approximately $30–$80 for a quality stencil, paint, and tools.
- Limewash: 3–5 hours plus drying time between coats, approximately $60–$120 for specialty limewash paint and a block brush.
- Picture-frame molding: One full day including paint, approximately $100–$250 for trim, adhesive or nails, caulk, and paint.
- Board and batten: A full weekend for a first-timer, approximately $150–$350 depending on wood choice and wall size.
These estimates assume you already own basic tools (tape measure, level, utility knife). Your first attempt at any treatment will take roughly 50% longer than these figures — that is normal, not failure.
Renter-Friendly vs. Permanent: Choose for Your Situation
Your housing situation should influence your choice as much as your skill level. Fully removable options — peel-and-stick wallpaper, stencils (paint over them when you leave), and limewash (paints over easily) — are the natural renter picks. Picture-frame molding attached with construction adhesive is semi-permanent: removable with effort and wall repair. Board and batten, shiplap, and wainscoting involve nails or screws and patching on move-out, making them better suited to homeowners or long-term renters with landlord approval. When in doubt, ask your landlord before attaching anything structural — many approve cosmetic upgrades that improve the property, especially if you offer to leave them in place.
Frequently Asked Questions
What is the absolute easiest wall treatment for a total beginner?
Peel-and-stick wallpaper on a single flat accent wall. There is no wet paste, no drying window to manage, and mistakes peel off and reposition. If you can smooth a screen protector onto a phone, you have the core skill.
Do I need power tools for board and batten?
No. A miter box and handsaw cut trim perfectly well for a first project — it just takes longer. A brad nailer speeds things up enormously and is worth borrowing, but a hammer and finish nails work. Do not buy a power miter saw for your first wall treatment; rent or borrow one if you outgrow the handsaw.
How do I handle outlets and light switches?
Turn off the breaker, remove the cover plates, and work around the boxes — wallpaper gets smoothed over them then trimmed with a utility knife; trim pieces butt against the box edges and get caulked. Replace the cover plates when done (or upgrade to new ones — they are inexpensive and make the finished project look far more professional).
Will a wall treatment damage my walls?
Properly installed treatments on properly prepped walls cause minimal damage. Peel-and-stick products are designed to remove cleanly; nailed trim leaves small holes that spackle fills invisibly. The damage risk comes from poor removal technique (ripping instead of heating/peeling slowly) or from applying treatments over already-damaged walls.
The honest truth: DIY wall treatments are one of the highest-impact, lowest-cost upgrades you can make, and the beginner-friendly options are genuinely beginner-friendly. Pick a simple one, prep properly, and go for it — your walls will thank you.
🛒 Shop This Look:



