
As an Amazon Associate, I earn from qualifying purchases. This means I may earn a commission if you purchase through links on this page — at no extra cost to you.
After sorting through hundreds of home ideas, these stood out. Each one brings something different — a fresh color combination, a clever layout trick, or a styling detail that elevates the whole space.
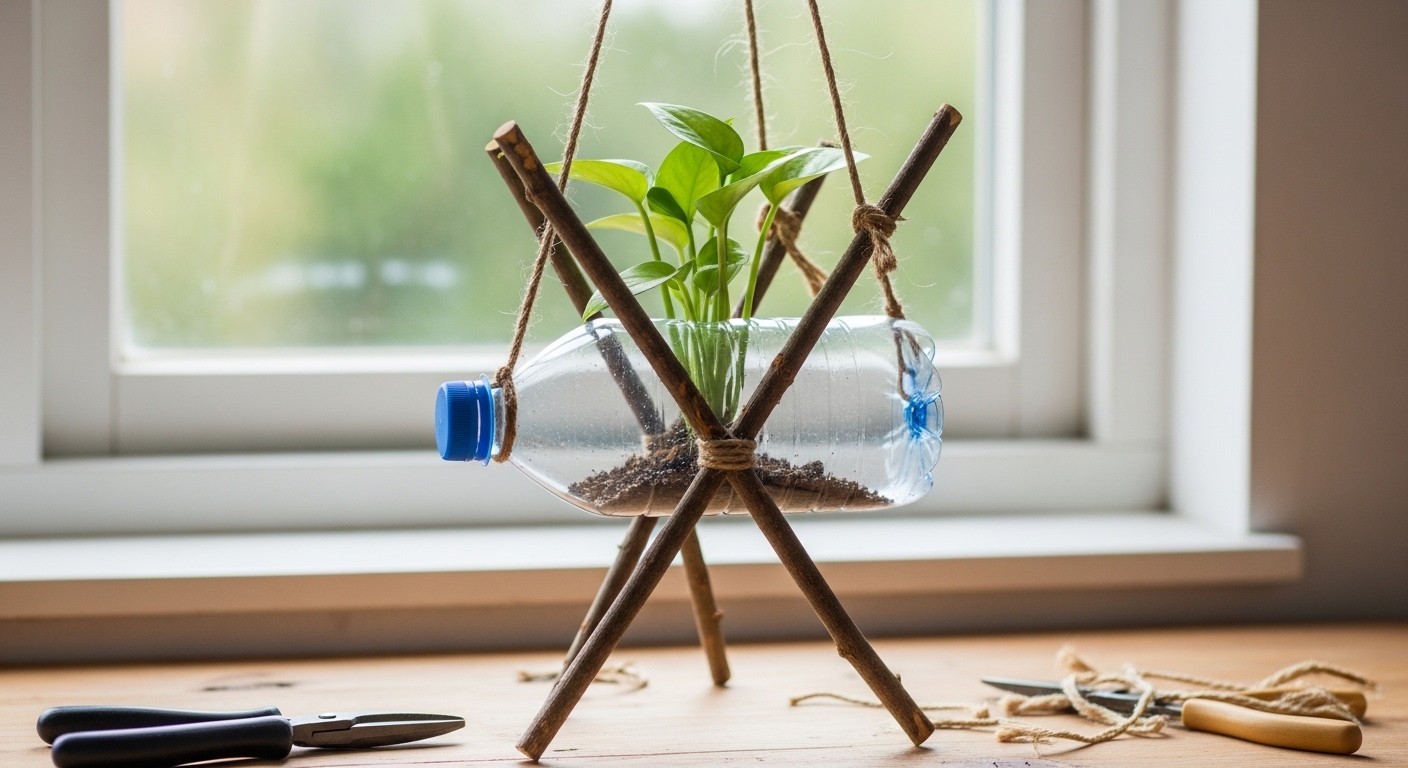
This project is beginner-friendly and requires minimal tools. It works well for balconies, windows, or even indoor corners where space is limited. Each step focuses on clear instructions to ensure your planter turns out sturdy and visually appealing.
Materials Needed
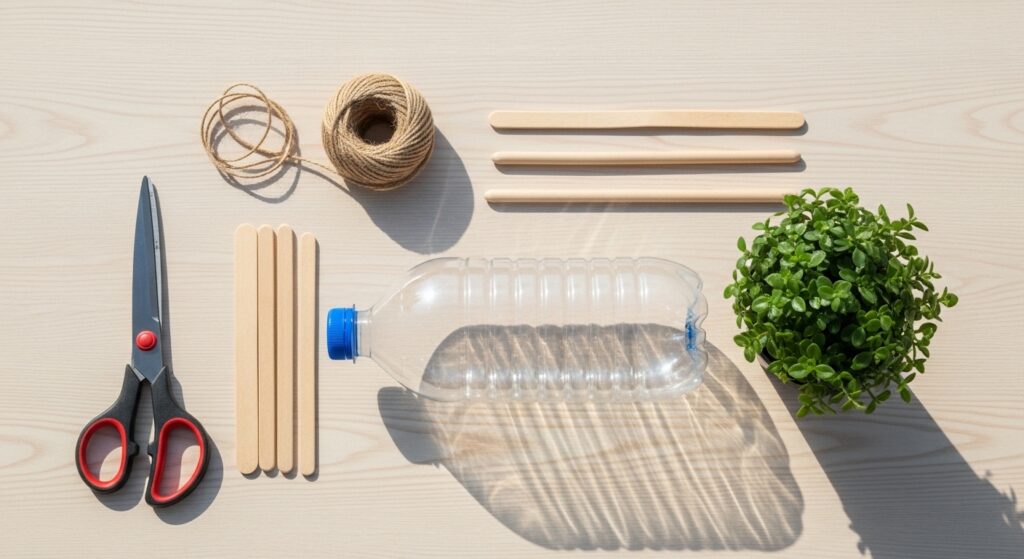
You will need a medium-sized plastic bottle, four to six straight sticks of similar thickness, strong twine or string, scissors or a cutter, and a small plant. Choose a firm bottle that can hold soil without collapsing, and make sure sticks are long enough to provide support while hanging.
Clean and dry the bottle completely before starting. Remove labels and residue so the surface is ready for assembly. Having all materials prepared first makes the process smooth and prevents mistakes.
Step 1: Cutting the Bottle Properly
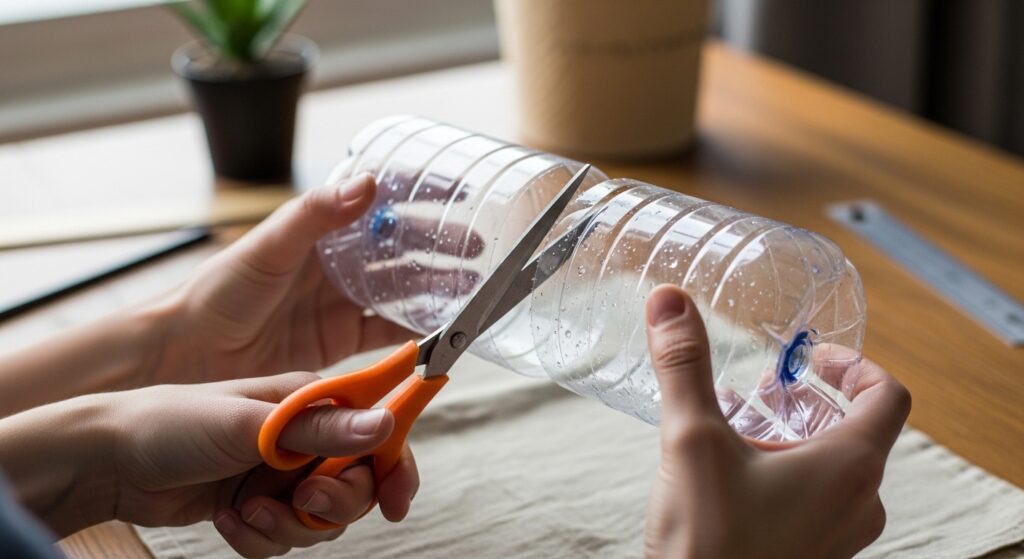
Start by marking a horizontal opening on the plastic bottle. The opening should be large enough to hold soil and the plant comfortably. Cut slowly and carefully to maintain smooth and even edges.
Leave enough material at the bottom to securely hold soil. Trim or sand sharp edges if needed to prevent scratches. A clean cut improves safety and ensures the planter looks neat.
Step 2: Making Drainage Holes
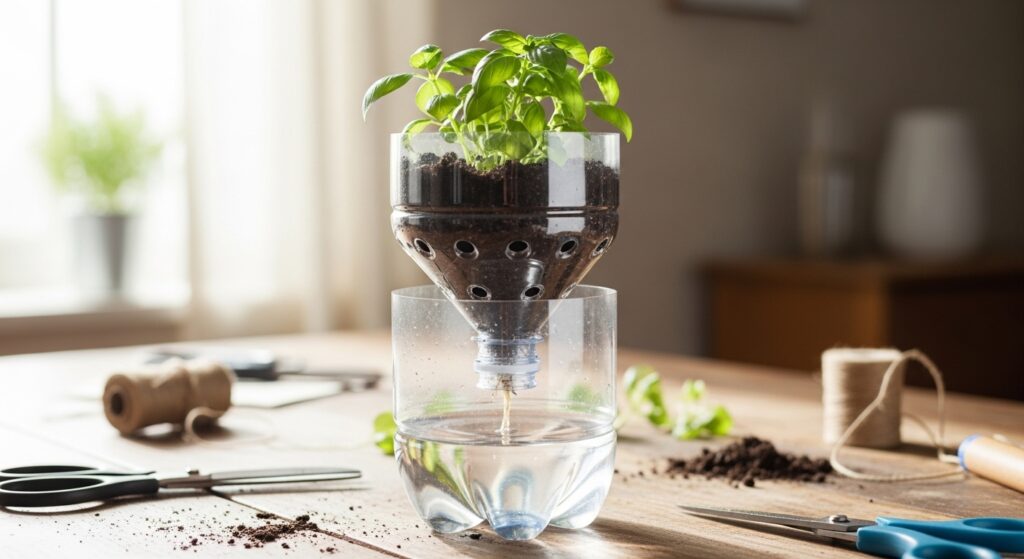
Create three to five small holes at the base of the bottle for water drainage. Proper drainage prevents root rot and keeps plants healthy.
Space the holes evenly across the bottom. This helps water escape effectively and ensures that soil doesn’t pool at one side, keeping the plant stable and happy.
Step 3: Preparing the Wooden Stick Frame
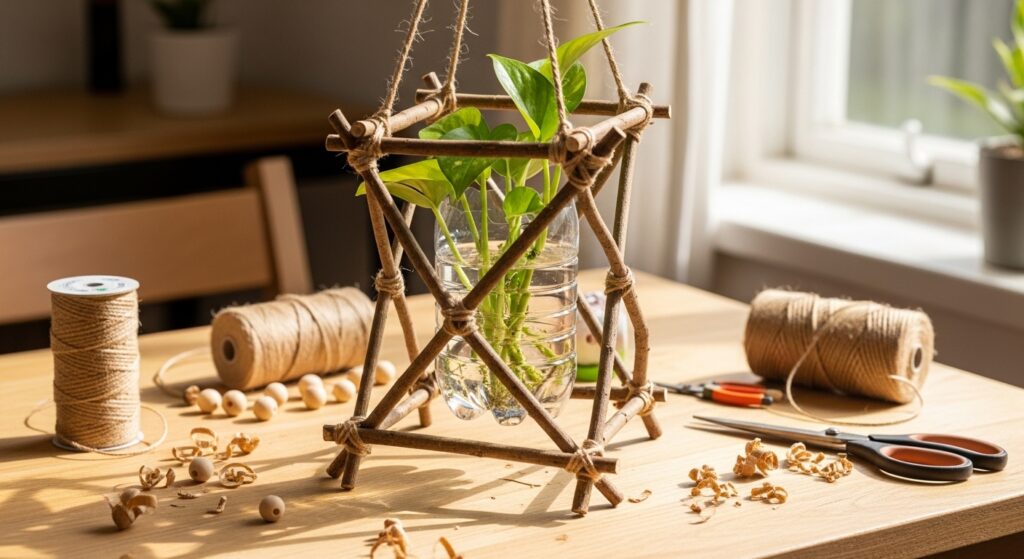
Arrange sticks around the bottle to form a frame that supports and balances the planter. The sticks should extend slightly above and below the bottle for stability.
Measure and cut sticks to equal lengths so the frame is symmetrical. Proper spacing ensures the planter hangs evenly and doesn’t tilt when filled with soil.
🛒 Shop This Look:
Step 4: Attaching the Sticks Securely
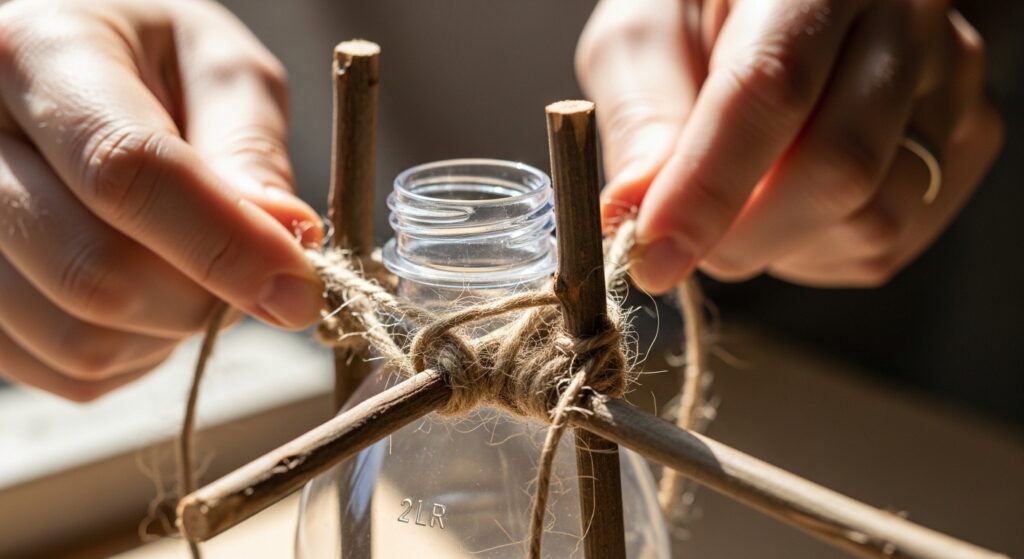
Use twine or string to tie the sticks tightly to the bottle. Wrap the string multiple times around each connection point to make sure the sticks stay in place.
Secure knots firmly, but keep them neat. Strong attachment prevents the frame from slipping once soil and plants are added, ensuring a safe and sturdy planter.
Step 5: Creating the Hanging Support
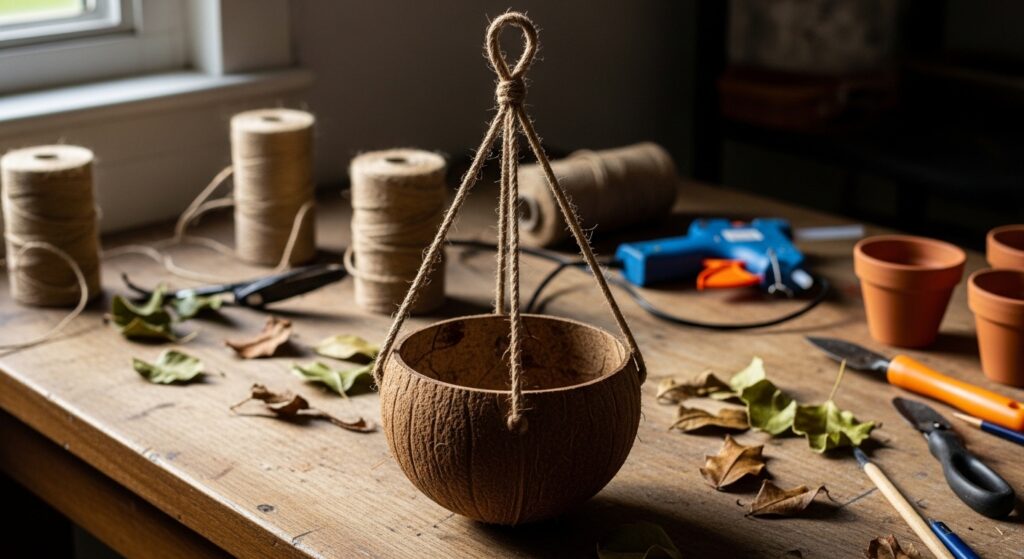
Attach two or three strings evenly around the top of the planter. Gather the strings together and tie a strong knot to form the hanging loop.
Check that the strings are of equal length so the planter hangs straight. Testing balance before adding soil ensures the planter won’t tilt and maintains a clean look.
Step 6: Adding Soil and Plants
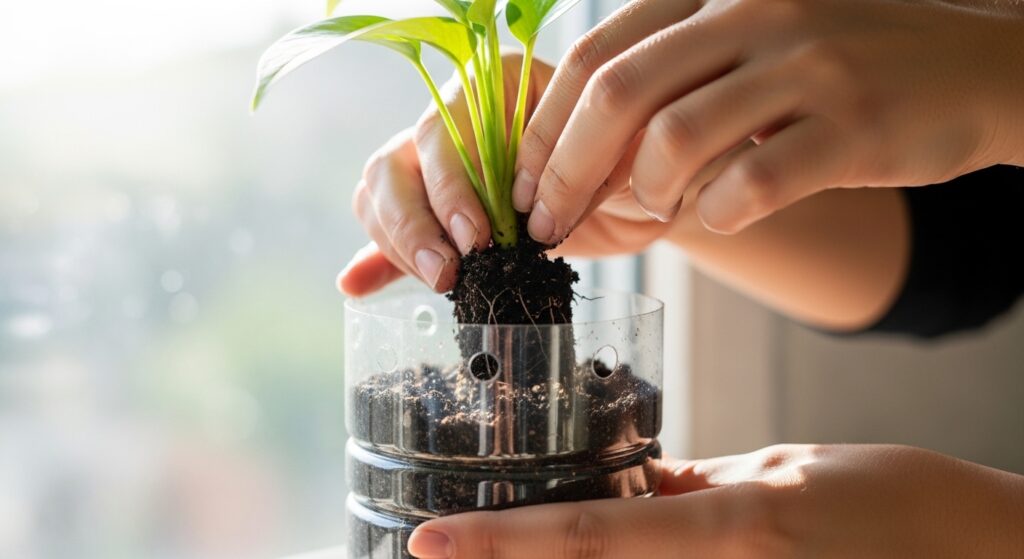
Fill the bottle partially with soil, leaving enough space for the plant roots. Gently place the plant inside and add more soil around it to secure the roots. Press lightly so the plant stands upright but avoid compacting the soil too much, allowing air and water to circulate.
Choose plants suitable for small containers, such as herbs, succulents, or small flowering plants. The right plant ensures your planter thrives and adds greenery to your home. Using fresh soil also provides nutrients for healthy growth.
🛒 Shop This Look:
Step 7: Choosing the Right Hanging Spot
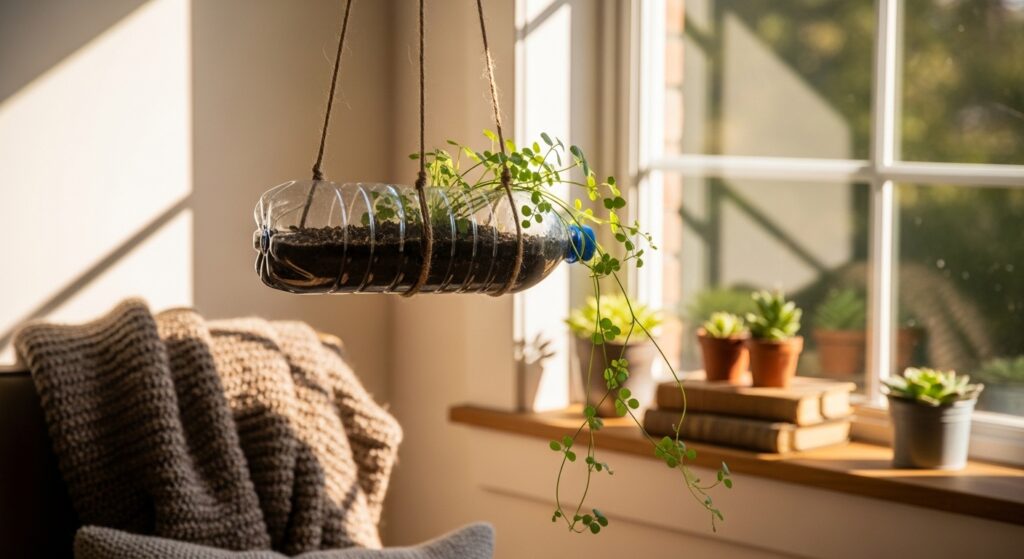
Hang your planter in a spot that receives adequate sunlight based on the plant’s needs. Windows, balconies, or bright corners are ideal. Make sure the hook, nail, or ceiling attachment is strong enough to support the planter’s weight once soil and plant are added.
Ensure the planter has enough clearance from walls or furniture to avoid bumping. Choosing a suitable spot also makes watering and maintenance easier while keeping the plant healthy and visually prominent.
Step 8: Decorating the Planter
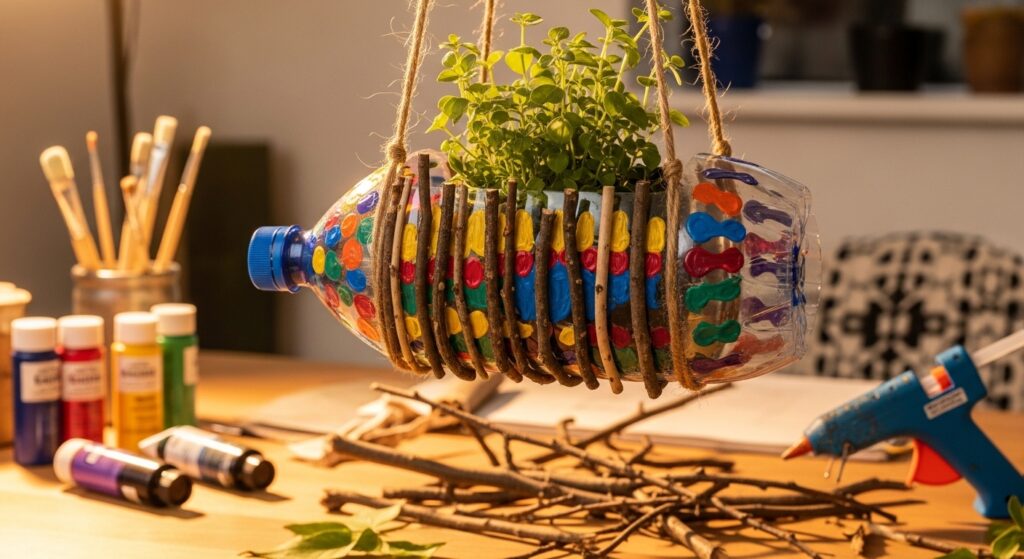
You can leave the bottle plain or decorate it with paint, washi tape, or natural elements to match your home decor. Neutral tones create a subtle look, while bright colors add a fun, playful touch. The wooden sticks can also be painted or stained to coordinate with the bottle.
Keep decorations light to avoid adding extra weight that might affect hanging stability. Simple decorations enhance the aesthetic while maintaining the planter’s functional and handmade charm.
🛒 Shop This Look:
Step 9: Watering and Maintenance
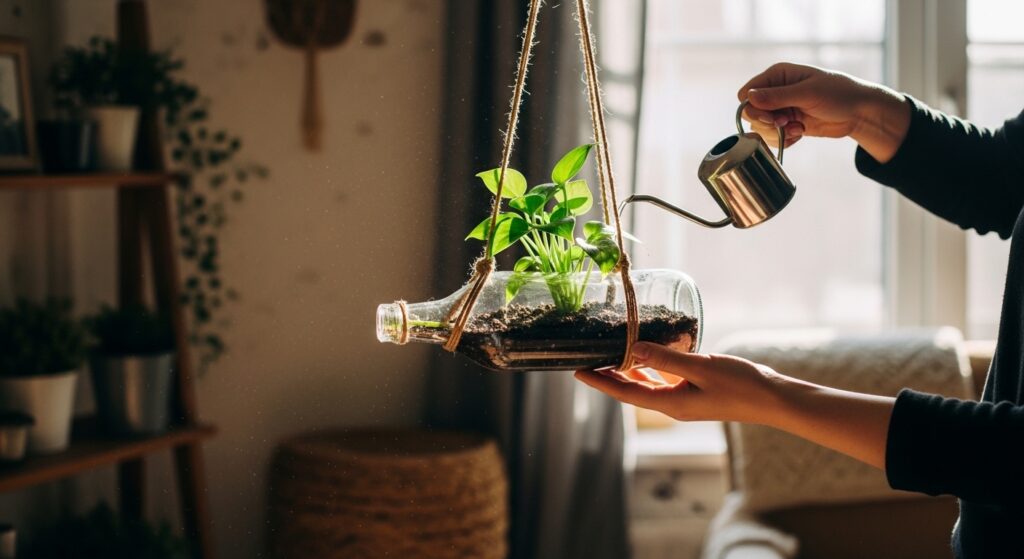
Water the plant slowly so excess water drains through the holes at the bottom. Avoid overwatering, as small containers dry differently than traditional pots. Regularly check soil moisture to keep your plant healthy.
Inspect strings and knots periodically to ensure the planter remains secure. Adjust as necessary to maintain balance. Regular maintenance ensures your hanging planter continues to thrive and looks attractive over time.
Conclusion
Upcycling a plastic bottle into a hanging planter is a creative, practical, and eco-friendly project. It turns waste into functional decor while adding greenery to your home, balcony, or workspace. Using sticks and twine adds natural charm and stability, making the planter visually appealing and sturdy.
This project is beginner-friendly, inexpensive, and flexible, allowing you to experiment with plant types, decorations, and hanging locations. With proper care, your DIY hanging planter will remain a sustainable, handmade addition to your home for years to come.
Choosing the Right Plants for Your Hanging Planter
Not every plant thrives in a hanging bottle planter, so matching the plant to the container makes the difference between a lush display and a struggling one. Trailing plants are the natural choice because their cascading habit shows off the hanging format. Pothos is nearly indestructible, tolerates low light, and its vines can grow several feet long. English ivy works similarly and adds a classic look. For something more colorful, trailing philodendron varieties like Brasil or Micans bring variegated foliage that catches the eye.
If your planter hangs in a bright spot, consider string of pearls or string of hearts. These succulents store water in their leaves, so they forgive missed waterings, and their beaded trails look striking against the rustic stick frame. Herbs are another practical option. Mint, oregano, and thyme all grow well in small containers and give you fresh ingredients within arm’s reach of the kitchen window. Just remember that herbs need at least four to six hours of sunlight daily.
Avoid plants with aggressive root systems or those that need deep soil. A plastic bottle planter holds limited soil volume, so compact root systems do best. Spider plants are a reliable middle ground. They tolerate a range of conditions, produce baby plantlets you can propagate into new planters, and their arching leaves fill out the container nicely. Whatever you choose, start with a small nursery plant rather than seeds. Seeds take weeks to establish in a hanging container where soil dries faster than in ground beds.
Troubleshooting Common Problems
The most frequent issue with bottle planters is water pooling at the bottom. If leaves turn yellow and feel mushy, you are almost certainly overwatering or the drainage holes are blocked. Tip the planter gently after watering and watch for drips. If nothing comes out, clear the holes with a skewer and add a thin layer of small pebbles or broken pottery shards at the bottom before replanting. This creates a reservoir space so roots never sit in standing water.
Twine stretching is another common complaint. Natural jute twine absorbs moisture and can elongate over time, leaving the planter hanging lower or tilting to one side. Check the hanging cords monthly and re-tie any that have loosened. If you want a more permanent solution, replace the twine with braided nylon cord after the first season. It looks similar but will not stretch or rot.
Sticks working loose from the frame usually means the binding was wrapped too loosely or the wood has shrunk as it dried. Unwrap the loose section, apply a dab of waterproof wood glue to the contact points, then re-wrap tightly with twine. Let the glue cure for 24 hours before rehanging. For planters kept outdoors, expect to re-tighten bindings once a year as weather cycles expand and contract the wood.
Creative Variations to Try Next
Once you have the basic technique down, the same bottle-and-stick method adapts to dozens of looks. For a herb garden, make three small planters and hang them at staggered heights from a single wall bracket. Label each with a small wooden tag tied to the twine. A trio of basil, parsley, and chives by the kitchen window is both decorative and genuinely useful.
For a bolder statement, paint the bottle before assembly. Matte spray paint in terracotta, sage, or charcoal transforms the plastic so completely that guests will not guess the origin. Sand the bottle lightly first so the paint adheres, and use a plastic-bonding primer for a finish that survives watering splashes. Alternatively, wrap the bottle in burlap or linen fabric secured with hot glue for a soft farmhouse texture that pairs beautifully with the stick frame.
Kids enjoy a miniature version using small water bottles and popsicle sticks instead of garden sticks. It teaches the same skills at a manageable scale and makes a thoughtful handmade gift. Whatever variation you try, the core principles stay the same: drainage first, secure bindings, and the right plant for the light you have.



