
As an Amazon Associate, I earn from qualifying purchases. This means I may earn a commission if you purchase through links on this page — at no extra cost to you.
What makes a space feel truly finished? Often, it’s the details most people overlook. These diy wall-mounted drop-down table: step-by-step tutorial prove that thoughtful choices — not big budgets — create rooms you’ll love coming home to.
Related: DIY Photo Transfer To Wood – Easy Unique Wall Art T Related: How to DIY Cardboard Photo Frame Step By Step Guide For Begi
This step-by-step tutorial is beginner-friendly and emphasizes stability, usability, and neat design. Once installed, the table serves as a practical surface for dining, working, or hobbies while remaining out of the way when folded.
Materials Needed
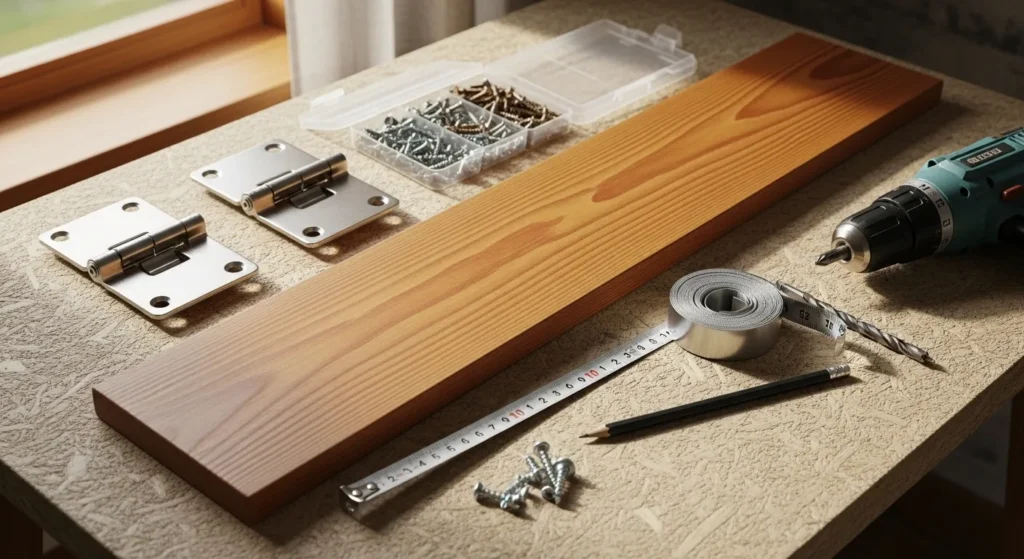
You will need a wooden plank for the tabletop, foldable table hinges (also called drop-leaf or flap hinges), screws, a drill, a measuring tape, a pencil, and optional brackets or supports for extra stability. Choose wood that is sturdy enough to hold the weight of items you plan to place on the table.
Clean the wood surface and prepare your tools before starting. Pre-drilling holes for screws can make installation easier and prevent wood from splitting.
Step 1: Measuring and Marking the Wall
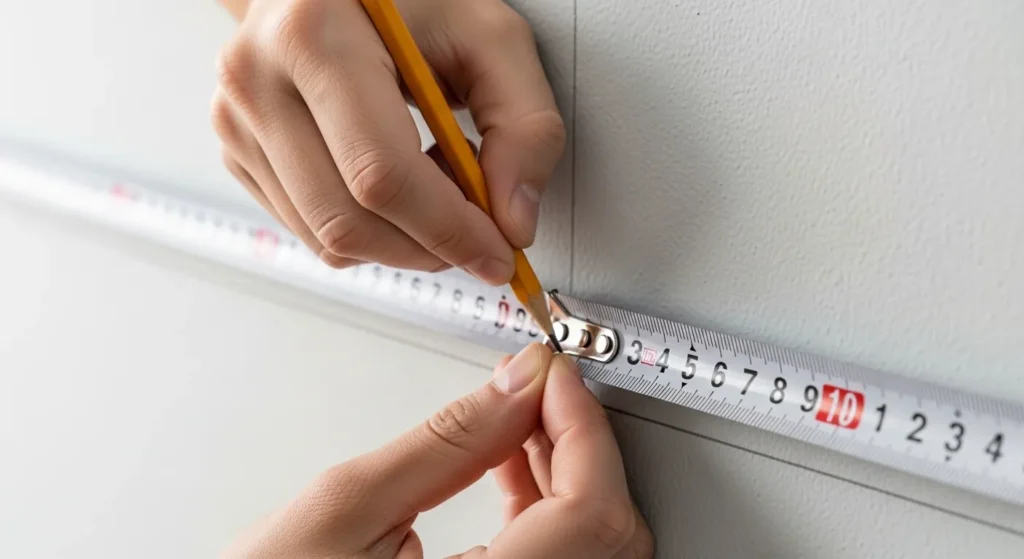
Decide the height at which the table will be mounted. Standard counter height is around 90 cm (35 inches), but adjust based on your needs. Mark the position of the hinges on the wall using a pencil and a level to ensure the table will be straight.
Accurate marking ensures that the table folds smoothly and sits level when in use. Double-check measurements to prevent uneven installation.
Step 2: Attaching the Hinges to the Wall
Secure the hinges to the wall using screws and a drill. If mounting on drywall, use wall anchors to ensure the table can hold weight safely. The hinges should be spaced evenly to support the table edges properly.
Make sure the hinges are level and tightly screwed in. Misaligned hinges can cause the table to tilt or wobble, affecting both functionality and safety.
Step 3: Preparing the Tabletop
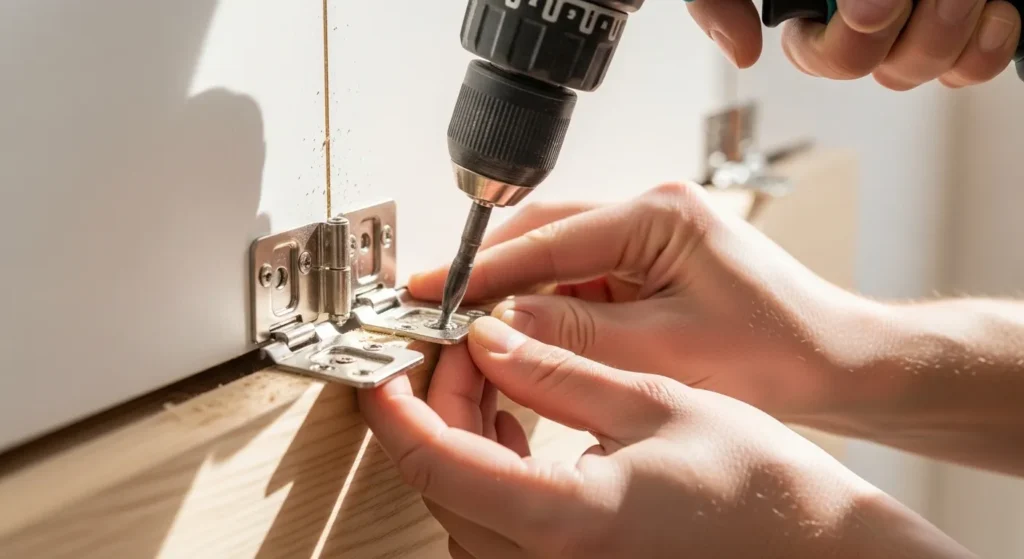
Cut and sand the wooden plank to the desired dimensions for your table. Smooth all edges to avoid splinters and improve aesthetics. Optionally, paint or varnish the tabletop for a finished look.
The plank should be slightly shorter than the distance between the outer edges of the wall-mounted hinges, allowing it to fold down without binding. Preparing the surface now makes installation cleaner and easier.
🛒 Shop This Look:
Step 4: Attaching the Tabletop to Hinges
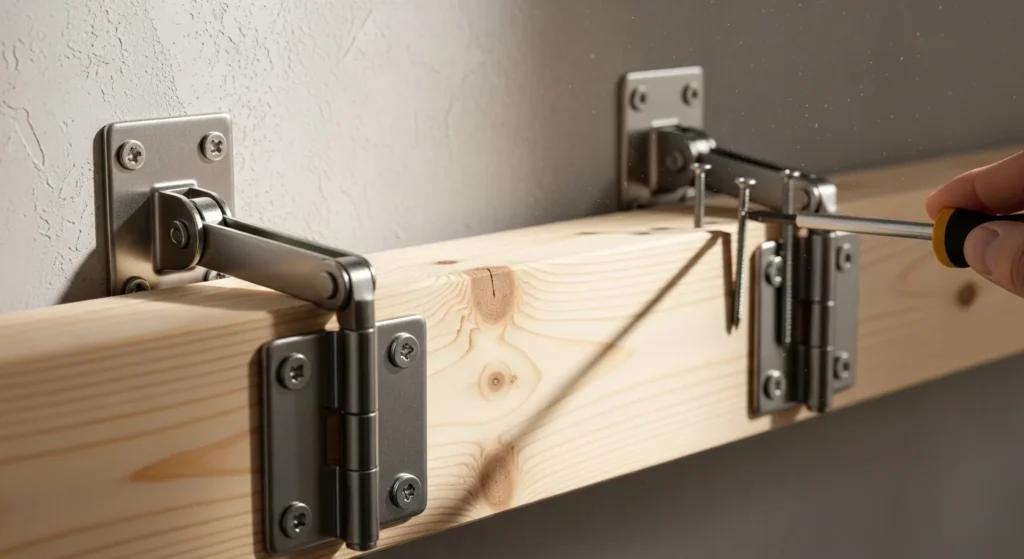
Align the tabletop with the hinges and screw it securely in place. Make sure it sits level and the hinges can fold properly. The table should be flush with the wall when folded up.
Test the folding mechanism several times before adding weight. Tight screws and proper alignment ensure the table remains stable and functional.
Step 5: Installing Folding Support Brackets
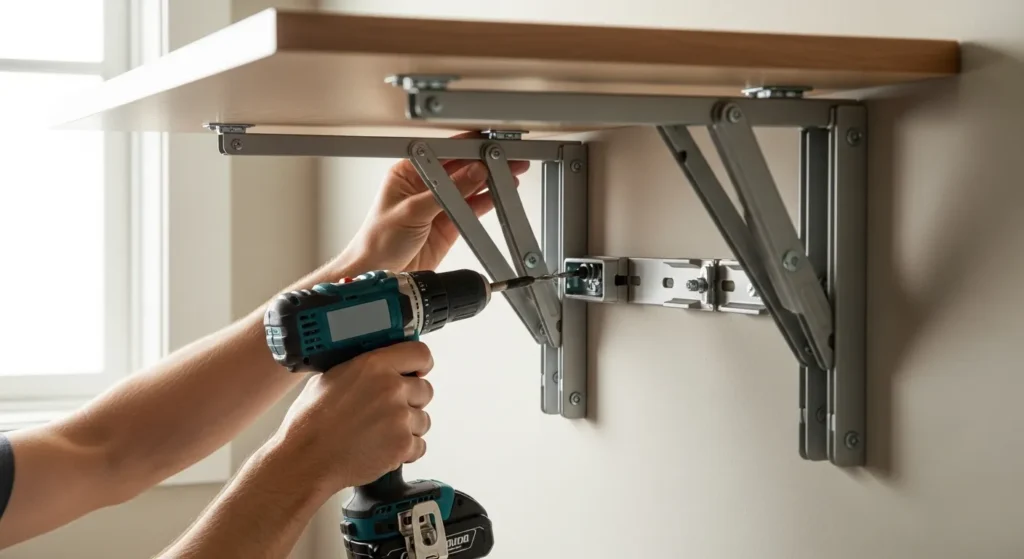
Install support brackets under the table to hold it steady when folded down. These can be simple metal or wooden brackets that lock into place when the table is in use.
Ensure brackets are level and strong enough to hold the table and intended load. Brackets prevent wobbling and provide confidence that the table is safe for daily use.
Step 6: Testing the Folding Mechanism
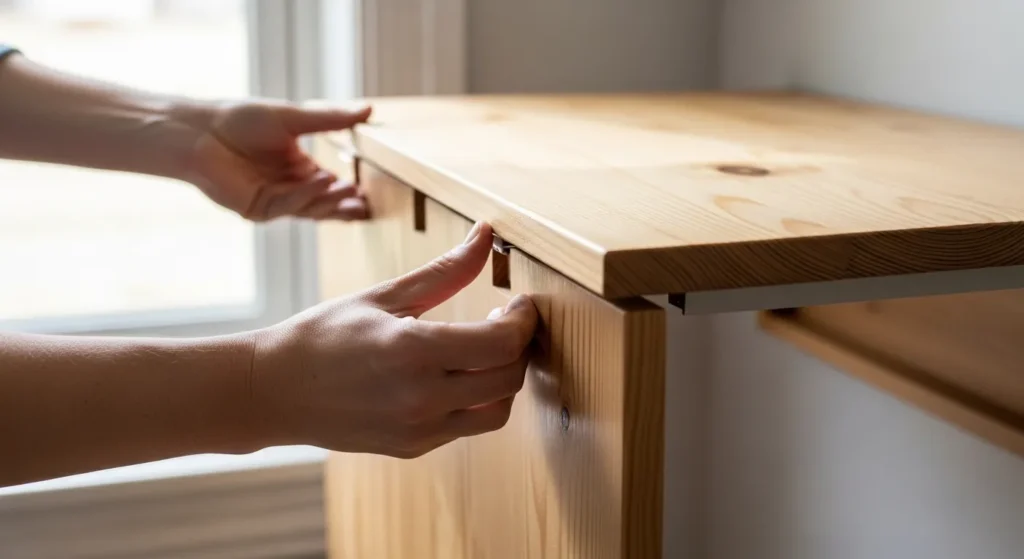
Before using the table, fold it up and down several times to ensure the hinges and brackets operate smoothly. Make sure there’s no wobble or misalignment, and that the tabletop sits flush against the wall when folded.
Adjust screws or brackets if necessary. Testing early helps catch small issues before adding weight, ensuring the table functions safely and reliably in everyday use.
🛒 Shop This Look:
Step 7: Adding Finishing Touches
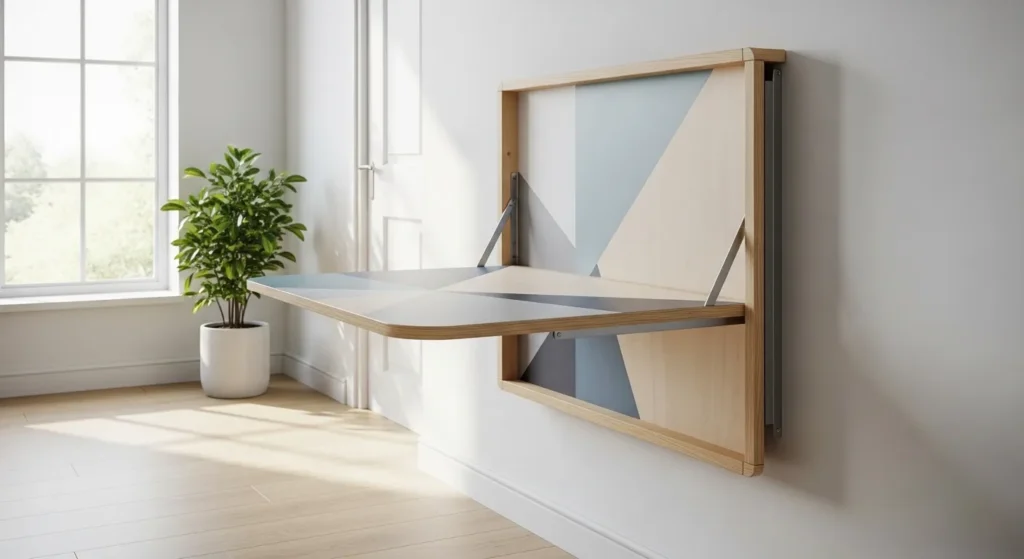
Sand any rough edges and apply paint, varnish, or sealant to protect the tabletop from wear and stains. Optional trim or edge banding can also enhance the look and hide raw edges.
Finishing touches not only improve aesthetics but also increase durability. Choose colors or finishes that match your room decor for a seamless, polished look.
Step 8: Decorating and Styling
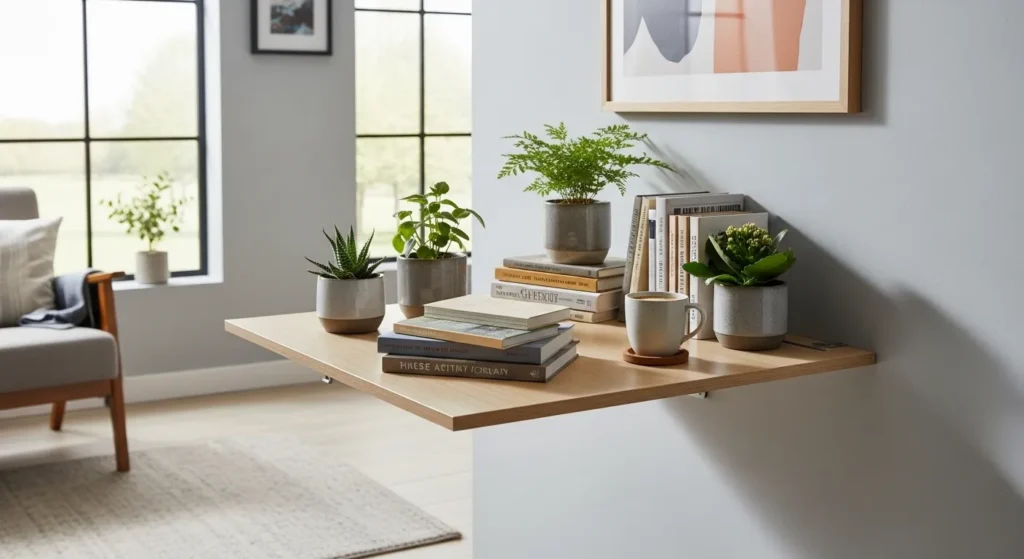
Style the table according to its intended use. Add small decorative items, plants, or daily essentials if using as a workspace. Keep heavier objects near the wall side for stability.
Minimalist styling ensures the table remains functional and prevents clutter. A clean and organized look highlights the floating design and makes it a visually appealing focal point.
🛒 Shop This Look:
Step 9: Maintenance and Care
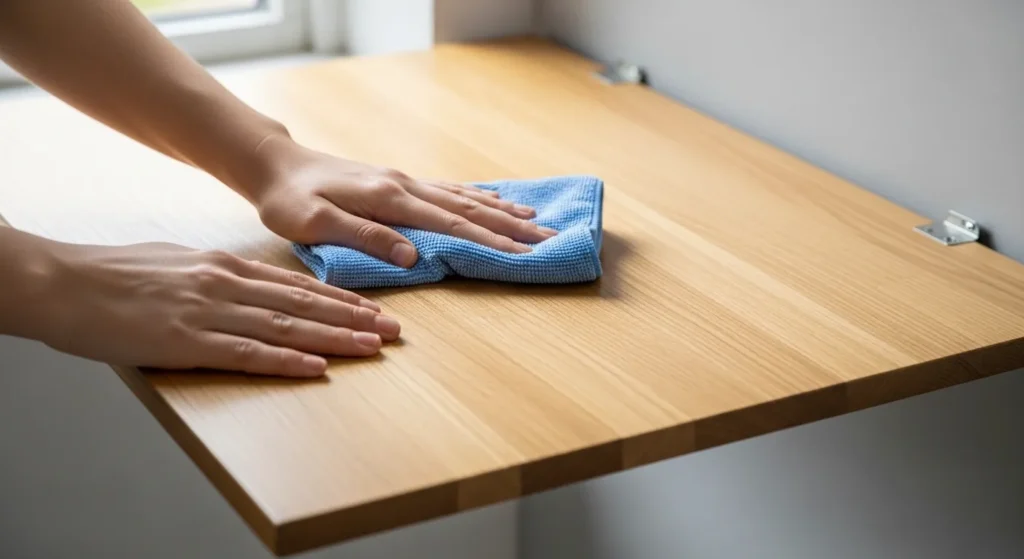
Regularly check screws, hinges, and brackets to ensure they remain tight. Wipe the tabletop with a soft cloth to remove dust or spills. Avoid placing excessively heavy items to prevent stress on the hinges.
Occasional inspections prolong the life of the table and maintain safety. Proper care keeps both the wall-mounted hardware and wooden surface in good condition for years.
Conclusion
A wall-mounted drop-down table is a practical and stylish solution for small spaces. Using simple materials like a wooden plank, old belts, or standard brackets, you can create a functional surface that folds away when not in use.
This DIY project is cost-effective, beginner-friendly, and highly customizable in size, color, and finish. With proper installation and maintenance, your drop-down table becomes a versatile, space-saving addition that enhances both utility and aesthetics in any room.
Choosing the Right Wood for Your Drop-Down Table
Not all wood is equal when it comes to a wall-mounted table that needs to support weight while folding up and down repeatedly. For a tabletop that will hold laptops, meals, or craft supplies, hardwood plywood (¾-inch birch or oak) offers the best balance of strength, weight, and cost. Solid pine is budget-friendly and easy to work with, but it dents more easily. Avoid MDF for this project — it is heavy, does not hold screws well over time, and swells if it gets wet.
If you want a premium look, consider a butcher block panel or a live-edge slab. These are heavier, so you will need sturdier hinges and wall anchors rated for the extra load. Whatever you choose, sand the surface to 120-grit and apply at least two coats of polyurethane or hardwax oil to protect against spills and daily wear.
Safety Tips You Should Not Skip
A wall-mounted table is only as safe as its attachment to the wall. Always mount into studs when possible — use a stud finder to locate them. If you must mount into drywall alone, use toggle bolts rated for at least 50 lbs each, and never exceed the combined rating. Test the table by gradually adding weight before trusting it with anything valuable.
Keep the folding mechanism clear of fingers when collapsing the table, especially if children use the space. Consider adding a soft-close hinge or a magnetic catch to prevent the tabletop from slamming shut. If the table is mounted in a hallway or tight space, add reflective tape or a bright edge band so people notice it when folded down.
Variations to Try
Once you master the basic drop-down table, the same technique opens up several useful variations. A narrower version (12–14 inches deep) works as a hallway console or entryway drop zone for keys and mail. Mount two at different heights in a kids room to create a fold-away art station and a separate homework desk.
For a craft room, add a pegboard panel above the table so tools stay within reach when it is open and the whole station disappears when folded. In a small kitchen, a drop-down table mounted at counter height creates an instant breakfast bar or extra prep space without sacrificing floor area.
Troubleshooting Common Issues
Table sags in the middle: Your hinges are too far apart or the wood is too thin. Add a third hinge in the center, or upgrade to a thicker top.
Table will not stay flat when open: The hinges may not be level, or the locking mechanism is worn. Check with a level and tighten all screws. Some drop-leaf hinges have an adjustable tension screw — tighten it a quarter turn at a time until the table holds firm.
Screws pulling out of the wall: Stop using the table immediately. You need better anchors or must relocate to studs. This is the most common failure point and the most dangerous — do not ignore it.
Wood splitting around screws: You skipped pre-drilling. Remove the screw, fill the hole with wood glue and a toothpick, let it cure, then pre-drill a pilot hole slightly smaller than the screw before reattaching.
Seasonal Care Tips
Adjust your planter care with the seasons. In winter, move indoor planters away from cold windows at night and reduce watering since growth slows. In summer, check soil moisture daily as heat accelerates drying. A quick seasonal assessment each quarter keeps your planter thriving year-round.
With these seasonal adjustments, your wall-mounted table will serve you reliably through every season of the year.



