
As an Amazon Associate, I earn from qualifying purchases. This means I may earn a commission if you purchase through links on this page — at no extra cost to you.
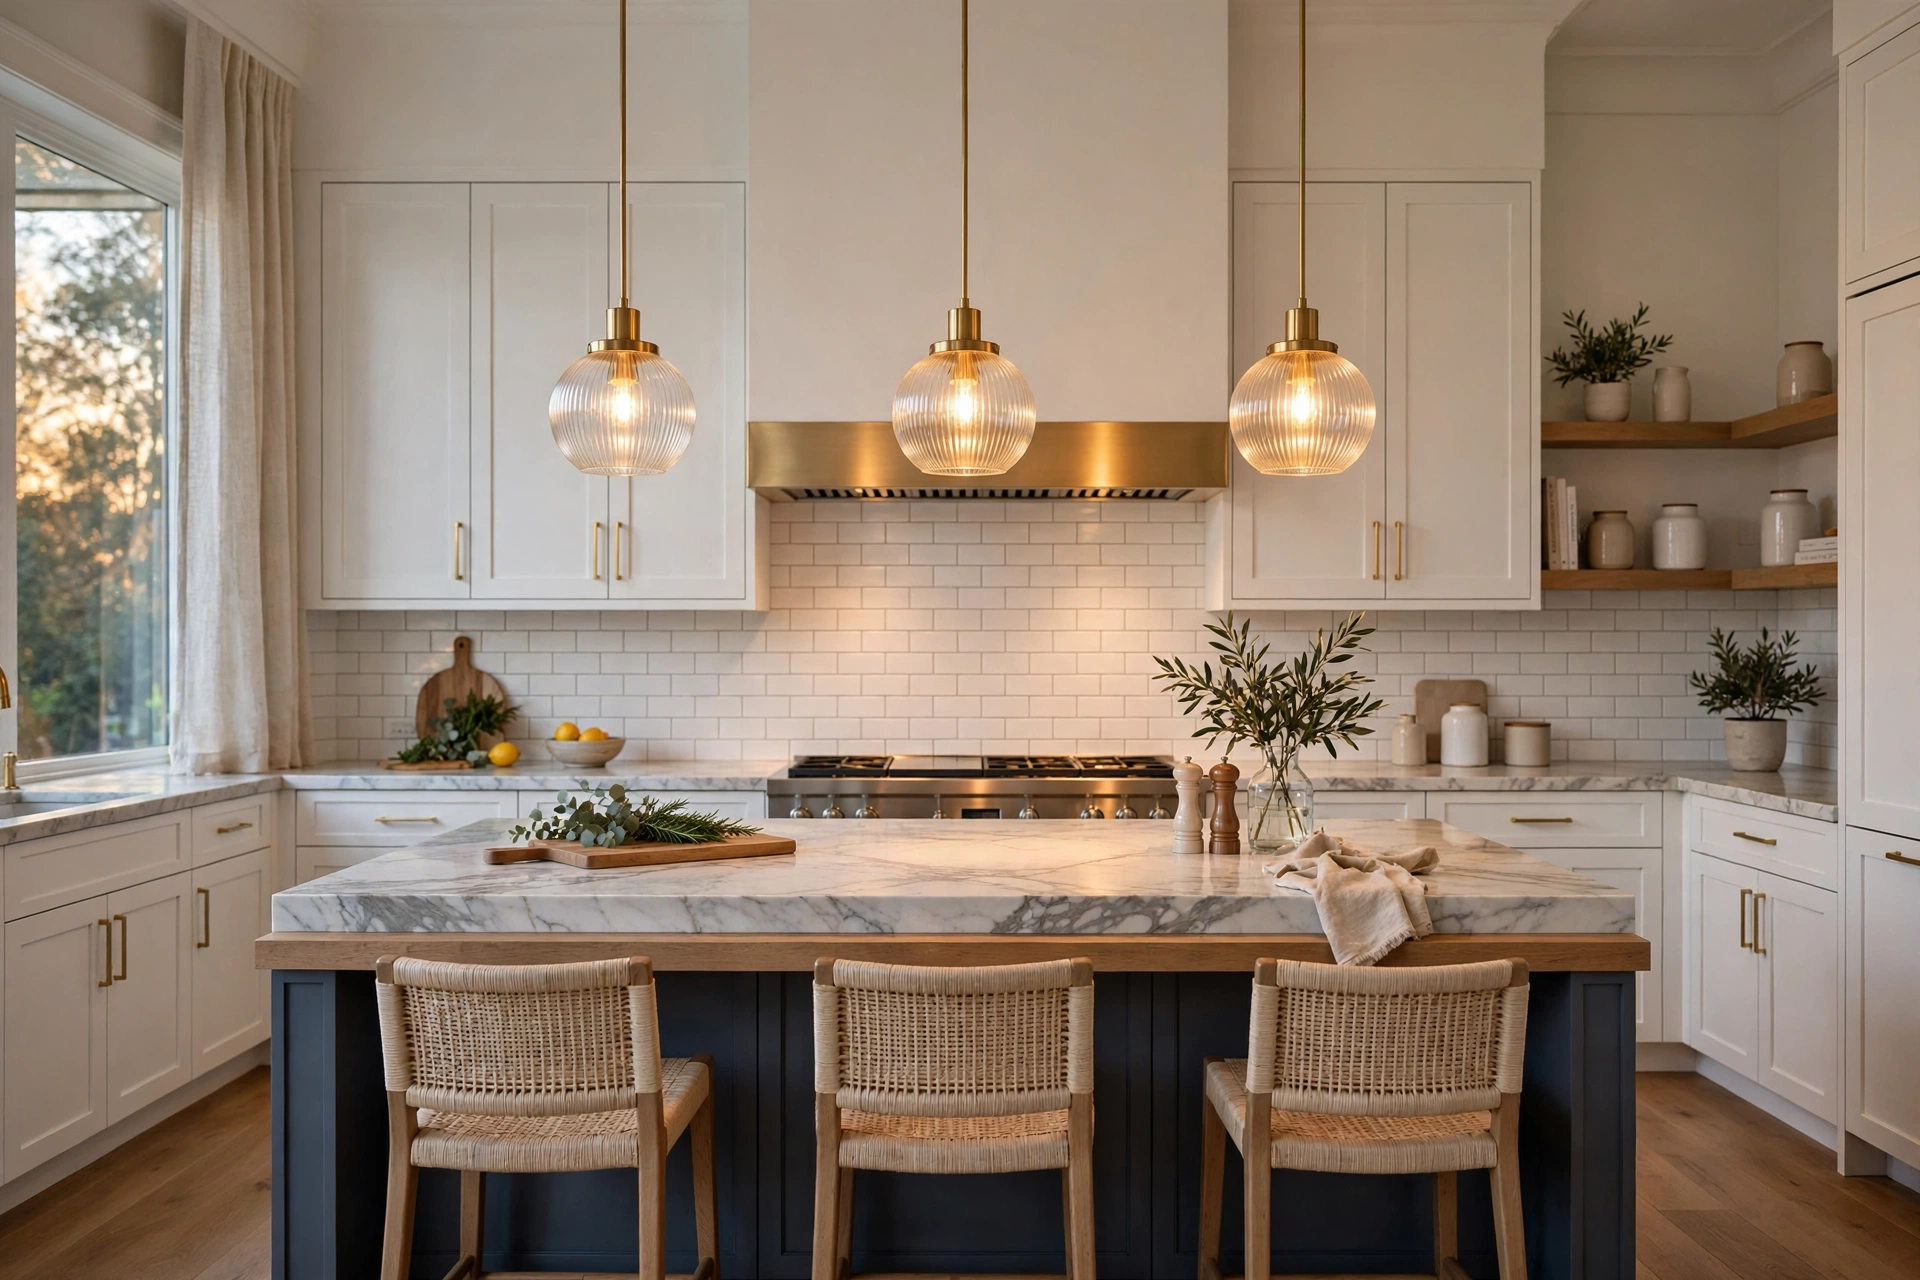
Choose kitchen pendant lights by sizing them to your island (diameter should be 1/3 the island width for a single pendant, or use 2–3 smaller pendants spaced 24–30 inches apart), hanging them 30–36 inches above the counter surface, and selecting a style that complements your kitchen. For task lighting, choose 300–400 lumens per pendant; for ambiance, 200–300 lumens with dimmers.
Step 1: Determine How Many Pendants You Need
- Island under 4 feet: 1 large pendant (16–20″ diameter)
- Island 4–6 feet: 2 medium pendants (12–16″ diameter each)
- Island over 6 feet: 3 small pendants (10–12″ diameter each)
- No island: 1 pendant over sink or breakfast nook
Step 2: Get the Size Right
The One-Third Rule
A single pendant’s diameter should be roughly one-third the width of the surface below it. For a 36-inch-wide island, look for a 12-inch pendant.
For Multiple Pendants
Space pendants 24–30 inches apart (center to center). Leave at least 6 inches between the pendant edge and the island edge on each side.
Step 3: Hang at the Correct Height
- Above island/counter: 30–36 inches from countertop to bottom of pendant
- Above dining table: 28–34 inches from tabletop
- In open area (no surface below): Bottom at least 7 feet from floor
When in doubt, hang slightly higher — too low blocks sightlines and feels oppressive.
Step 4: Choose the Right Style
Modern Kitchens
Globe pendants, geometric metal shades, or minimalist cone shapes in matte black, brass, or white.
Farmhouse Kitchens
Rattan or wicker pendants, seeded glass, or industrial dome shades in oil-rubbed bronze.
Traditional Kitchens
Lantern-style pendants, fabric drum shades, or classic glass bell jars in polished nickel or antique brass.
Transitional Kitchens
Simple linen drum shades, clear glass globes, or understated metal domes that bridge styles.
Step 5: Consider Light Quality
Bulb Type
LED is the clear winner — long-lasting, dimmable, and available in warm tones. Avoid cool white (4000K+) in kitchens; stick to 2700K–3000K for warmth.
Shade Material Matters
- Clear glass: Maximum light output, shows bulb (choose attractive Edison-style)
- Frosted/opal glass: Soft, diffused light, hides bulb
- Metal (opaque): Directs light downward, dramatic pools of light
- Fabric/rattan: Warm, ambient glow, less task-focused
Always Install Dimmers
A $15 dimmer switch transforms pendants from task lighting to mood lighting. Non-negotiable for kitchens.
Common Mistakes
- Too small: Tiny pendants over a large island look lost. When between sizes, go bigger.
- Too low: Blocks conversation and sightlines across the island.
- Mismatched styles: Pendants should relate to other metals/finishes in the kitchen.
- No dimmer: Full-bright pendants during dinner are harsh.
How Pendants Fit Into the Kitchen’s Lighting Layers
Pendants are one layer of three every kitchen needs. Understanding the layers prevents the most common pendant mistake — expecting pendants to light the whole kitchen alone.
- Ambient (general): recessed ceiling lights or a central fixture washing the whole room. Pendants are not ambient lighting — their pools of light leave the room’s edges dark.
- Task: this is the pendant’s job — focused light on the island, sink, or prep zone. Under-cabinet strips handle perimeter counters.
- Accent: in-cabinet lighting, toe-kick strips, or a picture light. Optional, but it is what makes kitchens photograph beautifully.
Plan all three before buying pendants. A kitchen with pendants but no recessed lights will have bright islands and gloomy corners; a kitchen with recessed lights but no pendants will feel flat and lack the jewelry factor.
Spacing Math for Multiple Pendants
The 24–30 inch guideline is a starting point. Here is the precise method:
- Measure the island length in inches.
- Divide into equal segments — one more segment than the number of pendants. For 2 pendants on a 72-inch island: 3 segments of 24 inches; hang each pendant at a segment boundary (24 and 48 inches from one end).
- Check the end clearance: the pendant’s edge should sit at least 6 inches from the island’s end. If the math puts a pendant too close to the end, drop to fewer, larger pendants.
- Odd numbers look best — 1 or 3 pendants read as intentional; 2 can work on 4–6 foot islands but 4+ pendants in a row start to look like an airport runway. For very long islands, consider one long linear pendant instead of many small ones.
Height Adjustments for Real Life
The 30–36 inch rule assumes average ceilings and average-height cooks. Adjust for:
- Tall household (anyone over 6 feet): hang at 34–38 inches so sightlines stay clear — pendants at standard height will sit right in a tall person’s eyeline across the island.
- High ceilings (10+ feet): add roughly 3 inches of drop per extra foot of ceiling to keep pendants in the visual zone. A pendant hung at standard height under a 12-foot ceiling looks lost and provides poor task light.
- Low ceilings (under 8 feet): use semi-flush or shorter pendants, or mount on shorter stems — you need the bottom at least 30 inches above the counter and comfortable head clearance for the tallest user.
- Over a dining table within the kitchen: 28–34 inches above the table, lower than island pendants, because diners are seated and the light should pool on the table, not blast faces.
Bulb Brightness: Getting Lumens Right
- Task pendants over an island: 300–400 lumens each is a starting point, but what matters is total light on the surface. Two 400-lumen pendants over a 6-foot island give decent prep light; add under-cabinet strips for the perimeter.
- Dimmable is mandatory: 2700K warm-white LEDs on a compatible dimmer. Check the bulb-dimmer compatibility list — mismatched pairs flicker or buzz, and the fix is a $10 bulb swap, not an electrician.
- Exposed bulbs: choose filament-style LEDs with lower lumen output (200–300) since the bare bulb is in the sightline — brightness that is fine behind a shade is glaring when exposed.
- Color rendering (CRI): look for CRI 90+. Food looks dramatically better under high-CRI light — tomatoes actually look red instead of brownish. This spec matters more than most shoppers realize.
Coordinating With the Rest of the Kitchen
- Metals: pendants should relate to cabinet hardware and the faucet — not necessarily match exactly, but live in the same family. Matte black pendants with brass hardware work; chrome pendants with oil-rubbed bronze hardware fight.
- Do not match the chandelier exactly if the dining area is adjacent — coordinate (same finish, related shape) rather than duplicate. Identical fixtures in adjacent zones look like a package deal.
- Scale to the room, not just the island: in a grand kitchen, even correctly-sized island pendants can look timid. When in doubt between sizes, go one size up — oversized pendants are a deliberate look; undersized ones look like a mistake.
- Shade opacity and sightlines: opaque metal shades block the view across the island — fine for task focus, bad for conversation. Clear or open-bottom shades preserve sightlines. In open-plan kitchens, this choice affects how connected the cook feels to the living area.
Installation Realities
- Electrical box support: heavy pendants (glass, large metal) need a fan-rated or fixture-rated box — standard boxes are rated for 35 pounds, and large pendants with shades can approach that. Your electrician can swap the box in minutes during rough-in; after drywall it is a bigger job.
- Plan pendant positions before the ceiling is closed. Moving a junction box after drywall is possible but costs significantly more. Mark positions on the floor during framing using the spacing math above.
- Cord vs. stem vs. chain: cords suit casual and modern; rigid stems hold position precisely (best for multiples that must align); chains suit traditional and transitional. Stems keep multiple pendants perfectly level — cords can drift.
- Swagging as a retrofit: if the existing junction box is off-center, a swag kit (chain + hooks) repositions the pendant without new wiring. A legitimate designer trick, not a hack — just ensure the chain is taut and the hook is ceiling-anchored.
Smart Controls and Automation
- Smart dimmers replace standard dimmers and add app/voice control — “dim the island to 30%” while your hands are covered in flour is genuinely useful, not gimmicky. Confirm bulb compatibility; smart dimmers are pickier than dumb ones.
- Scene presets: program “Cooking” (pendants 100%, under-cabinet 100%, overhead 80%), “Dining” (pendants 40%, overhead off, accent on), and “Evening” (everything low warm). One tap replaces four switch adjustments.
- Motion sensors for pantry and under-cabinet zones mean lights that greet you with armfuls of groceries. Battery-powered sensor strips are renter-friendly.
- Circadian scheduling: smart bulbs can shift from bright neutral-white during day cooking to warm dim in the evening automatically. The kitchen feels different at 7 p.m. than at noon because the light says so.
Pendant Maintenance and Longevity
- Cleaning by material: glass shades — remove and wash in warm soapy water quarterly (kitchen grease films everything); metal shades — wipe with a damp microfiber, never abrasive; rattan/wicker — dry dust or vacuum with brush attachment, moisture warps the fibers; fabric drums — lint-roll monthly, vacuum gently, and replace the shade (not the fixture) when grease yellowing sets in.
- Bulb replacement strategy: quality LEDs last years, but when one goes, replace all pendants’ bulbs at once — mixed bulb ages produce subtly mismatched color that is maddening once noticed. Keep a spare matching bulb in the junk drawer.
- Tightening and safety checks: annually, check that mounting hardware, cord grips, and shade attachments are secure. Kitchen vibration (hood fans, slamming cabinets) loosens things over years. A pendant that has drifted off-level among its siblings is usually a slipped cord grip — a two-minute fix.
- When to replace vs. refresh: dated pendants can often be saved with new shades on the existing mount — many manufacturers sell shades separately. If the style is fundamentally wrong, replacement is straightforward for an electrician since the wiring and box already exist.
— Ella Knight
🛒 Shop This Look:
🛒 Shop This Look:
🛒 Shop This Look:



