
As an Amazon Associate, I earn from qualifying purchases. This means I may earn a commission if you purchase through links on this page — at no extra cost to you.
The short answer: Peel-and-stick wins for renters, DIYers, and anyone who likes to change things up — it’s cheaper upfront, installs in hours with no special tools, and removes cleanly. Traditional wallpaper wins for permanence, pattern range, and durability — it lasts 10–15 years versus 3–7 for peel-and-stick, and offers textures and finishes peel-and-stick can’t match. For most homeowners planning to stay put, traditional is the better long-term value; for everyone else, peel-and-stick is the smarter choice.
Side-by-Side Comparison
| Factor | Peel-and-Stick | Traditional Wallpaper |
|---|---|---|
| Material cost (per roll) | $20–$90 | $30–$200+ |
| Coverage per roll | 18–32 sq ft | 25–56 sq ft (double rolls common) |
| Cost per sq ft (material) | $1.00–$3.00 | $1.20–$5.00+ |
| Professional installation | Rarely needed | $3–$7 per sq ft |
| DIY difficulty | Easy — most beginners succeed | Moderate to hard — practice needed |
| Installation time (one wall) | 1–3 hours | 3–6 hours (plus paste prep/dry time) |
| Tools required | Smoothing tool, utility knife, level | Paste, brush/roller, smoothing tool, knife, level, pasting table, seam roller |
| Lifespan | 3–7 years | 10–15+ years |
| Removal difficulty | Easy — peels off cleanly | Moderate to very hard (depends on type) |
| Wall damage on removal | Minimal to none | Possible — especially older installations |
| Pattern/texture range | Growing but limited | Vast — including grasscloth, silk, flock, metallic |
| Moisture resistance | Good (vinyl types only) | Excellent (vinyl types); poor (natural materials) |
| Repositionable during install | Yes — peel and re-stick | Limited — paste gets messy fast |
| Renter-friendly | Yes — designed for it | No — not without landlord approval |
Cost Breakdown: What You’ll Actually Spend
Let’s price out a real project: one 10×8 foot accent wall (80 sq ft).
Peel-and-Stick (DIY)
- Materials: 3 rolls at $45 each = $135 (Tempaper/Chasing Paper range)
- Tools: $15–$25 (smoothing tool, knife, level — many people already own these)
- Labor: $0 (your Saturday afternoon)
- Total: ~$150–$160
Traditional Wallpaper (DIY)
- Materials: 2 double rolls at $60 each = $120 (mid-range vinyl)
- Paste & supplies: $25–$40 (paste, brush, smoothing tool, seam roller)
- Labor: $0, but budget a full weekend and expect a learning curve
- Total: ~$145–$160
Traditional Wallpaper (Professional Install)
- Materials: $120 (same as above)
- Labor: $240–$560 (80 sq ft × $3–$7/sq ft)
- Total: ~$360–$680
The takeaway: DIY costs are surprisingly similar. The real cost difference appears when you hire a professional — which most people do for traditional wallpaper but almost nobody does for peel-and-stick. Over a 15-year period, though, the math flips: you’d replace peel-and-stick 2–3 times ($300–$480 total) versus one traditional installation ($360–$680 pro, or $150 DIY).
Durability & Lifespan
This is where traditional wallpaper pulls ahead decisively. A well-installed traditional vinyl wallpaper lasts 10–15 years, and I’ve seen 20-year-old installations that still look good. The paste bond is simply stronger and more permanent than any repositionable adhesive.
Peel-and-stick typically lasts 3–7 years depending on conditions. In a climate-controlled living room with no direct sun, 7 years is realistic. In a sunny room, expect fading to become noticeable around year 4–5. In a bathroom, 3–5 years is typical even for good vinyl products.
But lifespan isn’t the whole story. Ask yourself: do I want this same pattern in 10 years? Design tastes change. Many people actually prefer peel-and-stick’s shorter lifespan — it’s a feature, not a bug, if you like refreshing your space every few years.
Application Difficulty: An Honest Assessment
Peel-and-Stick: Genuinely Beginner-Friendly
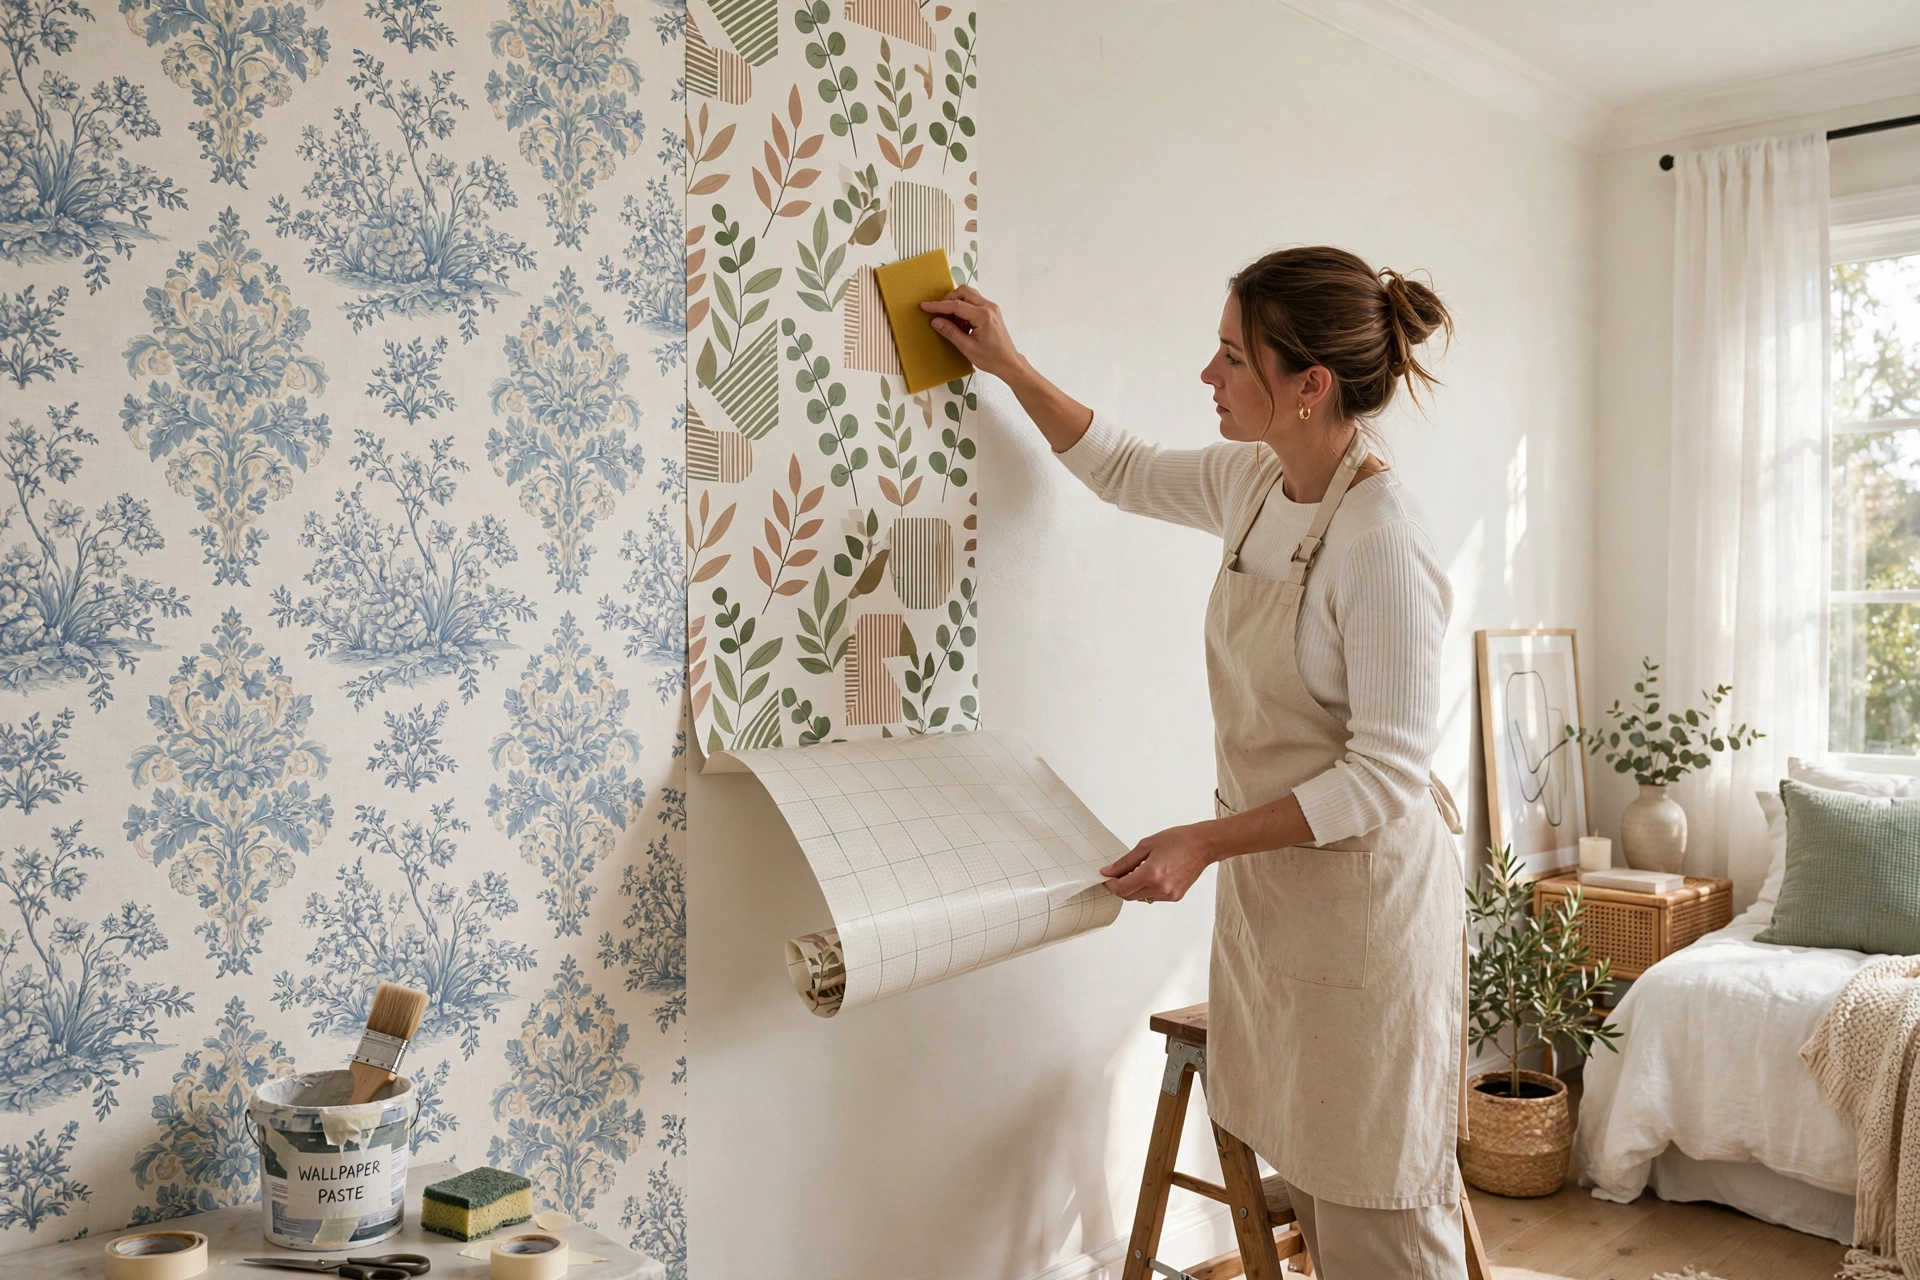
Peel-and-stick is the only wallpaper I’d recommend to a complete beginner with confidence. The process is: peel the backing, stick the top, smooth downward. If you mess up, peel it off and try again — the adhesive is repositionable for the first few minutes. The hardest part is keeping long panels from sticking to themselves, which you solve by working with a partner or using the “hinge method” (peel only the top 12 inches first).
Realistic expectation: your first panel will take 20 minutes and look slightly imperfect. By panel three, you’ll be cruising. A single accent wall is a very doable Saturday project.
Traditional: Learnable, But Respect the Learning Curve
Traditional wallpaper isn’t rocket science, but it has more failure modes. You need to: measure and cut with pattern matching in mind, apply paste evenly (too much = soggy mess, too little = poor adhesion), “book” the paper (fold pasted sides together and let it rest), then hang it without stretching. Each step has a technique that takes practice.
The paste-the-wall method (where you apply paste to the wall instead of the paper) is significantly easier than traditional paste-the-paper, and most modern wallpapers support it. If you’re DIYing traditional wallpaper, choose a paste-the-wall product — it eliminates the messiest step.
🛒 Shop This Look:
Realistic expectation: budget double the time you think you need, buy 15–20% extra for mistakes, and start on the least visible wall.
Removal: The Deciding Factor for Many People
This is peel-and-stick’s killer feature. When you’re done, you peel it off — slowly, at a 45-degree angle — and it comes away cleanly, usually in full sheets. No water, no steamers, no scraping. Most quality brands leave zero residue on properly primed walls.
Traditional wallpaper removal ranges from “mildly annoying” to “weekend-destroying nightmare”:
- Strippable wallpaper (most modern vinyl): peels off dry in sheets. Not bad — 1–2 hours per wall.
- Peelable wallpaper: top layer peels off, backing stays. You then soak and scrape the backing. Half a day per wall.
- Traditional paper with old paste: requires steaming or chemical strippers, scraping, and wall repair afterward. A full weekend or more, and you’ll probably need to skim-coat and repaint.
If there’s any chance you’ll want to change the wallpaper within 5 years, or if you’re renting, peel-and-stick wins this category without contest.
Pattern and Material Options
Traditional wallpaper still dominates for variety. Want real grasscloth, silk, hand-painted chinoiserie, metallic foils, or textured flock? That’s traditional-only territory. The manufacturing processes for these materials don’t translate to peel-and-stick (yet).
Peel-and-stick has closed the gap enormously in the last five years. You can now get convincing faux grasscloth, linen textures, shiplap, brick, and marble looks in peel-and-stick. From three feet away, good peel-and-stick is genuinely hard to distinguish from the real thing. But up close, the texture depth and material richness of high-end traditional wallpaper is still noticeably superior.
Verdict by Situation
Choose Peel-and-Stick If…
- You’re renting (or might move within 5 years)
- This is your first wallpaper project
- You like changing your decor frequently
- You’re wallpapering a kid’s room or nursery (tastes change fast)
- Budget is tight and you’re DIYing
- You want a quick weekend transformation
Choose Traditional If…
- You own your home and plan to stay 7+ years
- You want premium materials (grasscloth, silk, textured)
- You’re wallpapering a formal space (dining room, entryway) where longevity matters
- You’re willing to hire a professional installer
- You’ve wallpapered before and are comfortable with paste
- The specific pattern you love only exists in traditional
The Hybrid Approach
Many designers now mix both: traditional wallpaper in “permanent” spaces (dining room, primary bedroom) and peel-and-stick in “flexible” spaces (kids’ rooms, rentals, home offices). There’s no rule that says you have to commit to one type for your entire home.
Environmental and Health Considerations
Beyond cost and convenience, both wallpaper types carry environmental tradeoffs worth knowing before you cover an entire room.
Peel-and-stick is mostly vinyl — plastic. The flexible, repositionable film that makes it removable is typically PVC-based, which means it doesn’t biodegrade and recycling options are essentially nonexistent. If sustainability matters to you, use peel-and-stick for small accent areas rather than whole rooms, and look for brands advertising phthalate-free or PVC-free formulas — they exist, though they usually cost more.
Breathability matters in older homes. Traditional wallpaper comes in breathable options (non-woven, paper, grasscloth) that let walls release moisture — important in older homes with plaster walls or in humid climates where trapped moisture breeds mold. Vinyl of either type traps moisture against the wall, so in a bathroom or basement, proper ventilation matters more than the wallpaper choice itself.
🛒 Shop This Look:
Paste adds its own footprint. Modern wallpaper paste is low-VOC and water-based in most formulas, but professional whole-room installations still use meaningful quantities of adhesive and generate offcut waste. DIY peel-and-stick generates less waste per square foot since you cut only what you need, and mistakes peel off intact.
End of life. Removed peel-and-stick goes to landfill as plastic; removed paper-based traditional wallpaper is at least partly biodegradable. Neither is recyclable in practice.
Frequently Asked Questions
Can you put peel-and-stick over traditional wallpaper?
Not recommended. The texture and seams of the old wallpaper will show through, and the adhesive may not bond well to the old wallpaper’s surface. Remove old wallpaper first (or at minimum, skim-coat over it for a smooth surface).
Does peel-and-stick damage walls?
On properly primed and painted walls, no — quality peel-and-stick removes cleanly. On unprimed drywall, flat/matte paint, or textured walls, there’s a higher risk of pulling paint. Always test a small hidden area first, and prime bare drywall before applying.
Is traditional wallpaper making a comeback?
It’s been back for years. Wallpaper (both types) has seen steady growth since the mid-2010s, driven by bold maximalist trends, Instagram-worthy interiors, and the peel-and-stick revolution making wallpaper accessible to renters and DIYers for the first time.
Which is better for bathrooms?
Both work if you choose vinyl. Traditional vinyl wallpaper (paste-the-wall) is the most durable bathroom option and handles steam best long-term. Peel-and-stick vinyl is excellent for powder rooms and ventilated bathrooms, with the advantage of easy removal. Avoid non-vinyl options in either type for bathrooms.
Can I install peel-and-stick on textured walls?
Light orange-peel texture is usually fine. Heavy knockdown, popcorn, or deep textures will prevent proper adhesion and show through. For heavily textured walls, skim-coat first or choose traditional wallpaper, which is more forgiving of texture (the paste fills minor imperfections).
By Ella Knight
🛒 Shop This Look:




1 thought on “Peel-and-Stick vs Traditional Wallpaper: Honest Comparison”
Comments are closed.