
As an Amazon Associate, I earn from qualifying purchases. This means I may earn a commission if you purchase through links on this page — at no extra cost to you.
By Ella Knight
We built three gallery walls at $50, $200, and $500 budgets to find out if spending more actually looks better. The $50 wall (printable art, IKEA frames) looked surprisingly good. The $200 wall (quality frames, professional prints) was noticeably more polished. The $500 wall (solid wood, custom art) was stunning but the improvement over $200 was marginal. The sweet spot for most people is $150-200.
The $50 Wall
What We Bought
- Etsy printable bundle (20 designs): $8
- 8 IKEA Ribba frames: $32
- Home printing on cardstock: $5
- Nails: $3 (already owned)
- Total: $48
Result
Honestly impressive. The printable art looked great once framed. The IKEA frames are simple but clean. From 6 feet away, you’d never guess the budget. Close up, the home-printed art lacks the richness of professional prints.
Rating: 7/10
The $200 Wall
What We Bought
- Curated art prints (Society6): $45
- 8 Target Studio McGee frames: $64
- Professional printing (mpix.com): $48
- Quality hanging kit + level: $25
- White mats: $18
- Total: $200
Result
Noticeably better. The professional prints have richer colors and sharper details. The Target frames feel more substantial. The mats make everything look intentional and gallery-quality.
Rating: 9/10
The $500 Wall
What We Bought
- Original art prints (Etsy artists): $120
- Solid wood frames (Craig Frames): $180
- Museum-quality printing: $80
- Professional hanging consultation: $75
- Conservation mats: $45
- Total: $500
Result
Gorgeous. The solid wood frames have a heft and finish that budget frames can’t match. The original art is unique. But standing back, the difference from the $200 wall is subtle — you’d need to look closely to justify the extra $300.
Rating: 9.5/10
How to Make a Budget Gallery Wall Look Expensive
The gap between a $50 wall and a $200 wall isn’t really about money — it’s about a handful of finishing details that cost almost nothing. These are the tricks that make inexpensive art and frames read as intentional and polished.
Mats are the great equalizer
A white or cream mat between the art and the frame is the single biggest visual upgrade per dollar in gallery walls. Mats create breathing room, make small art feel substantial, and give mismatched pieces a unified, gallery-quality look. Pre-cut mats in standard sizes cost very little, and they transform a $3 thrift-store frame into something that looks deliberately designed. When everything is matted consistently, viewers perceive the collection as curated rather than assembled.
Unify with frame color
Mismatched thrift-store frames look eclectic-charming at best and yard-sale at worst. One can of spray paint in matte black, white, or gold unifies any collection of frames into a deliberate set. The key is committing fully — paint every frame, including the backs’ visible edges, and use two thin coats rather than one thick one to avoid drips. Let frames cure fully (24 hours) before handling to prevent fingerprints in the finish.
🛒 Shop This Look:
Mind the glass
Dirty, scratched, or wavy thrift-store glass cheapens the art behind it instantly. Clean every piece of glass inside and out before framing — you’ll be shocked how many “bad prints” were just filthy glass. Replace cracked or heavily scratched glass; a glass cutter at the hardware store will cut replacements to size for very little, or frame shops sell standard sizes off the shelf. Consider skipping glass entirely for textile art and some prints — no glass reads as modern and intentional, and it eliminates reflection problems.
Spacing and alignment do the heavy lifting
Expensive-looking gallery walls share one trait regardless of budget: consistent spacing and level hanging. Measure your gaps (2–3 inches between frames), use a level, and step back frequently. A $50 wall hung with precision looks better than a $500 wall hung crookedly. This is free — it just takes patience.
Light it like you mean it
Art in a dim corner looks like an afterthought at any budget. A $15 picture light, a repositioned floor lamp, or even just choosing the wall that gets natural daylight transforms how the whole arrangement reads. Good lighting flatters inexpensive prints enormously — it adds the sense of importance that makes viewers take the art seriously.
Where to Spend vs. Where to Save
Not every dollar in a gallery wall budget works equally hard. Here’s how to allocate spending for maximum visual return, based on what actually separates the budget wall from the premium one.
Spend on: the art itself
The print is what you actually look at. Upgrading from home printing to professional printing — or from free downloads to art you genuinely love from independent artists — makes the biggest visible difference. Richer color, sharper detail, and better paper are noticeable at normal viewing distance, not just up close. This is the last place to cut.
Spend on: mats
As covered above, mats punch far above their price. Conservation-quality mats also protect art from the acids in cheap backing boards — relevant if any piece matters to you long-term.
Save on: frames (with standards)
Frames are the easiest place to save because thrift stores are full of solid-wood frames for a few dollars each. The standard to hold: check that corners are tight, hanging hardware is intact, and glass isn’t cracked. Ugly finishes don’t matter — paint fixes everything. What doesn’t fix is warped or broken joinery, so inspect the corners before buying.
Save on: hanging hardware
Basic picture-hanging hooks and nails do the job at any budget. The premium hanging kit is nice but doesn’t change how the wall looks — it changes how pleasant installation day is. If your budget is tight, spend the hardware money on better art instead.
The upgrade path
Here’s the smart sequence if you’re starting at $50 and want to climb: first upgrade the art (better prints, ~$40), then add mats (~$20), then replace the weakest frames one at a time with thrifted solid wood (~$5 each). Each step is independently worthwhile, and you never throw away earlier investments.
Planning Your Gallery Wall Before You Spend a Dollar
The most expensive gallery wall mistake isn’t overspending — it’s buying frames and art with no plan, then discovering they don’t work together. An hour of planning saves both money and regret.
🛒 Shop This Look:
Measure first, shop second
Measure your wall and decide the arrangement’s footprint before buying anything: aim for the arrangement to span roughly two-thirds of the wall width (or 60–75% of the sofa width if it’s above furniture). Count how many pieces you need and what sizes. Shopping with a list — “one 16×20 anchor, four 8×10s, three 5×7s” — prevents the aimless accumulation of frames that don’t compose into anything.
Audition on the floor
Lay out your frames (or paper templates cut to the sizes you plan to buy) on the floor and arrange them before spending. This costs nothing and reveals problems early: too many small pieces with no anchor, orientations that don’t balance, a footprint that’s too small for the wall. Photograph the floor layout and look at the photo — it shows the composition more honestly than looking down at it.
Choose your cohesion rules early
Decide before shopping: will frames match or be painted to match? Will mats be consistent? Will the art share a palette? These decisions determine what you buy. The shoppers who end up with chaotic walls are usually the ones who bought each piece because it was cute individually, with no thought to how the pieces relate. A wall of individually cute, collectively clashing art is the most common budget-gallery failure — and it’s entirely a planning failure, not a money failure.
Maintaining and Updating Your Gallery Wall Over Time
A gallery wall isn’t a install-it-and-forget-it project — it’s a living display. A little ongoing maintenance keeps it looking intentional for years, and periodic updates keep it feeling fresh without starting over.
Seasonal rotations. You don’t need new art to refresh the wall — just rotate what you have. Swap two or three pieces between rooms, or between the gallery wall and a leaning stack on a dresser. Art you haven’t looked at in months feels new again after a few weeks in storage. This is also the moment to fix anything that’s drifted: re-level tilted frames, tighten loose wire, replace a faded print.
Cleaning schedule. Dust frames and glass every few months with a soft dry cloth — dust buildup on top edges is visible from across the room and instantly ages the display. Check the backs annually: adhesive strips lose grip over time (replace them proactively, not after a frame falls), and wire can stretch. In sunny rooms, watch for fading and rotate vulnerable pieces away from direct light.
Growing the wall. Gallery walls can evolve — adding a piece for a new family member, a trip, or a life event is one of their great joys. The rule for additions: they must follow the existing cohesion rules (frame finish, mat color, palette). One off-rule piece becomes the new wildcard; two becomes a trend that needs its own logic. When the wall gets crowded, edit rather than expand — remove the weakest piece to make room for the new one.
Knowing when to start fresh. If more than half the pieces no longer fit your style, don’t renovate piecemeal — take the whole wall down and start over with a new plan. Gallery walls have a natural lifespan of about 3–5 years before tastes shift enough to warrant a rethink. That’s not failure; it’s the format working as intended. The frames and hardware are reusable — only the art and arrangement change.
The Verdict
For most people, $150-200 is the sweet spot. You get 90% of the premium look for 40% of the cost. Go budget ($50) if you’re experimenting or decorating a temporary space. Go premium ($500) only if this is a forever home and you want heirloom quality.
Photo Documentation
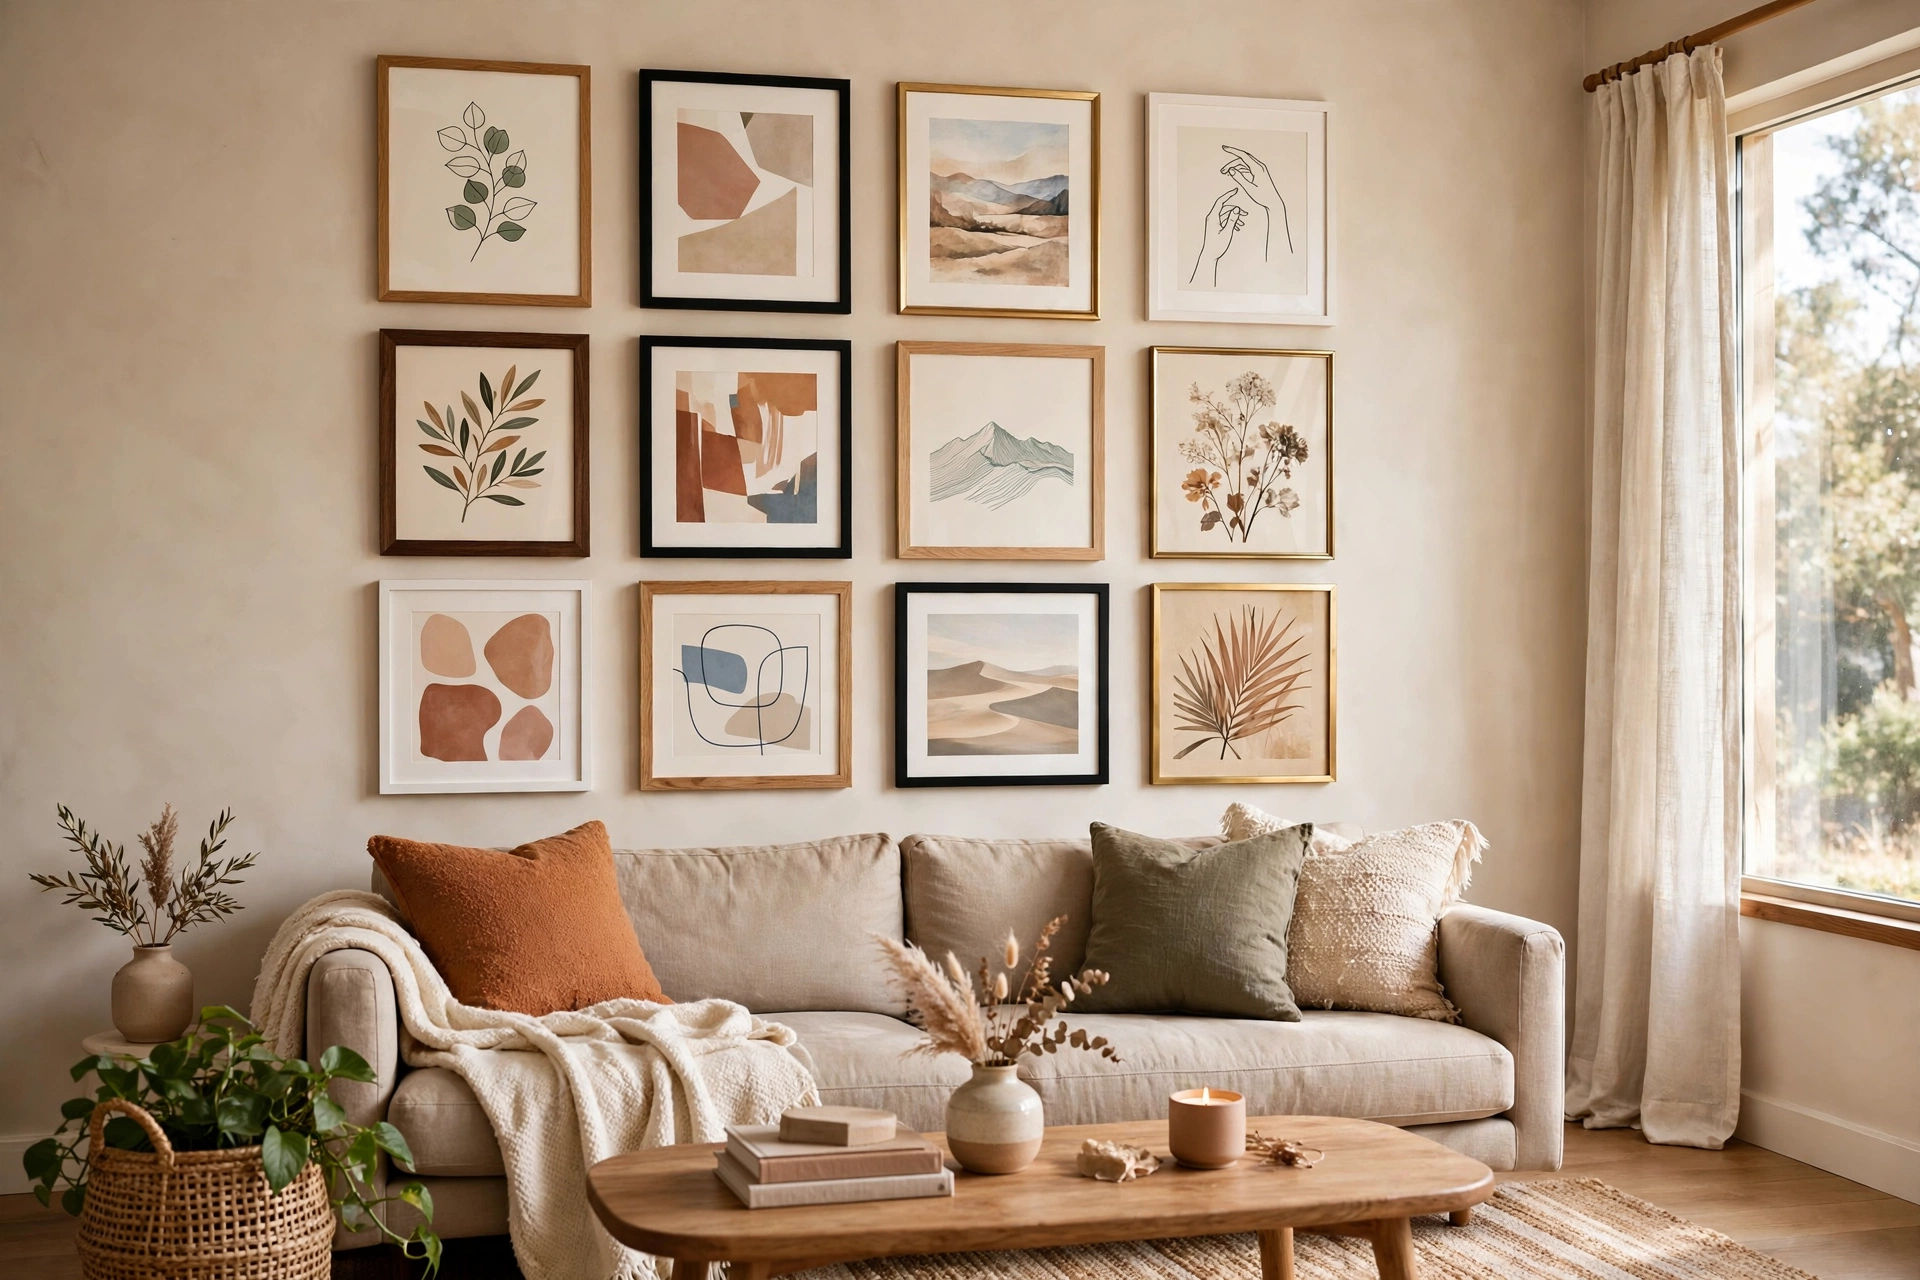
[Side-by-side photos of all three walls would appear here, shot from the same distance and angle for fair comparison.]
🛒 Shop This Look:



