
As an Amazon Associate, I earn from qualifying purchases. This means I may earn a commission if you purchase through links on this page — at no extra cost to you.
Upcycling is the process of transforming unwanted or discarded materials into something of higher quality or greater value — in home decor, that means turning old furniture, scraps, or thrift-store finds into stylish pieces for your home. Unlike recycling, which breaks materials down, upcycling reimagines them as-is, giving you unique decor while keeping items out of the landfill.
Upcycling vs. Recycling: What’s the Difference?
People often use the two terms interchangeably, but they describe different processes. Understanding the distinction helps you see why upcycling is such a natural fit for home decor.
Recycling
Recycling breaks a material down to its raw components so it can be remade into something new — melting glass bottles into new glass, shredding paper into pulp, melting aluminum cans into new cans. The process typically consumes significant energy and water, and the resulting product is often of equal or lower quality than the original (this is sometimes called “downcycling,” like turning office paper into cardboard). As a DIY decor enthusiast, recycling is mostly out of your hands — it happens at industrial facilities.
Upcycling
Upcycling skips the breakdown step entirely. You take an existing object and creatively transform it into something more useful or beautiful. A wooden pallet becomes a coffee table. Old jam jars become bathroom storage. The object’s value increases rather than resetting to zero. All you need is imagination, basic tools, and a little effort — no industrial plant required.
Why Upcycling Matters for Home Decor
Upcycling has become one of the biggest movements in home styling, and it’s easy to see why:
- It saves money. The raw materials are things you’d otherwise throw away or items that cost pennies at thrift stores and flea markets. Decor that would cost hundreds at a boutique can be made for the price of paint and hardware.
- It’s environmentally friendly. Every piece you upcycle is one less item heading to a landfill and one less new product that needs manufacturing, packaging, and shipping.
- You get one-of-a-kind pieces. Mass-produced decor looks the same in every home. An upcycled piece carries your taste and creativity — nobody else has exactly the same item.
- It’s accessible to beginners. Many upcycling projects need only cleaning, sanding, and painting. You can start this weekend with almost no experience or specialized tools.
- It adds character. Older items often have solid construction and materials (real wood, metal hardware) that are hard to find in budget furniture today. Upcycling preserves that quality.
10 Upcycled Home Decor Examples
Here are ten proven ideas, each with a quick note on how it works so you can pick the projects that match your skill level.
🛒 Shop This Look:
1. Pallet Wood Coffee Table
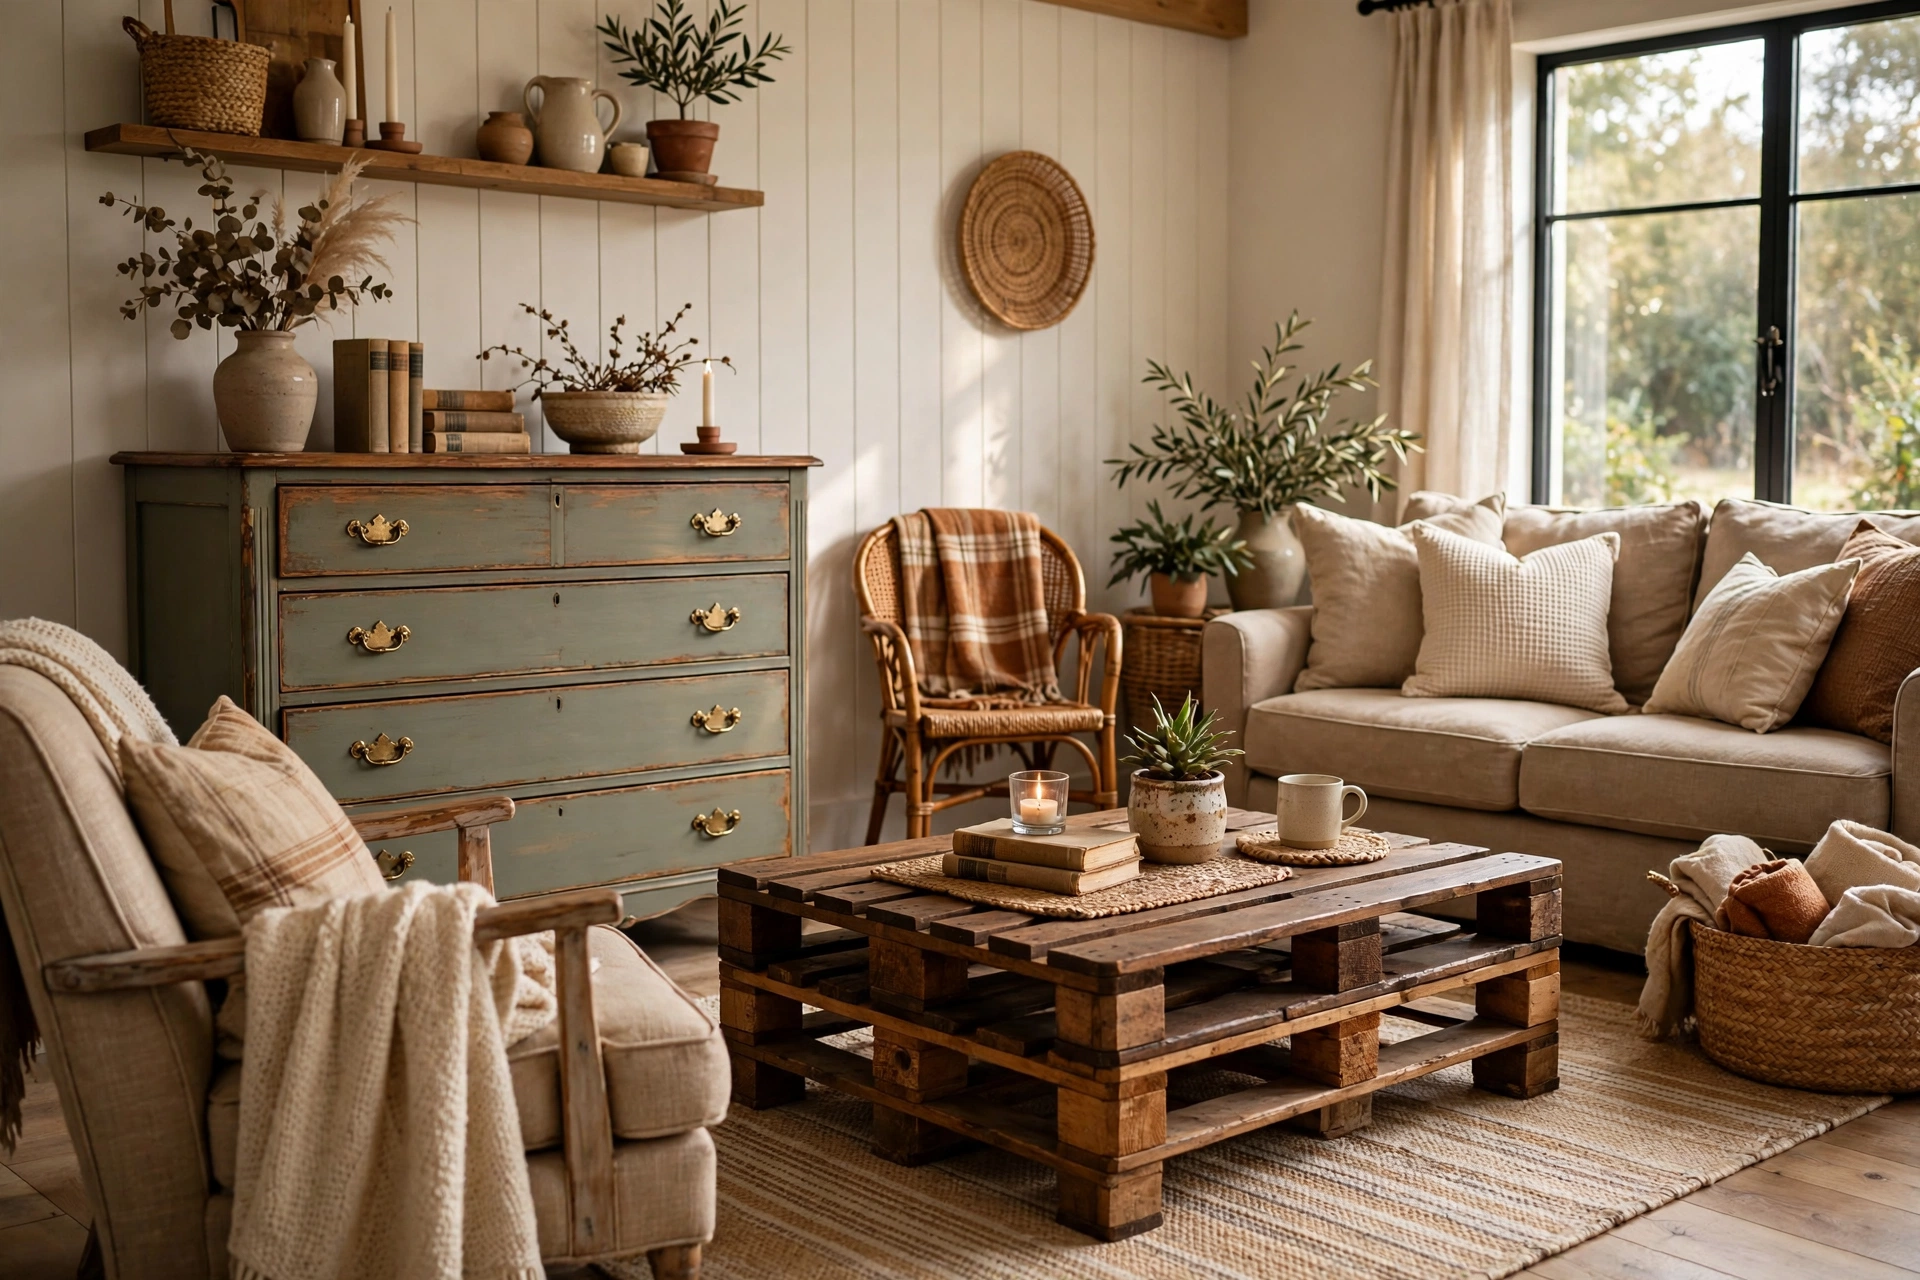
How it works: Disassemble a heat-treated wooden pallet (look for the “HT” stamp to confirm it wasn’t chemically treated), sand the planks smooth, cut them to size, and screw them into a simple frame. Add hairpin legs or caster wheels, then seal with furniture wax or polyurethane. Cost: mostly free beyond sandpaper and finish.
2. Mason Jar Bathroom Organizers
How it works: Clean old jam, pasta sauce, or mason jars, then mount them under a bathroom shelf or on a wooden board with hose clamps for a rustic organizer. Use them for cotton balls, toothbrushes, or makeup brushes. A coat of spray paint on the lids ties the set together.
3. Ladder Blanket Rack
How it works: An old wooden ladder — the kind gathering dust in a garage — becomes a leaning blanket or towel rack. Clean it, apply a light sanding and a coat of paint or stain, then lean it against the wall at a slight angle. Drape throw blankets over the rungs for instant texture in a living room or bedroom.
4. Drawer Pull Planter Shelves
How it works: Salvage drawers from a broken dresser, sand and paint them in your accent color, and mount them directly on the wall as open shadow-box shelves. They add depth to a wall and work beautifully for plants, books, or small decor pieces.
5. Tin Can Pendant Lights
How it works: Large tin cans (from coffee or bulk foods) can be punched with decorative patterns using a nail and hammer, painted, and fitted with an inexpensive pendant light kit. The punched holes cast beautiful patterned light on the walls — a striking effect for a kitchen or patio.
6. Window Frame Photo Display
How it works: Remove the glass from an old multi-pane window, clean and repaint the frame, then clip photos to the muntins (the dividers) with mini clothespins or attach wire across the panes. Hang it as a large-scale photo collage with built-in farmhouse or vintage character.
7. Sweater Pillow Covers
How it works: Cut the body of a worn-out wool or cable-knit sweater to pillow size, sew three sides (or use fabric glue for a no-sew version), and insert a pillow form. Cozy, textured pillow covers for the cost of nothing — and cable knits look expensive.
8. Suitcase Side Table
How it works: Stack two or three vintage hard-shell suitcases, fasten them together with straps or screws, and top them with a tray or leave the top case as the tabletop. Add short furniture legs if you want height. The result is a charming side table with hidden storage inside the cases.
🛒 Shop This Look:
9. Crate Wall Storage
How it works: Wooden wine or apple crates, sanded and stained, can be mounted on a wall in an arrangement to create cubby-style storage. They’re sturdy enough for books, plants, and kitchen supplies, and the modular design lets you rearrange the layout whenever you like.
10. T-Shirt Rag Rug
How it works: Cut old t-shirts into strips, braid the strips, and coil the braid into a rug, stitching as you go (or use a no-sew method with a hula hoop loom). It’s a zero-cost way to get a soft, washable, colorful rug for a bathroom, kids’ room, or entryway.
Tips for Successful Upcycling
- Start with clean, sturdy items. Check thrift-store furniture for solid joints and real wood — particle board rarely survives transformation.
- Prep is everything. Cleaning, sanding, and priming take more time than the fun painting step, but they determine whether the finish lasts.
- Work with the item’s character. The charm of upcycling is the story in the piece. Don’t sand away every scratch on a vintage find — some wear is the point.
- Safety first. Wear a mask when sanding (especially painted furniture, which may contain old lead paint) and work in a ventilated space when using spray paint or finishes.
Upcycling turns decorating into a creative treasure hunt. The next time you’re about to throw something out or walk past a thrift store, pause and ask: what could this become? Chances are, the answer is your home’s next favorite piece.
Where to Find Upcycling Materials
Good upcycling starts with good sourcing — and the best materials are often free. Curbside finds and “free” listings on local marketplaces are the classic source: solid wood furniture with good bones but ugly finishes is the ideal upcycle candidate. Look for dovetail joints, solid wood (not particleboard), and sturdy construction; surface damage is irrelevant since you’ll be refinishing. Thrift stores offer the best cost-to-quality ratio for smaller items — frames, vases, baskets, and linens for a few dollars each. Visit regularly rather than expecting to find everything in one trip.
Architectural salvage yards are treasure troves for larger projects: old doors become headboards or tables, windows become wall decor, and reclaimed lumber has character no new wood can match. Your own garage and attic deserve a hard look before you buy anything — ladders, suitcases, crates, and old textiles are all classic upcycle bases hiding in plain sight. Construction site offcuts (ask permission first) yield free lumber, and fabric stores’ remnant bins provide upholstery-weight fabric at a fraction of full price. The sourcing habit that separates successful upcyclers: always be looking, and buy (or take) good bones when you see them, not when you need them — the project idea follows the material as often as the reverse.
Finishing Basics: What Makes Upcycles Look Professional
The difference between “craft project” and “designer piece” is almost entirely in the finishing. Whatever you’re making, these steps elevate the result: prep thoroughly — clean, sand, and prime before painting or staining, because finishes magnify surface flaws instead of hiding them. Use quality paint — a $40 gallon of furniture-grade paint over a free dresser still costs less than a new dresser and looks infinitely better than cheap paint. Finish edges and undersides — the parts people don’t “see” are exactly what people notice subconsciously; a fully finished piece feels intentional.
Hardware upgrades are the highest-ROI finishing move: new knobs, pulls, or hinges (even $2–$3 each) instantly modernize old furniture. Seal your work — polyurethane, wax, or polycrylic over paint protects the finish and gives it the subtle sheen of manufactured furniture. And know when restraint is the finish: sometimes the best upcycle is just cleaning, oiling, and repairing a beautiful old piece rather than painting it. Not everything needs to be transformed — sometimes it just needs to be revealed.
🛒 Shop This Look:



