

As an Amazon Associate, I earn from qualifying purchases. This means I may earn a commission if you purchase through links on this page — at no extra cost to you.
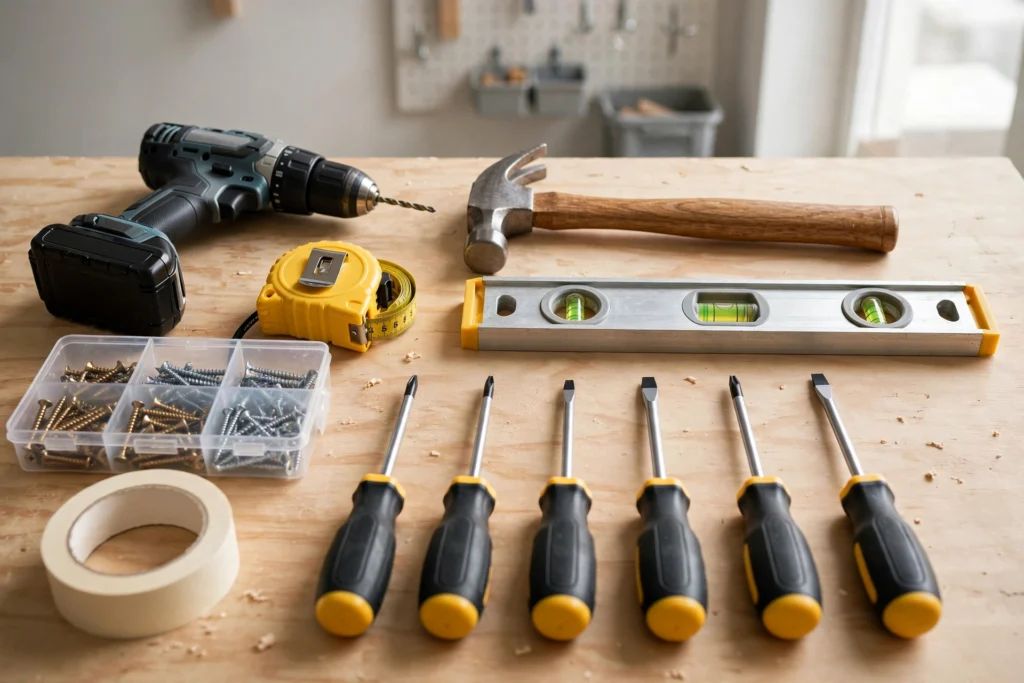
For basic DIY home decor, you need a starter toolkit of about 10–12 tools costing roughly $100–150 total: a cordless drill, hammer, tape measure, level, utility knife, screwdriver set, hand saw or jigsaw, sandpaper assortment, clamps, and safety gear. Buy the essentials first, add specialty tools only when a specific project demands them, and upgrade to better versions as your skills grow.
The Starter Toolkit: What Each Tool Does
These are the tools that cover roughly 90% of beginner decor projects — hanging, assembling, painting prep, and simple builds.
1. Cordless Drill / Driver (~$40–70)
The single most useful DIY tool. It drills pilot holes, drives screws, and — with inexpensive bit attachments — can sand, mix paint, and more. Get an 18V or 20V model from a major brand so batteries are easy to replace. This is the one tool worth spending a little extra on.

DEWALT 20V MAX XR Cordless Drill/Driver, Tool Only (DCD800B)
Best for drilling pilot holes and driving screws. Tool only — battery and charger sold separately.
2. Claw Hammer (~$10–15)
For driving and removing nails, light demolition, and tapping pieces into place. A 16 oz hammer with a comfortable grip handles everything in decor work. You probably already own one — check before buying.

STANLEY FatMax Rip Claw Hammer, 16-Oz (51-163)
Best for driving and removing nails, light demolition, and tapping pieces into place.
3. Tape Measure (~$8–12)
“Measure twice, cut once” only works if you can measure. A 25-foot tape with a wide, standout blade is easier to use solo. You’ll reach for this on literally every project.
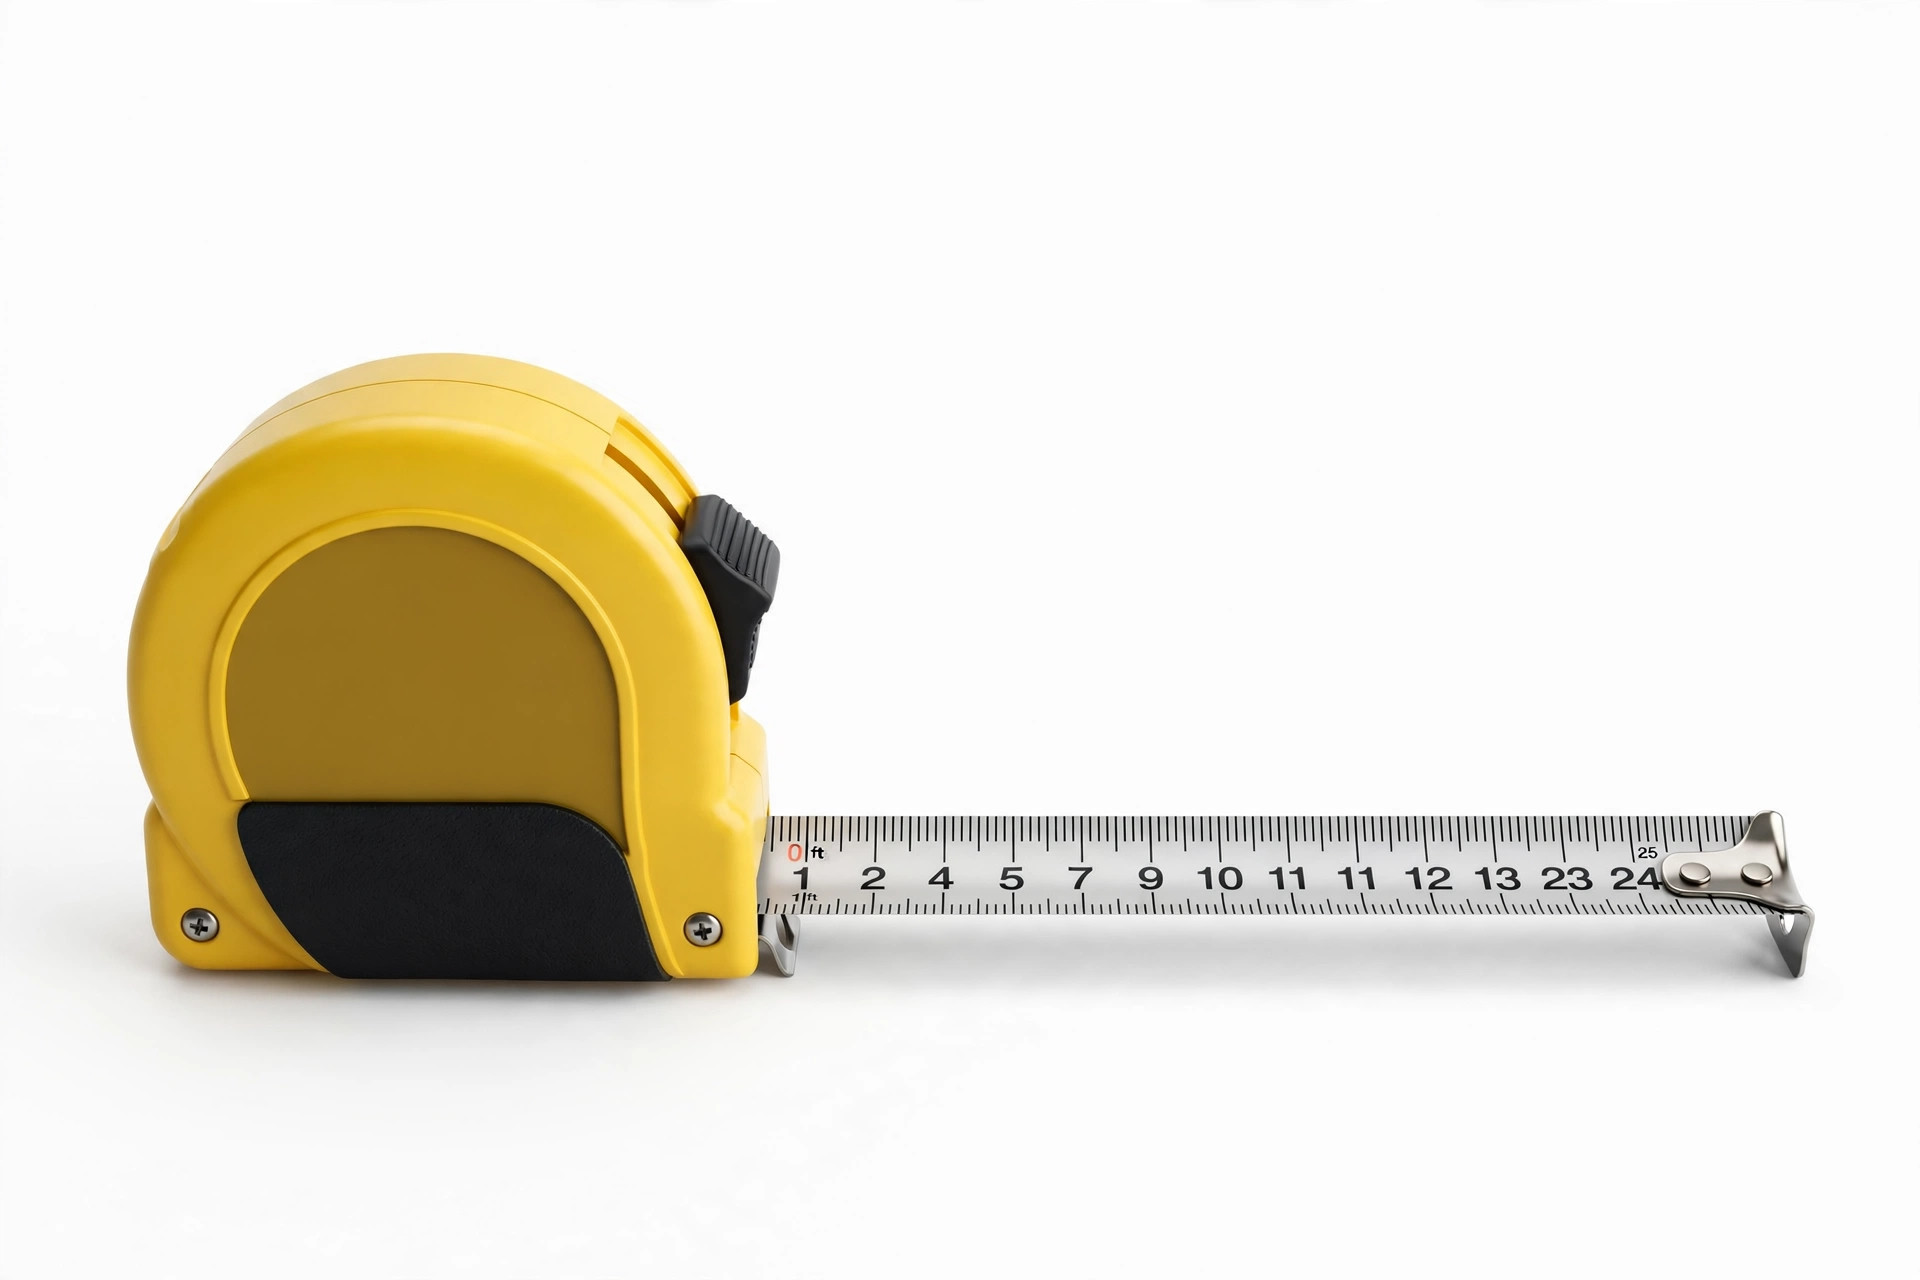
STANLEY PowerLock Tape Measure, 25-Foot (33-525)
Best for measuring twice before you cut, on nearly every project.
4. Spirit Level (~$8–15)
The difference between gallery-worthy shelves and visibly crooked ones. A 24-inch level covers most hanging jobs; a small torpedo level fits tight spots. Many phones have a level app, but a real level is faster and more accurate.

Empire 24" True Blue Magnetic I-Beam Level (EM55.24)
Best for hanging shelves straight and checking that frames are level.
5. Screwdriver Set (~$10–15)
Get a set with multiple Phillips and flathead sizes, plus a magnetic tip holder. Even with a drill, hand screwdrivers are better for delicate hardware, electrical cover plates, and final tightening.
Klein Tools 32500MAG Magnetic Multi-Bit Screwdriver / Nut Driver, 11-in-1
Best for delicate hardware, electrical cover plates, and final tightening.
6. Utility Knife (~$8–12)
Cuts cardboard, trims wallpaper, scores drywall, opens packaging, and shaves wood edges. Buy one with a retractable blade and keep spare blades on hand — a dull blade is a dangerous blade.
Stanley DynaGrip Retractable Utility Knife (10-779)
Best for cutting cardboard, trimming wallpaper, scoring drywall, and opening packaging.
7. Hand Saw or Jigsaw (~$15–25 for hand saw, ~$50–80 for jigsaw)
A simple hand saw cuts boards, dowels, and trim just fine for beginners. Upgrade to a jigsaw when you want curved cuts or faster work. Either one unlocks the whole world of simple wood projects: shelves, frames, planter boxes.
8. Sandpaper Assortment (~$8–12)
Sanding is the unglamorous step that makes paint and stain look professional. Stock coarse (60–80 grit) for stripping, medium (120 grit) for smoothing, and fine (220 grit) for finishing. A sanding block or sponge makes hand-sanding far easier.
🛒 Shop This Look:
9. Clamps (~$15–25 for a set)
An extra pair of hands that never gets tired. Bar clamps or quick-grip clamps hold pieces together while glue dries and keep boards steady while you saw. Two medium clamps cover most beginner needs.
10. Safety Gear (~$15–20)
Non-negotiable: safety glasses, a dust mask (N95 or P100 for sanding and spray paint), and work gloves. Decor DIY is low-risk, but eye injuries and lung irritation from dust are the most common beginner mistakes — and the cheapest to prevent.
11. Stud Finder (~$15–25)
Hanging anything heavy — shelves, large mirrors, gallery walls — requires anchoring into studs or using proper wall anchors. A basic electronic stud finder takes the guesswork out and prevents the dreaded midnight shelf collapse.
12. Paint Supplies (~$20–30 as a kit)
Good brushes (one 2-inch angled brush for trim, one 3-inch flat for surfaces), a roller with covers, painter’s tape, a paint tray, and drop cloths. Quality brushes genuinely change your results — cheap brushes shed bristles into your finish.
What to Buy First vs. Later
Buy first (the true essentials)
If your budget is tight, start here — these five handle hanging, assembling flat-pack furniture, and basic repairs:
- Tape measure
- Level
- Hammer
- Screwdriver set
- Utility knife
Total: roughly $40–65. With these, you can hang every frame, shelf, and curtain rod in your home correctly.
Buy next (unlocks building and refinishing)
- Cordless drill/driver
- Sandpaper assortment + sanding block
- Clamps
- Stud finder
- Safety gear
Buy later (project-specific)
Only buy these when a specific project calls for them: jigsaw, miter saw, brad nailer, orbital sander, heat gun, staple gun (for upholstery). Buying tools “just in case” is how $500 disappears into a toolbox you never open.
Budget Tiers
Tier 1: Under $75 — The Renter’s Kit
The five essentials above, bought at a hardware store’s budget line. Enough to hang, assemble, and do no-damage decorating (adhesive hooks, leaning art, tension rods).
Tier 2: $100–175 — The Serious Beginner
Add the cordless drill, clamps, stud finder, safety gear, and paint supplies. This kit handles refinishing furniture, building simple shelves, and most Pinterest-style projects.
Tier 3: $250–400 — The Committed DIYer
Add a jigsaw, orbital sander, and a couple of project-specific tools. At this point you’re building real furniture pieces and the tools pay for themselves within a few projects.
Smart Buying Tips
- Stick to one battery platform. Once you pick a cordless brand, every additional tool is cheaper as a “bare tool” sharing the same batteries.
- Buy used for hand tools. Hammers, clamps, and levels don’t wear out — thrift stores and garage sales are full of them for a few dollars.
- Rent the big stuff. Need a miter saw for one weekend? Renting costs a fraction of buying and storing it.
- Don’t buy kits full of filler. Those 200-piece tool sets look like value but include dozens of bits you’ll never use. Buy individual tools you actually need.
Start small, buy for the project in front of you, and let your toolkit grow with your skills. The best tool collection isn’t the biggest — it’s the one where every tool earns its place.
🛒 Shop This Look:
Storing and Organizing Tools in a Small Space
A starter toolkit is only useful if you can find the right tool when you need it. Most DIYers don’t have a garage workshop — they have a closet corner, a laundry shelf, or the trunk of a car. Here’s how to keep 12 tools organized in minimal space.
The toolbox vs. the pegboard
For renters and small-space dwellers, a single sturdy toolbox or tool bag beats scattered drawers. Everything lives in one grab-and-go container, which means you’ll actually bring the right tools to the project instead of improvising. Look for one with a removable tray — small items (bits, blades, pencils) live in the tray, larger tools below. A 19-inch toolbox holds the entire starter kit listed above.
If you have a spare wall — inside a closet door, a laundry room, even a hallway — a small pegboard is the best upgrade you’ll ever make. Tools hung on hooks are visible at a glance, which means you reach for the level instead of eyeballing, and the clamps instead of asking someone to hold things. A 2×2 foot pegboard panel holds the full starter kit and costs less than a single mid-range tool.
The “first five” rule
Keep your five most-used tools (tape measure, level, hammer, screwdriver, utility knife) in the most accessible spot — the top tray, the front of the pegboard, the bag’s outer pockets. The tools you use on every project should never be buried. Everything else can live a layer deeper.
Small items need homes too
The tools that disappear are always the small ones: drill bits, wall anchors, pencils, spare blades. A small parts organizer — the kind with adjustable dividers — prevents the junk-drawer effect. Label each compartment with a label maker or masking tape. It feels excessive until the day you need a specific anchor and find it in ten seconds instead of buying another variety pack.
Basic Tool Maintenance That Doubles Tool Life
Beginner tools don’t wear out from use — they wear out from neglect. Ten minutes of maintenance a few times a year keeps a $100 toolkit working like new for a decade.
Blades and bits: the consumables
Utility knife blades, saw blades, and drill bits are consumables, not lifetime purchases. A dull blade is more dangerous than a sharp one — it requires more force, slips more easily, and tears instead of cutting. Change utility blades when you feel yourself pushing harder than usual; for most DIYers that’s every few projects. Wipe saw blades with a resin remover when pitch builds up, and replace drill bits when they skate across the surface instead of biting in.
Battery care for cordless tools
Lithium-ion batteries — the kind in every modern cordless drill — last longest when stored at partial charge in a cool, dry place. Don’t leave them on the charger for weeks, and don’t store them fully dead. If a battery won’t hold charge after a couple of years of regular use, that’s normal lifespan, not a defect — replacement batteries cost far less than a new drill, which is another reason to buy into a major brand’s battery platform.
Preventing rust and grime
Wipe metal tools with a lightly oiled cloth (any household oil works) before storing them, especially in humid climates or unheated spaces. Sandpaper stored in a sealed bag stays sharp longer — moisture dulls the grit. Keep a small brush in your toolbox for sweeping dust out of the drill’s vents and the tape measure’s housing; grit in moving parts is what kills tools slowly.
Calibrate your measuring tools
A tape measure that’s been dropped can bend at the hook — the little metal tab at the end is supposed to slide by exactly one hook-thickness to account for inside vs. outside measurements. If yours is bent, your measurements are off by a consistent amount on every project. Check it against a known standard (a speed square or another tape) once a year. Levels can also go out of true; test yours by placing it on a flat surface, noting the bubble, then flipping it end-for-end — if the reading changes, the level is lying to you.
Treat your starter kit well and it will outlast your beginner phase. The tools you buy first are the ones you’ll reach for forever — a ten-year-old hammer that fits your hand beats a new one every time.
🛒 Shop This Look:



