
As an Amazon Associate, I earn from qualifying purchases. This means I may earn a commission if you purchase through links on this page — at no extra cost to you.
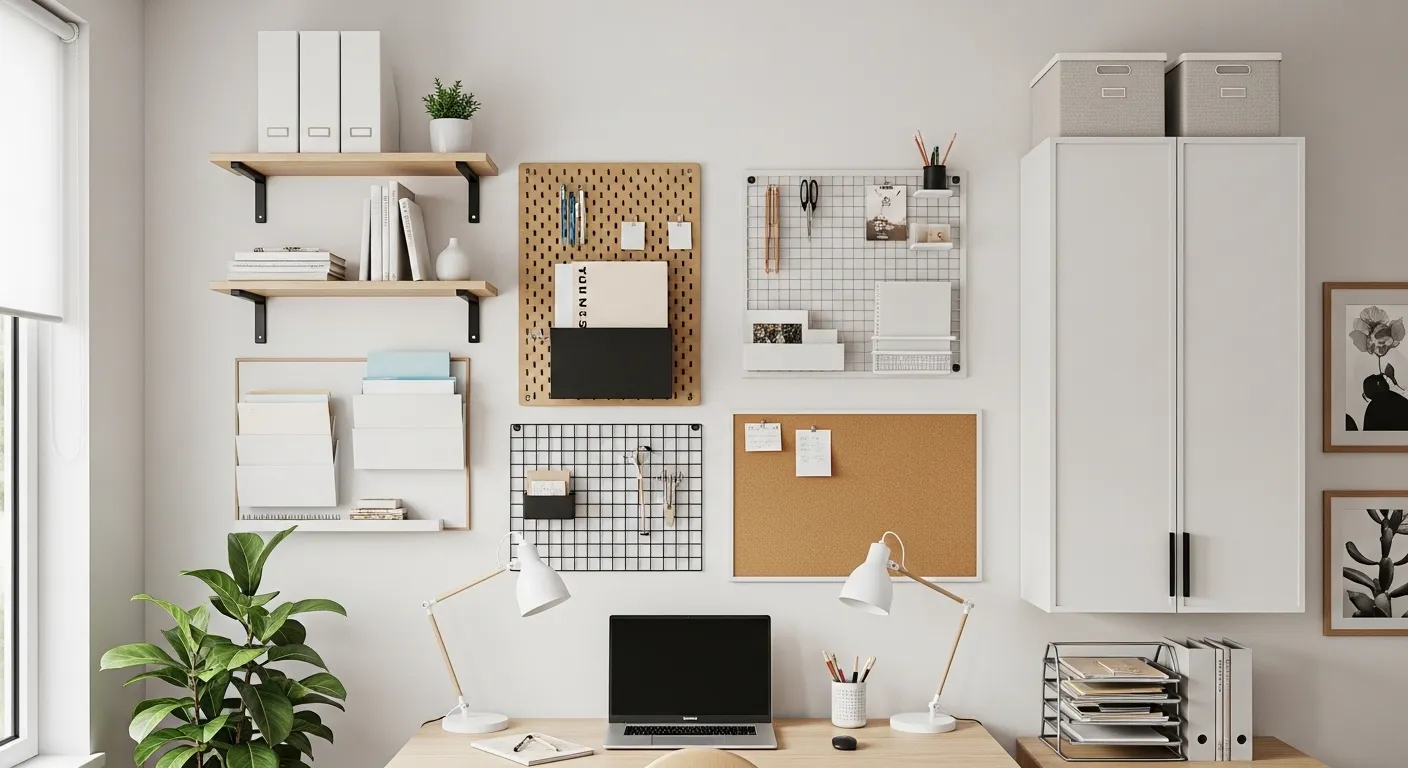
A home office wall is the second desk. It holds the things that would otherwise pile on the work surface: reference papers, tools, chargers, notes, and the daily kit you reach for without thinking. Planned well, it keeps the desk clear and the work moving. Planned as an afterthought, it becomes a cluttered display that gets in the way. This guide shows how to plan the wall from the work outward: what you actually use, where each thing belongs, and how to fix it so it stays put.
Start With the Work, Not the Wall
Before buying anything, list what the wall has to hold. Walk through a normal workday and note every item that leaves the desk and comes back: pens, notebooks, a headset, a charger, reference sheets, incoming mail, a calendar, and whatever tools your work needs. Then sort the list into four groups: daily tools, weekly papers, reference material, and display. Daily tools earn the easiest spot. Weekly papers need a visible, grouped home. Reference material can sit higher or further away. Display earns space only after the first three are placed. This audit prevents the most common mistake: buying storage first and then discovering half of it holds nothing you use.
Count the items in each group, too. A pegboard sized for three tools will not hold twelve. A single file pocket will not hold a month of mail. Rough counts are enough: a handful, a dozen, a stack. The point is to size each zone to the real load, not to a photo of someone else’s wall.
Divide the Wall Into Zones
Think of the wall in three horizontal bands. The middle band, roughly from desk height to eye level, is the working band: everything here should be reachable without standing. Daily tools, the current week’s papers, and the calendar belong here. The band above eye level is reference territory: shelves for books, binders, and supplies you need weekly rather than hourly. The band below desk height, if the wall extends there, suits baskets or a low rail for bags and cables. If the wall itself still needs color or art before you load it with storage, sort that first — see the guide to decorating the home office wall — because painting or hanging art after the organizers are fixed means taking everything down again.
Within the working band, keep one rule: the most-used item gets the closest spot. Pens and the notebook sit at arm’s reach beside the dominant hand. The calendar sits where a glance catches it, usually above or beside the monitor. Items used once a day or less move to the edges of the band. When every item has a distance that matches its frequency, the wall stops feeling crowded even when it holds a lot.
Pegboards: The Flexible Core
A pegboard earns its place because it changes with the work. Hooks, bins, and small shelves move in seconds, so the wall adapts when a project changes or a new tool arrives. That flexibility matters most in a small office, where a fixed shelf layout goes stale fast. Choose a board that covers the working band without crowding the monitor: wide enough for the daily kit, with breathing room at the edges so the wall does not read as one solid block of gear.
Mount a pegboard into studs or with anchors rated above the loaded weight, and test it empty before loading: tug each corner and check for flex. Hooks should hold items with the opening facing up and the weight hanging close to the board, not swinging from a long hook. Group by task rather than by type: all writing tools together, all cables together, all reference cards together. A pegboard grouped by task is faster to use than one sorted into neat but meaningless rows.
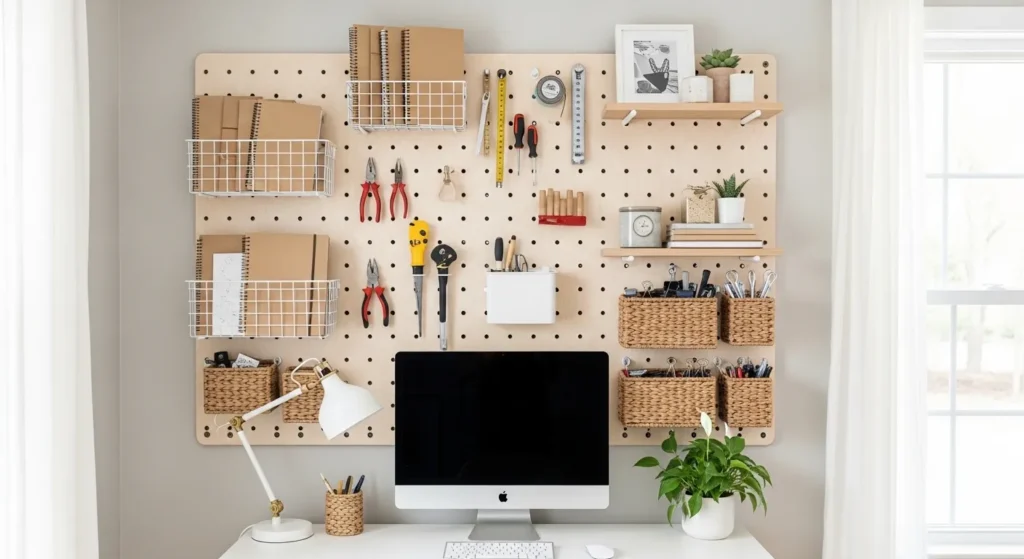
Best for creating a flexible, customizable pegboard command center.
Shelves for What You Grab Daily
Floating shelves suit the items you grab and return constantly: a notebook stack, a small plant, a speaker, a reference book. Keep shelves shallow — deep enough for the item plus a finger’s width, no deeper — so nothing hides behind something else. Two short shelves beat one long one in a small office, because a long shelf invites a row of unrelated clutter while short shelves force a decision about what earns each spot.
Space shelves by what sits on them, not by a fixed gap. Measure the tallest item, add clearance for lifting it off, and set the next shelf above that height. Leave one shelf partly empty on purpose. An empty stretch is what keeps a shelf wall feeling calm instead of packed, and it gives new items a home without a reshuffle.
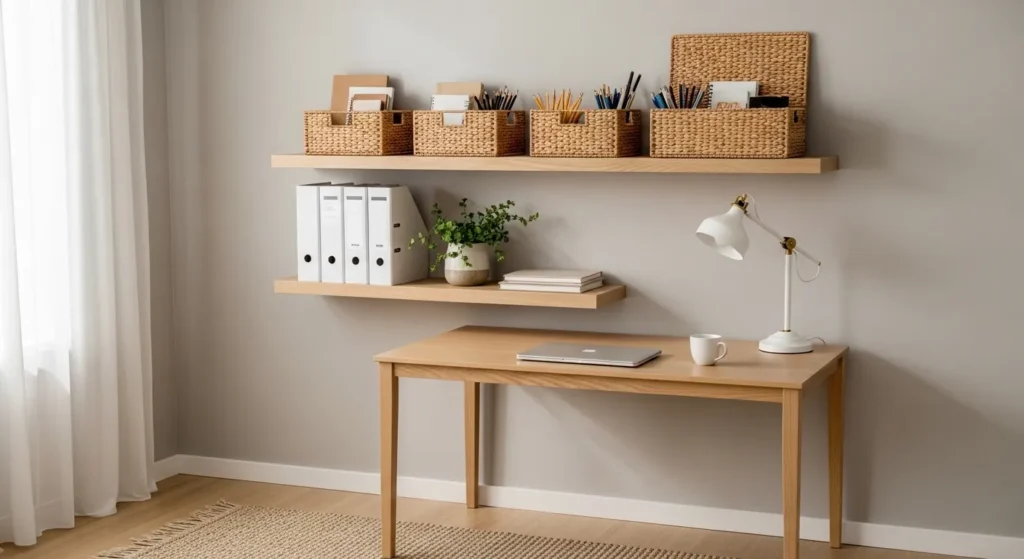
AMADA HOMEFURNISHING 35.4″ Floating Shelves, Wall Shelves Set of 3, White
Best for open, accessible floating-shelf storage that keeps items off your desk.
🛒 Shop This Look:
Grid Panels for Small Stuff
Grid panels handle the small, flat, and fiddly items that defeat shelves: clips, small notes, photos, keys, and thin tools. Clips and small hooks attach anywhere on the grid, so the layout can follow the work instead of forcing the work into fixed pockets. They suit renters too, since many grids hang from a single rail or a few small fixings rather than a row of screws.
Keep a grid panel to one job per panel. A panel that holds reminders, tools, photos, and cables at once becomes visual noise. One panel for the week’s reminders near the calendar, another for small tools beside the desk, reads clearly and stays useful. If a grid starts collecting items with no job, that is the signal to clear it back to its one purpose.
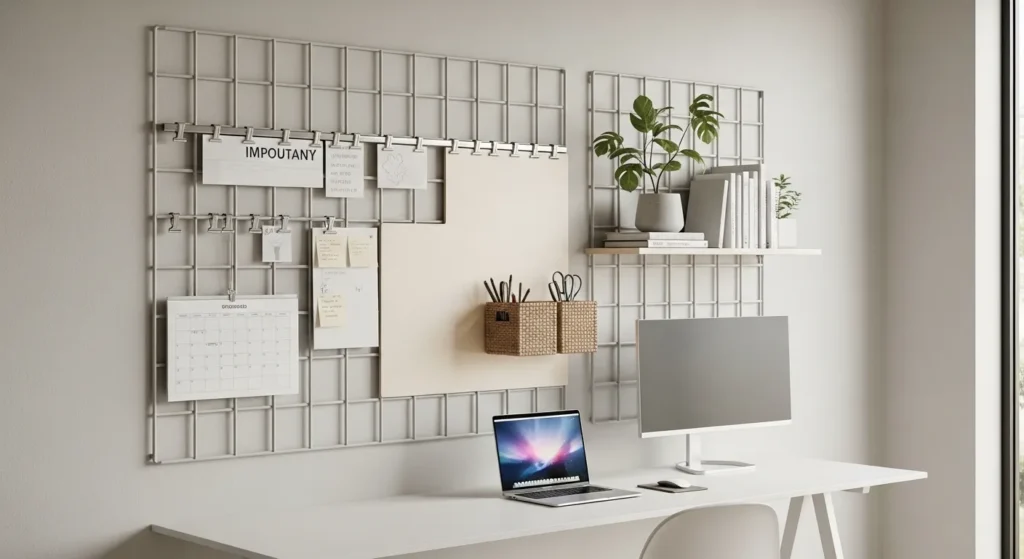
FUNLAX Wire Photo Wall, Set of 2 Wire Wall Grid Panels, 15.7 x 11.8 Inches, Wall Storage Organizer
Best for a modern, adaptable grid wall for pens, reminders, and accessories.
Paper That Stays Findable
Paper fails when it lies flat in a pile. Upright, grouped, and visible, it stays findable. Wall file pockets or a hanging file rail keep each category separate: incoming, in progress, waiting on someone else, and filed. Label each pocket by the action it represents, not by a vague topic, so filing takes a second and retrieving takes less.
Set a weekly paper habit to match the system: once a week, move finished papers out of the in-progress pocket and clear anything waiting that is now resolved. A wall file system without a weekly clear-out becomes a second pile, just vertical. The habit matters more than the holder, but the holder makes the habit easy by keeping every category visible at a glance.
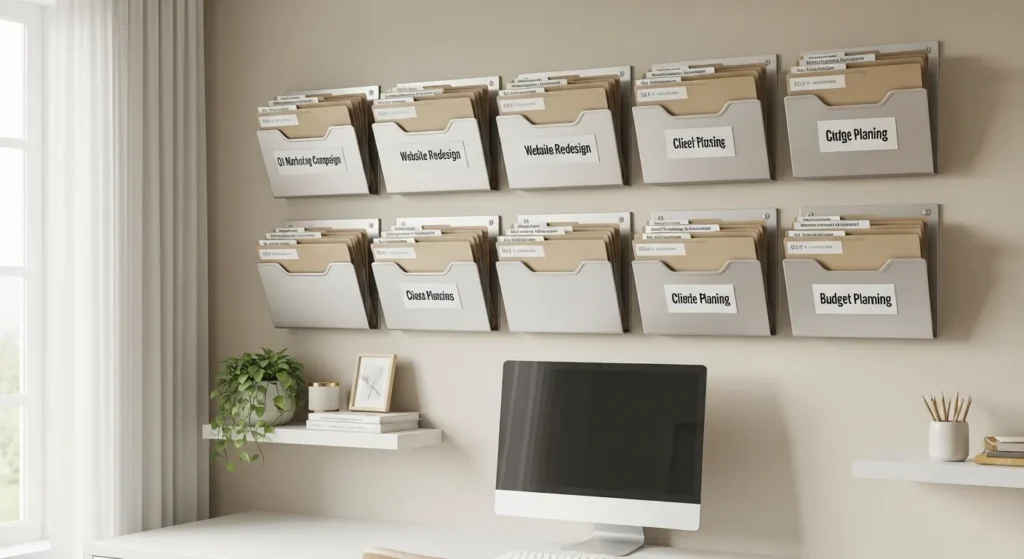
EASEPRES 5 Pocket Mesh Hanging Wall File Organizer, Wall Mounted, Black
Best for keeping documents upright, grouped, and easy to find at a glance.
🛒 Shop This Look:
Boards for Notes and Plans
One board for notes and plans beats three boards competing for attention. Cork suits pinned notes, photos, and reference cards that stay up for weeks. A whiteboard suits plans that change daily: the week’s tasks, a project timeline, a call list. A magnetic board splits the difference, holding printed sheets with magnets while doubling as a writing surface. Choose by how often the content changes, not by which looks best empty.
Place the board where it is visible from the chair without turning around, and keep its content to one planning horizon: this week, or this project, not everything at once. A board carrying last month’s notes alongside this week’s plan stops being read. Clear it when the week or project ends, and it stays a tool instead of becoming wallpaper.
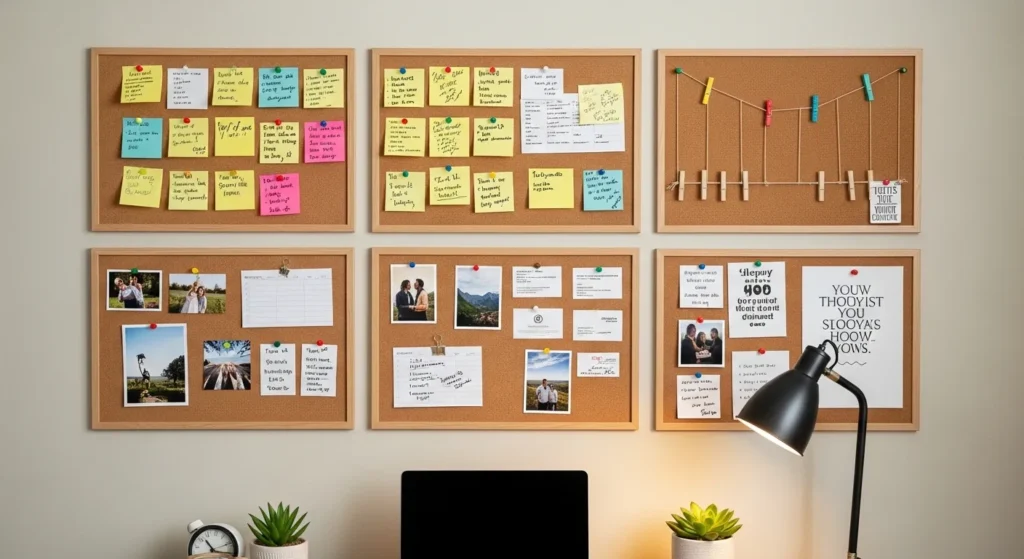
Quartet Cork Board Bulletin Board, 23″ x 35″ Framed Corkboard, Oak Frame
Best for keeping notes, reminders, and inspirational images visible.
Hooks and Holders for Bags and Cables
Bags, headphones, and cables are the items that end up on the desk because they have no wall home. A row of hooks at the wall’s edge, or a small holder beside the desk, gives each one a place. Hooks suit bags and headphones; small holders or clips suit cables and chargers. The rule is one hook per item: shared hooks tangle, and tangled hooks stop being used.
For cables, run a short channel or a few clips from the desk edge to the outlet so cables hang in a line instead of draping across the work surface. Label the charger ends if several devices share the strip. A wall that handles cables cleanly makes the whole desk feel calmer, because loose cables are what make an organized wall look messy.
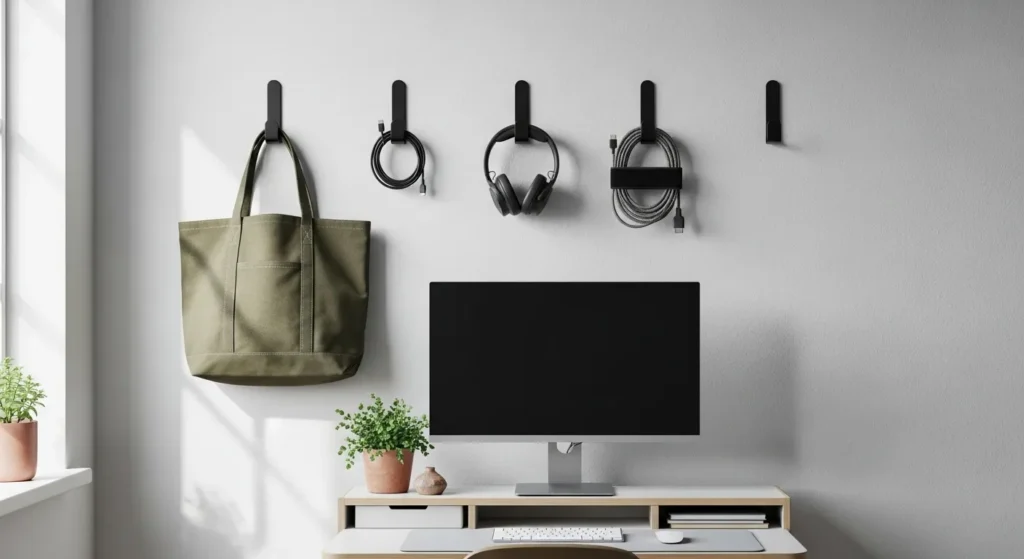
Large Adhesive Hooks for Hanging, Heavy-Duty 44 lb (Max), 20 Packs, Clear
Best for keeping bags, headphones, and cables off your desk and neatly organized.
Measuring and Fixing So It Holds
Measure before drilling anything. Mark the working band on the wall with painter’s tape: the outline of each organizer, the gap between them, and the clearance for the chair and monitor. Step back and check the tape layout from the doorway and from the chair. Tape is cheap to move; drilled holes are not.
Fix into studs wherever the load is heavy — shelves, loaded pegboards, anything holding books or equipment. Where no stud lines up, use anchors rated above the loaded weight, and follow the anchor’s own instructions for the wall type. Test each fixing empty with a firm tug before loading it. For renters, adhesive fixings suit light items only: hooks, small grids, and cable clips. Anything heavy on adhesive alone will fail, usually at the worst moment, so keep heavy storage on proper fixings or freestanding instead.
🛒 Shop This Look:
Cables, Power, and the Desk Edge
Plan power at the same time as storage. Count the devices that charge at the desk, add one spare outlet for the next device, and place the strip where its cable reaches the wall outlet without crossing a walkway. A strip mounted under the desk or on the wall beside it keeps plugs off the floor and out of the dust. Route the strip’s own cable along the wall edge with clips, not across open floor.
Keep the desk edge itself clear as a rule: nothing stored within a hand’s width of the front edge except the item in active use. That clear strip is what makes the desk feel usable even when the wall above it is fully loaded. When the edge starts collecting items, it means something on the wall has no proper home, and the fix is a wall spot, not a bigger desk.
Keeping It Working
A wall system needs a short weekly reset: return stray items to their zones, clear finished papers, and wipe the board for the new week. Five minutes on Friday beats an hour-long reorganization every few months. Add a one-in, one-out rule for the working band: when a new tool or organizer arrives, something leaves the band. Without that rule, the wall slowly fills until it feels cluttered again no matter how well it was planned.
Review the zones when the work changes. A new project, a new role, or a seasonal shift in tasks can make yesterday’s layout wrong. Move hooks, re-label pockets, and shift the board’s horizon to match. The wall is a working tool, and a tool that no longer matches the job gets adjusted, not tolerated.
Mistakes That Make a Wall Feel Cluttered
The most common mistake is filling every inch. A wall with no empty stretch reads as clutter even when every item has a place. Leave gaps between organizers and one partly empty shelf, and the wall breathes. Another mistake is mixing jobs on one organizer: a shelf holding books, cables, plants, and mail serves none of them well. One job per organizer, grouped by task, keeps each one readable.
A third mistake is fixing before measuring: organizers placed too high to reach, too low to see, or so close to the monitor that they crowd the screen. Tape the layout first, test it from the chair, and only then drill. And a final mistake is buying for a photo rather than for the work: a beautiful wall that holds nothing you use daily is decoration, not organization. Start from the audit, zone by frequency, and let the wall earn its keep.