Upcycling everyday items into functional home decor is a simple way to add creativity to your space while reducing waste. A plastic bottle hanging planter is lightweight, practical, and perfect for small plants, herbs, or flowers. By combining recycled materials with natural sticks and twine, you can create a hanging planter that looks stylish and handmade.
This project is beginner-friendly and requires minimal tools. It works well for balconies, windows, or even indoor corners where space is limited. Each step focuses on clear instructions to ensure your planter turns out sturdy and visually appealing.
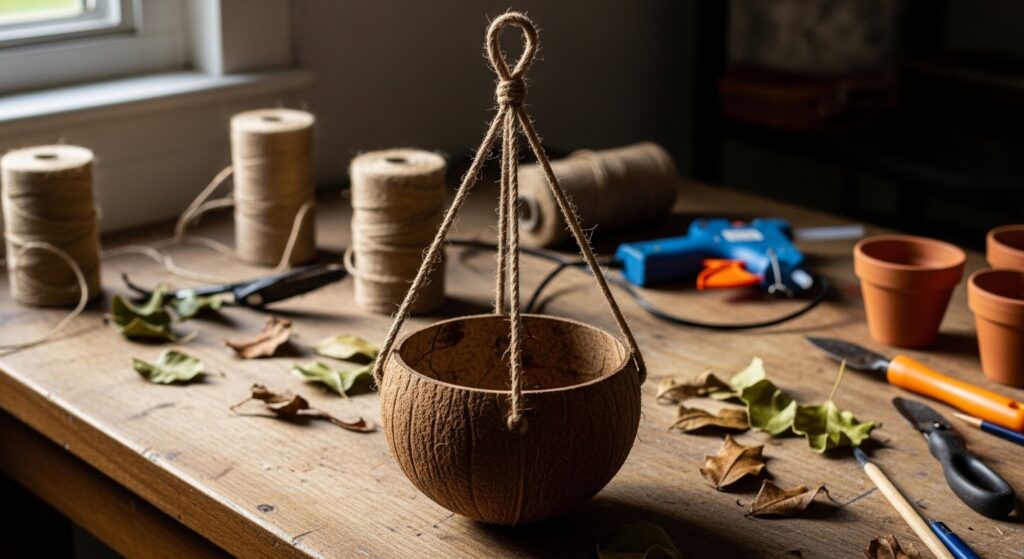
Materials Needed

You will need a medium-sized plastic bottle, four to six straight sticks of similar thickness, strong twine or string, scissors or a cutter, and a small plant. Choose a firm bottle that can hold soil without collapsing, and make sure sticks are long enough to provide support while hanging.
Clean and dry the bottle completely before starting. Remove labels and residue so the surface is ready for assembly. Having all materials prepared first makes the process smooth and prevents mistakes.
Step 1: Cutting the Bottle Properly
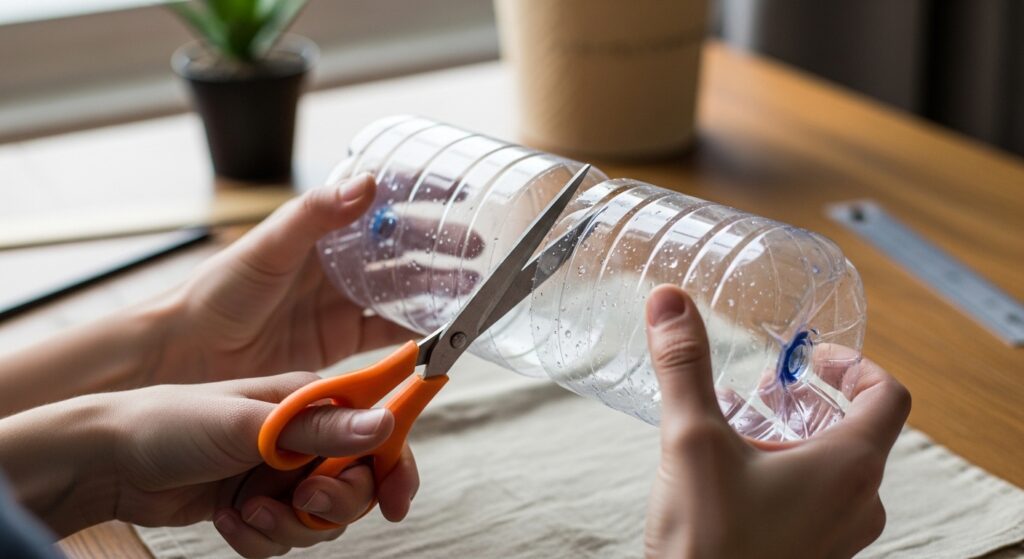
Start by marking a horizontal opening on the plastic bottle. The opening should be large enough to hold soil and the plant comfortably. Cut slowly and carefully to maintain smooth and even edges.
Leave enough material at the bottom to securely hold soil. Trim or sand sharp edges if needed to prevent scratches. A clean cut improves safety and ensures the planter looks neat.
Step 2: Making Drainage Holes
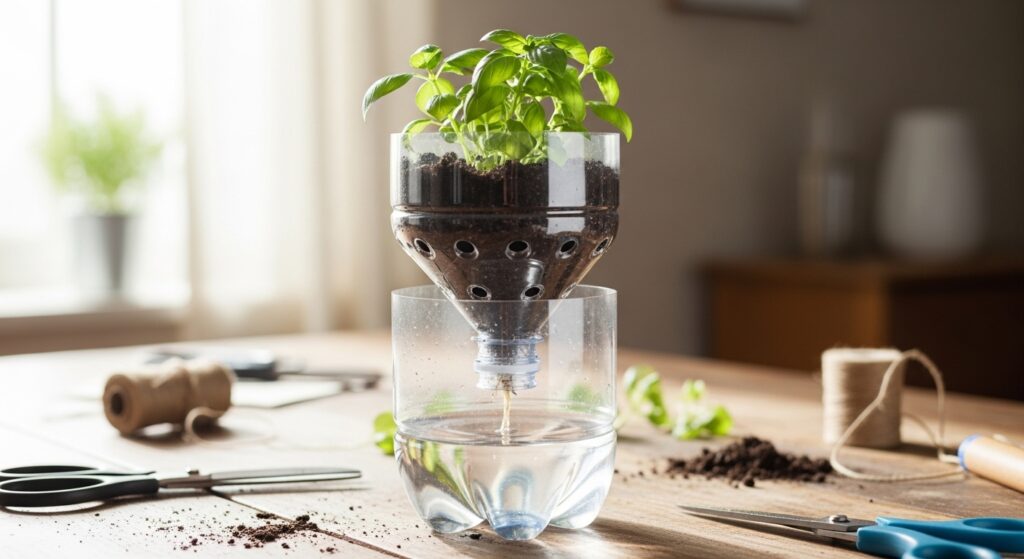
Create three to five small holes at the base of the bottle for water drainage. Proper drainage prevents root rot and keeps plants healthy.
Space the holes evenly across the bottom. This helps water escape effectively and ensures that soil doesn’t pool at one side, keeping the plant stable and happy.
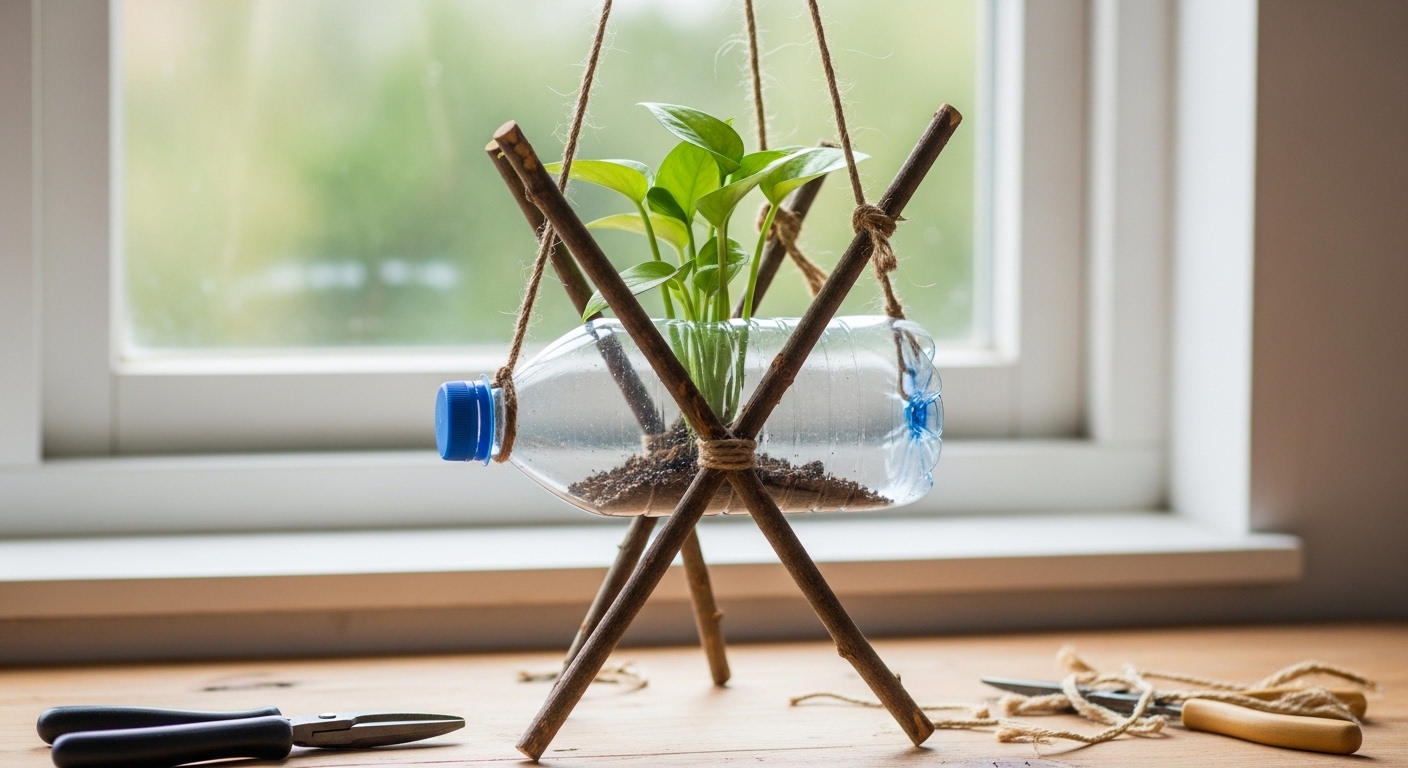
Step 3: Preparing the Wooden Stick Frame
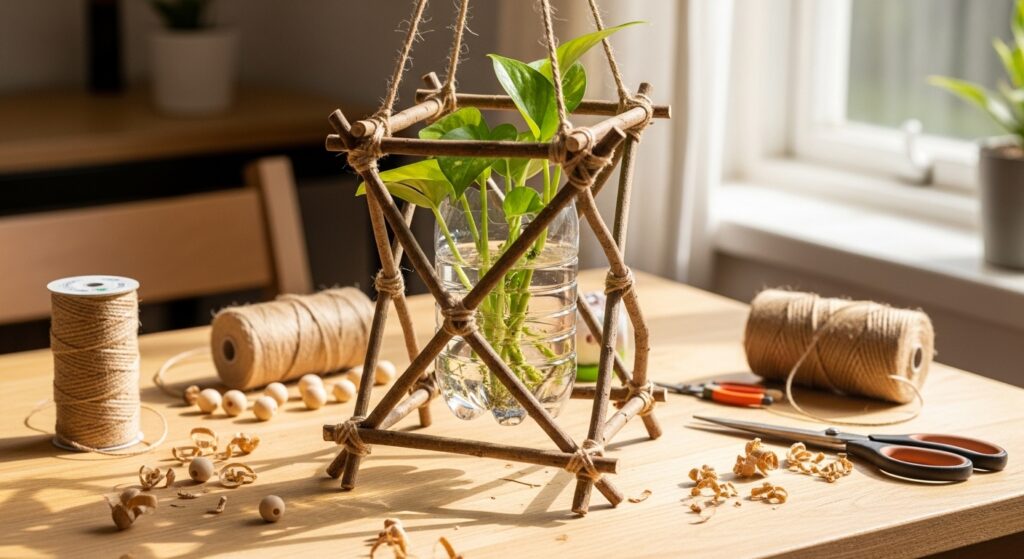
Arrange sticks around the bottle to form a frame that supports and balances the planter. The sticks should extend slightly above and below the bottle for stability.
Measure and cut sticks to equal lengths so the frame is symmetrical. Proper spacing ensures the planter hangs evenly and doesn’t tilt when filled with soil.
Step 4: Attaching the Sticks Securely
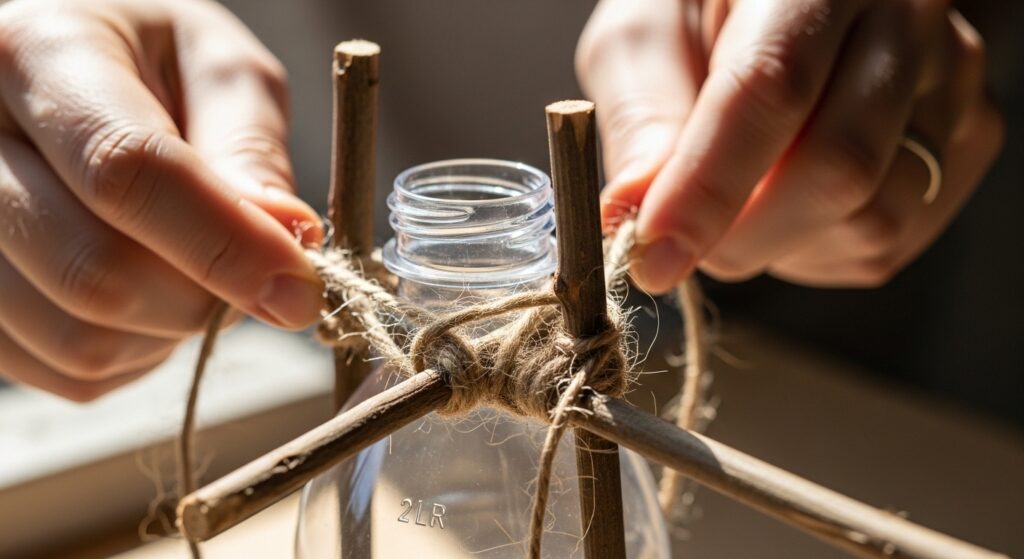
Use twine or string to tie the sticks tightly to the bottle. Wrap the string multiple times around each connection point to make sure the sticks stay in place.
Secure knots firmly, but keep them neat. Strong attachment prevents the frame from slipping once soil and plants are added, ensuring a safe and sturdy planter.
Step 5: Creating the Hanging Support
Attach two or three strings evenly around the top of the planter. Gather the strings together and tie a strong knot to form the hanging loop.
Check that the strings are of equal length so the planter hangs straight. Testing balance before adding soil ensures the planter won’t tilt and maintains a clean look.
Step 6: Adding Soil and Plants
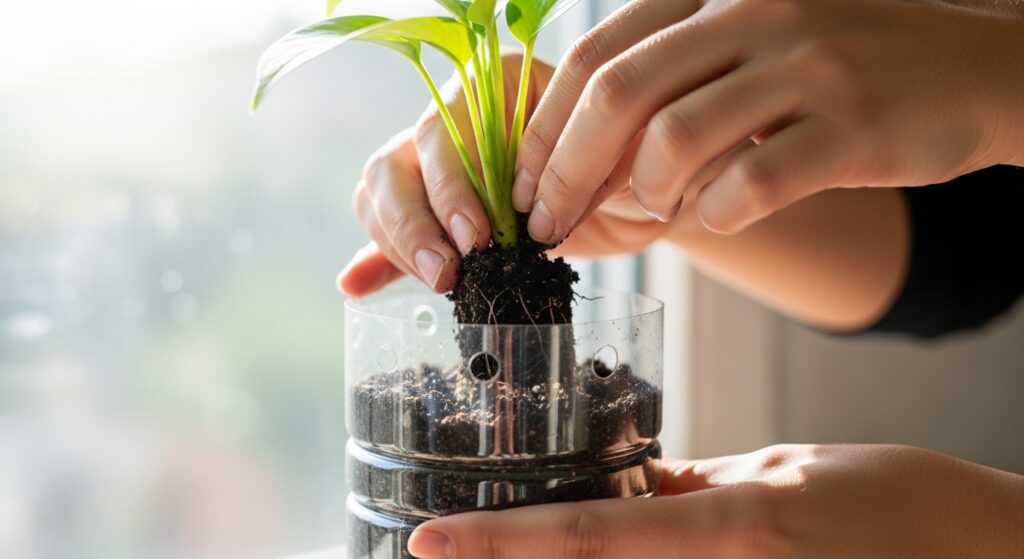
Fill the bottle partially with soil, leaving enough space for the plant roots. Gently place the plant inside and add more soil around it to secure the roots. Press lightly so the plant stands upright but avoid compacting the soil too much, allowing air and water to circulate.
Choose plants suitable for small containers, such as herbs, succulents, or small flowering plants. The right plant ensures your planter thrives and adds greenery to your home. Using fresh soil also provides nutrients for healthy growth.
Step 7: Choosing the Right Hanging Spot
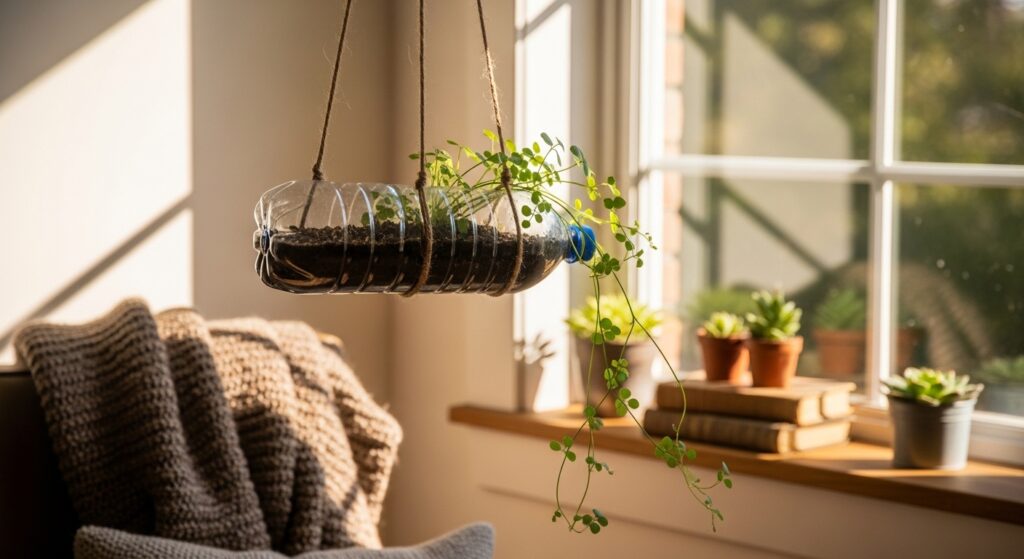
Hang your planter in a spot that receives adequate sunlight based on the plant’s needs. Windows, balconies, or bright corners are ideal. Make sure the hook, nail, or ceiling attachment is strong enough to support the planter’s weight once soil and plant are added.
Ensure the planter has enough clearance from walls or furniture to avoid bumping. Choosing a suitable spot also makes watering and maintenance easier while keeping the plant healthy and visually prominent.
Step 8: Decorating the Planter
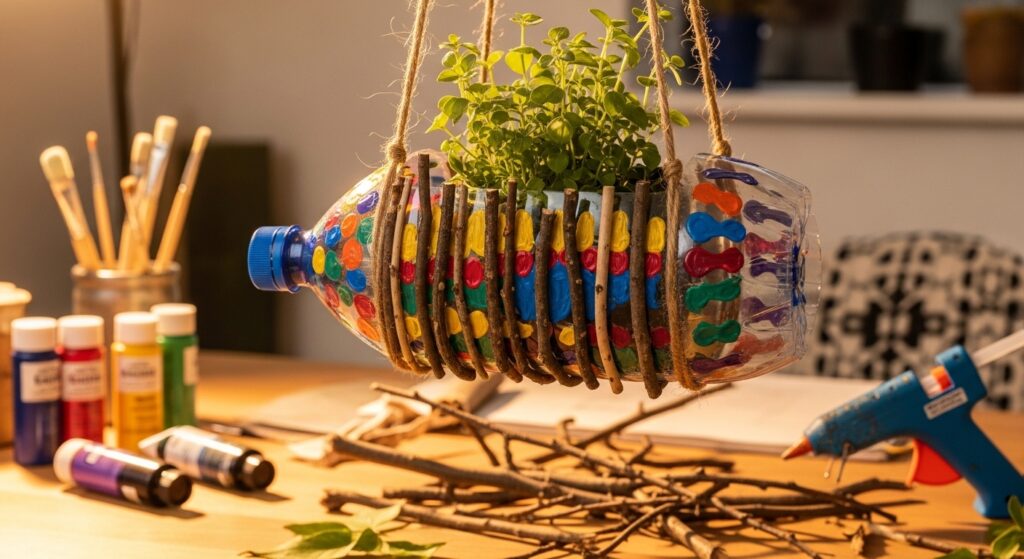
You can leave the bottle plain or decorate it with paint, washi tape, or natural elements to match your home decor. Neutral tones create a subtle look, while bright colors add a fun, playful touch. The wooden sticks can also be painted or stained to coordinate with the bottle.
Keep decorations light to avoid adding extra weight that might affect hanging stability. Simple decorations enhance the aesthetic while maintaining the planter’s functional and handmade charm.
Step 9: Watering and Maintenance
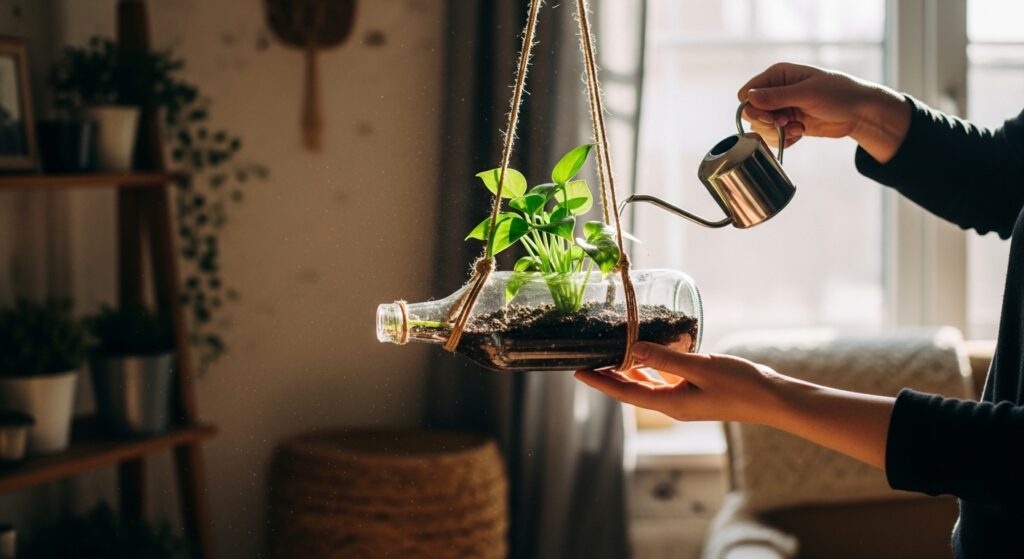
Water the plant slowly so excess water drains through the holes at the bottom. Avoid overwatering, as small containers dry differently than traditional pots. Regularly check soil moisture to keep your plant healthy.
Inspect strings and knots periodically to ensure the planter remains secure. Adjust as necessary to maintain balance. Regular maintenance ensures your hanging planter continues to thrive and looks attractive over time.
Conclusion
Upcycling a plastic bottle into a hanging planter is a creative, practical, and eco-friendly project. It turns waste into functional decor while adding greenery to your home, balcony, or workspace. Using sticks and twine adds natural charm and stability, making the planter visually appealing and sturdy.
This project is beginner-friendly, inexpensive, and flexible, allowing you to experiment with plant types, decorations, and hanging locations. With proper care, your DIY hanging planter will remain a sustainable, handmade addition to your home for years to come.