A wall-mounted drop-down table is a smart solution for small spaces, providing extra workspace without taking up floor area. This versatile table works for kitchens, bedrooms, offices, or craft rooms, and can be folded down when not in use. With basic tools and a few materials, you can create a functional and stylish table that fits perfectly into your space.
This step-by-step tutorial is beginner-friendly and emphasizes stability, usability, and neat design. Once installed, the table serves as a practical surface for dining, working, or hobbies while remaining out of the way when folded.
Materials Needed

You will need a wooden plank for the tabletop, foldable table hinges (also called drop-leaf or flap hinges), screws, a drill, a measuring tape, a pencil, and optional brackets or supports for extra stability. Choose wood that is sturdy enough to hold the weight of items you plan to place on the table.
Clean the wood surface and prepare your tools before starting. Pre-drilling holes for screws can make installation easier and prevent wood from splitting.
Step 1: Measuring and Marking the Wall
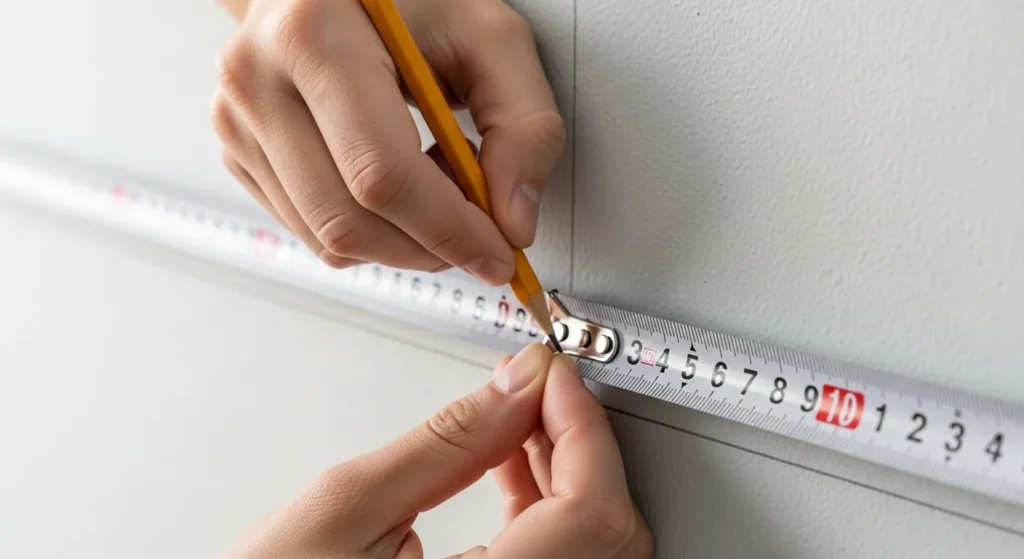
Decide the height at which the table will be mounted. Standard counter height is around 90 cm (35 inches), but adjust based on your needs. Mark the position of the hinges on the wall using a pencil and a level to ensure the table will be straight.
Accurate marking ensures that the table folds smoothly and sits level when in use. Double-check measurements to prevent uneven installation.
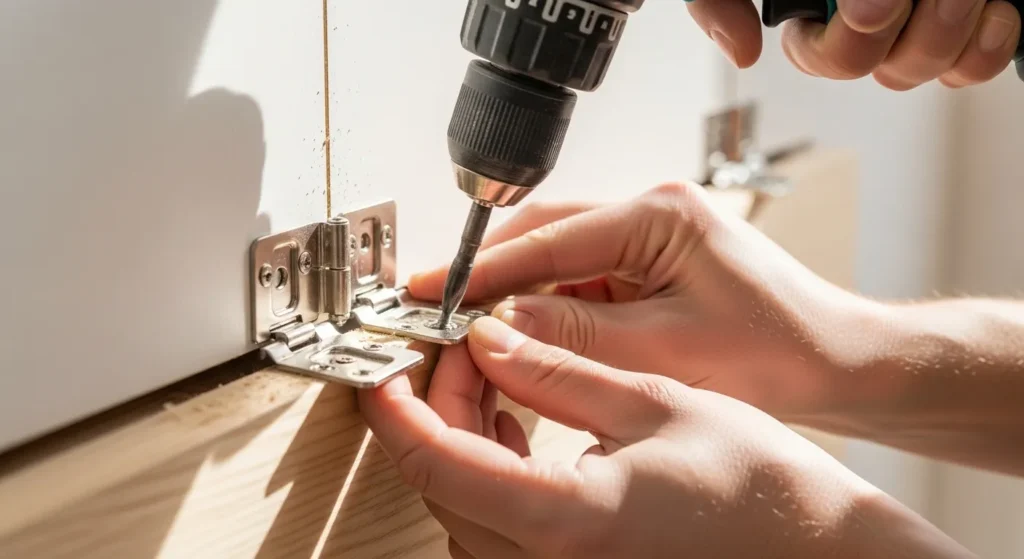
Step 2: Attaching the Hinges to the Wall

Secure the hinges to the wall using screws and a drill. If mounting on drywall, use wall anchors to ensure the table can hold weight safely. The hinges should be spaced evenly to support the table edges properly.
Make sure the hinges are level and tightly screwed in. Misaligned hinges can cause the table to tilt or wobble, affecting both functionality and safety.
Step 3: Preparing the Tabletop
Cut and sand the wooden plank to the desired dimensions for your table. Smooth all edges to avoid splinters and improve aesthetics. Optionally, paint or varnish the tabletop for a finished look.
The plank should be slightly shorter than the distance between the outer edges of the wall-mounted hinges, allowing it to fold down without binding. Preparing the surface now makes installation cleaner and easier.
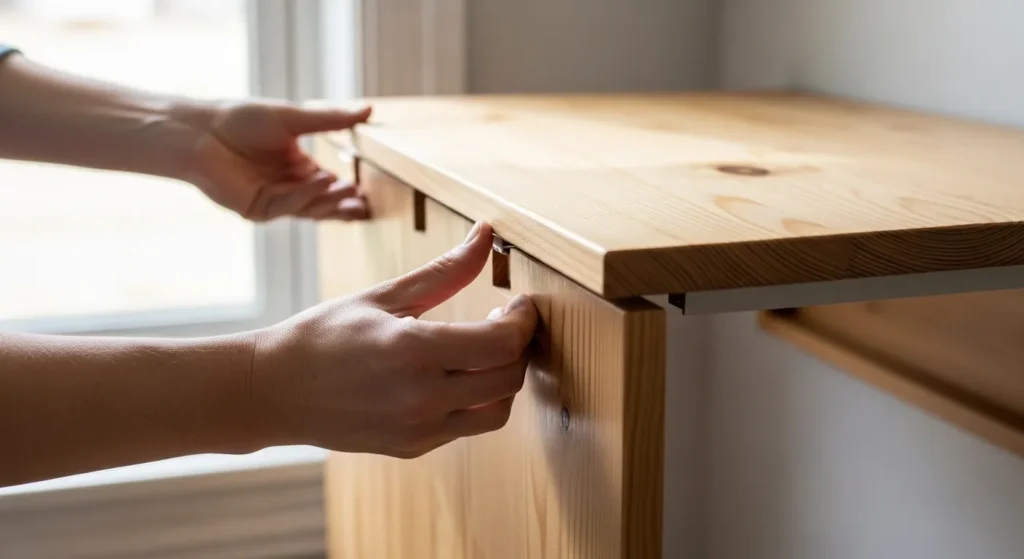
Step 4: Attaching the Tabletop to Hinges
Align the tabletop with the hinges and screw it securely in place. Make sure it sits level and the hinges can fold properly. The table should be flush with the wall when folded up.
Test the folding mechanism several times before adding weight. Tight screws and proper alignment ensure the table remains stable and functional.
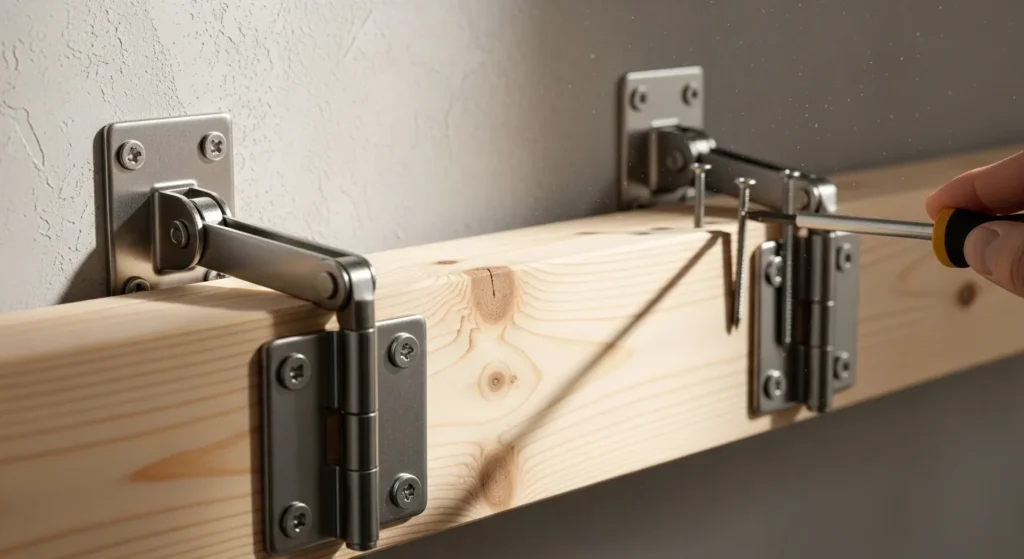
Step 5: Installing Folding Support Brackets
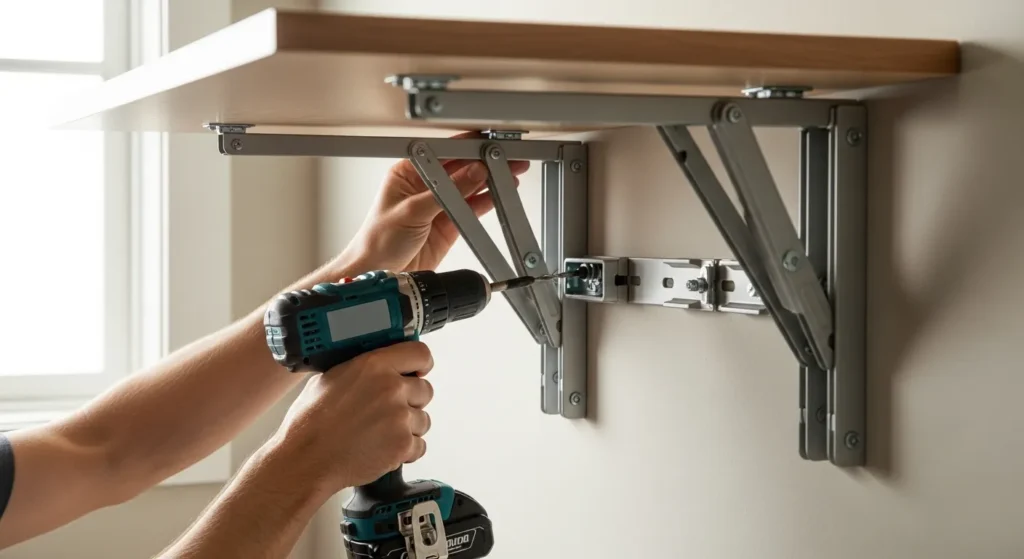
Install support brackets under the table to hold it steady when folded down. These can be simple metal or wooden brackets that lock into place when the table is in use.
Ensure brackets are level and strong enough to hold the table and intended load. Brackets prevent wobbling and provide confidence that the table is safe for daily use.
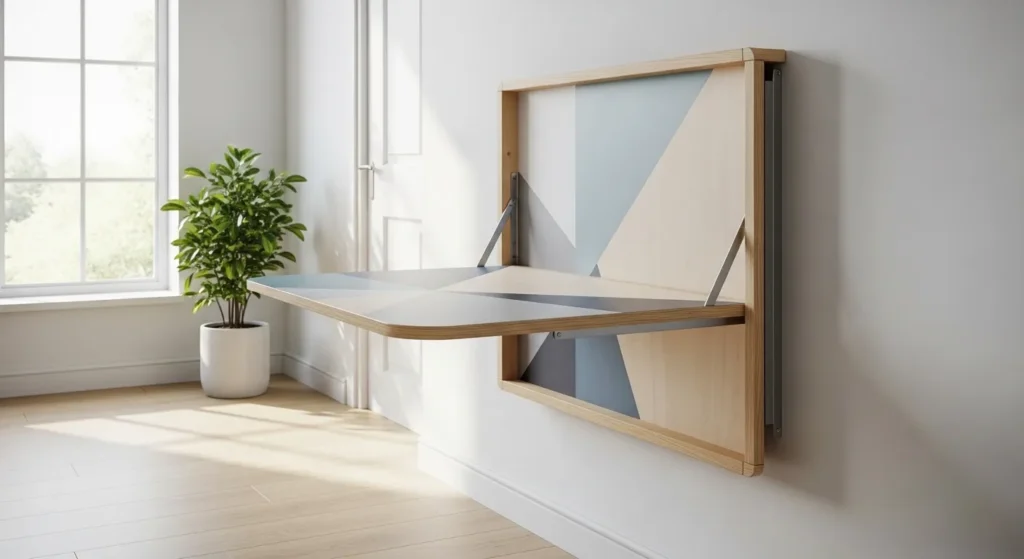
Step 6: Testing the Folding Mechanism
Before using the table, fold it up and down several times to ensure the hinges and brackets operate smoothly. Make sure there’s no wobble or misalignment, and that the tabletop sits flush against the wall when folded.
Adjust screws or brackets if necessary. Testing early helps catch small issues before adding weight, ensuring the table functions safely and reliably in everyday use.
Step 7: Adding Finishing Touches
Sand any rough edges and apply paint, varnish, or sealant to protect the tabletop from wear and stains. Optional trim or edge banding can also enhance the look and hide raw edges.
Finishing touches not only improve aesthetics but also increase durability. Choose colors or finishes that match your room decor for a seamless, polished look.
Step 8: Decorating and Styling
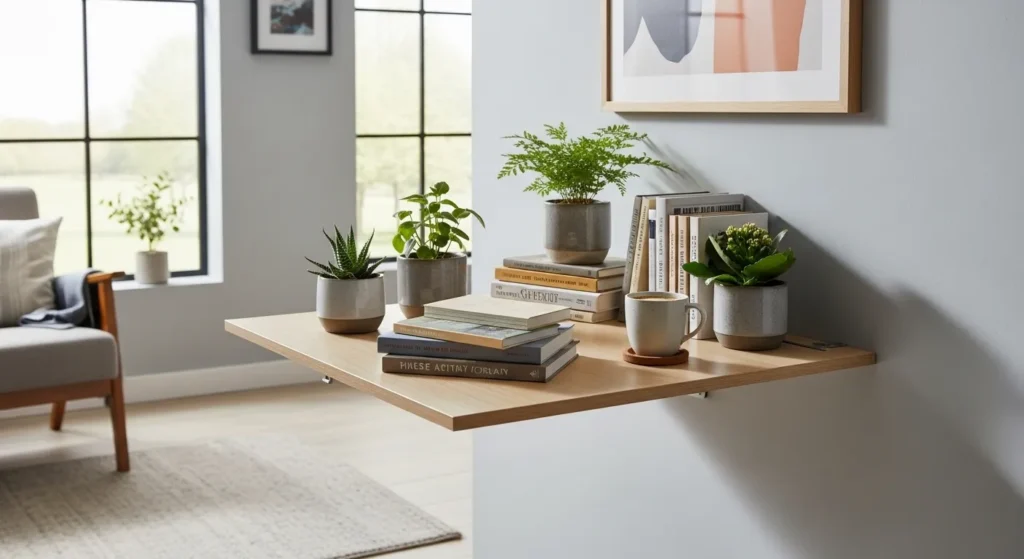
Style the table according to its intended use. Add small decorative items, plants, or daily essentials if using as a workspace. Keep heavier objects near the wall side for stability.
Minimalist styling ensures the table remains functional and prevents clutter. A clean and organized look highlights the floating design and makes it a visually appealing focal point.
Step 9: Maintenance and Care
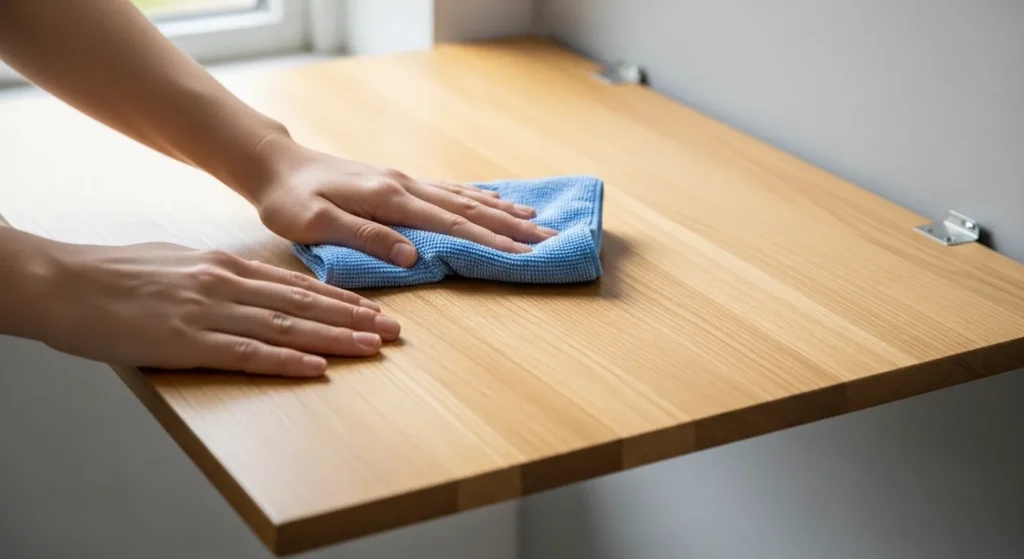
Regularly check screws, hinges, and brackets to ensure they remain tight. Wipe the tabletop with a soft cloth to remove dust or spills. Avoid placing excessively heavy items to prevent stress on the hinges.
Occasional inspections prolong the life of the table and maintain safety. Proper care keeps both the wall-mounted hardware and wooden surface in good condition for years.
Conclusion
A wall-mounted drop-down table is a practical and stylish solution for small spaces. Using simple materials like a wooden plank, old belts, or standard brackets, you can create a functional surface that folds away when not in use.
This DIY project is cost-effective, beginner-friendly, and highly customizable in size, color, and finish. With proper installation and maintenance, your drop-down table becomes a versatile, space-saving addition that enhances both utility and aesthetics in any room.