
As an Amazon Associate, I earn from qualifying purchases. This means I may earn a commission if you purchase through links on this page — at no extra cost to you.
To wallpaper a small bathroom, use vinyl (peel-and-stick or paste-the-wall) rated for humidity, wallpaper the vanity wall or all walls except the shower surround, and keep a working exhaust fan running during and after installation. Small bathrooms are actually ideal for wallpaper — one or two rolls cover the space, and bold patterns shine in jewel-box rooms.
Choosing the Right Wallpaper
Vinyl is non-negotiable in a bathroom with a shower. Paper-based wallpaper absorbs steam and fails within months. Look for “washable” or “scrubbable” on the spec sheet, and prefer matte or satin finishes — high gloss shows every wall flaw.
Planning: How Much You Need
Measure each wall’s width and height, subtract large openings (door, window), and divide by the roll’s coverage (usually 25–30 sq ft for peel-and-stick, ~60 sq ft for traditional double rolls). Small bathrooms typically need 2–4 rolls of peel-and-stick. Order one extra — dye lots vary.
Step-by-Step Installation
1. Prep like a professional
Remove the toilet tank lid, mirror, and towel bars. Clean walls with a degreaser (bathrooms collect surprising grime), fill holes, and let everything dry. Run the exhaust fan.
2. Start behind the door
Begin on the least visible wall so your learning curve hides. In bathrooms, many pros start at the wall opposite the door and work outward.
3. Work around fixtures
For the vanity wall: apply full panels, then cut around the mirror and faucet plumbing with a sharp knife. For the toilet wall: it’s often easier to remove the toilet tank (two bolts, water off) than to cut around it.
🛒 Shop This Look:
4. Mind the moisture zones
Keep wallpaper out of the shower/tub surround entirely. Near the vanity, press edges firmly and consider a thin bead of clear silicone along the bottom edge where splash meets wall.
5. Cure before steaming
Run the fan for 48 hours after installation before taking a long hot shower. This lets adhesive fully bond.
Design Tips for Small Bathrooms
- Dark, moody prints make small bathrooms feel luxurious, not smaller.
- Large-scale patterns blur wall boundaries; tiny prints can feel busy.
- Wallpaper the ceiling for a cocooning effect (use moisture-rated vinyl).
- Powder rooms (no shower) can handle any wallpaper — go bold.
Moisture-Proofing: Ventilation and Product Choices That Prevent Failure
Bathroom wallpaper fails for one reason: moisture. Every other decision flows from managing it. Ventilation is non-negotiable — if your bathroom lacks an exhaust fan, or the fan is weak, wallpaper (even vinyl) will eventually peel, bubble, or grow mildew behind it. Test your fan with the tissue test: hold a tissue to the grille while it’s running; if it doesn’t hold firmly, the fan is inadequate. Run the fan during every shower and for 20–30 minutes after. In bathrooms with no fan and no window, honestly reconsider wallpaper — no product overcomes chronic dampness.
Product selection is the second defense. Look for wallpapers explicitly rated for bathrooms or high humidity — typically solid vinyl or vinyl-coated papers, which have a non-porous surface that shrugs off steam. Peel-and-stick vinyl works in well-ventilated powder rooms (no shower steam), but for full bathrooms with showers, paste-the-wall vinyl adheres more reliably in humid conditions. Avoid grasscloth, uncoated paper, and flocked wallpapers in any bathroom — they’re moisture sponges. Seam sealing matters too: in steamy bathrooms, run a thin bead of clear wallpaper seam adhesive along every seam after hanging. It’s invisible and prevents the edge-lifting that humidity causes. Finally, keep wallpaper out of direct splash zones — inside the shower surround should be tile, and the wall directly behind a pedestal sink takes enough splashing to warrant caution.
Pattern Scale for Small Bathrooms: What Works and Why
Small bathrooms punish timid pattern choices and reward bold ones — counterintuitive but true. Large-scale patterns (oversized florals, big geometrics, mural-style designs) make small bathrooms feel grander because the eye reads the pattern as belonging to a larger space; a tiny powder room in an oversized botanical print feels like a jewel box, not a closet. Small, busy patterns in a tiny room, by contrast, can feel frenetic and make the walls close in — the visual noise has nowhere to dissipate.
That said, scale needs calibration to the room. In a powder room (typically 20–30 square feet), one dramatic large-scale wall — usually the wall you face when entering — with simpler treatment elsewhere is the sweet spot. Vertical patterns and stripes add perceived height, valuable in bathrooms with standard 8-foot ceilings; horizontal patterns add perceived width to narrow galley-style baths. Metallics in the pattern (gold, silver, copper accents) bounce light around windowless bathrooms beautifully — a subtle metallic wallpaper can double the perceived brightness of a dark powder room. And dark, moody patterns are a legitimate power move in small bathrooms: deep navy, forest, or charcoal wallpapers turn a forgettable powder room into the most memorable room in the house, especially paired with a large mirror and good lighting.
Wallpapering Around Mirrors, Vanities, and Tile
Bathrooms are obstacle courses — mirrors, vanities, toilets, tile wainscoting — and each needs a technique. Around mirrors: if the mirror is surface-mounted, remove it before wallpapering (most are held by clips or adhesive — check first), paper the full wall, then remount. This gives a far cleaner result than cutting around. For heavy glued mirrors you can’t remove, paper up to the mirror’s edge and trim precisely with a sharp blade and straightedge, then seal the cut edge with clear seam adhesive.
🛒 Shop This Look:
Behind vanities and toilets: you don’t need to paper where you’ll never see — but you do need to paper past the visible edge by a few inches so no bare wall peeks out at angles. Remove the toilet tank lid (not the whole toilet) for clearance when papering behind it. Where wallpaper meets tile (a tiled shower surround or wainscoting), butt the wallpaper neatly to the tile edge and run a thin bead of paintable caulk along the joint — this seals the paper’s cut edge against moisture wicking in from the side, which is how bathroom wallpaper most often starts to fail. Electrical fixtures: turn off the breaker, remove cover plates, paper over the boxes, then cut an X over each box and trim — standard technique, but the breaker-off step is non-negotiable in a room with water.
Maintenance: Keeping Bathroom Wallpaper Looking New
Bathroom wallpaper needs light, regular maintenance — neglect is what kills it. Wipe down vinyl wallpaper every few months with a damp (not wet) microfiber cloth to remove the fine film of humidity residue, soap, and products that accumulates invisibly. Pay special attention to the wall nearest the shower and above the sink. Inspect seams twice a year — catching a lifting edge early means a dab of seam adhesive; catching it late means replacing a strip. Press any lifting edges back down promptly.
Watch for mildew behind the paper’s edges near the ceiling and in corners — musty smells or discoloration at seams warrant investigation, not air freshener. If mildew appears on the surface, a diluted white vinegar wipe handles light cases; mildew behind the paper means the installation has failed and that section needs replacement. Caulk lines where wallpaper meets tile, tubs, or counters should be checked annually and touched up — failed caulk lets moisture behind the paper. With decent ventilation and this minimal maintenance, quality vinyl wallpaper in a bathroom lasts 8–12 years — comparable to a good paint job, with far more personality.
Powder Room vs. Full Bath: Different Rules
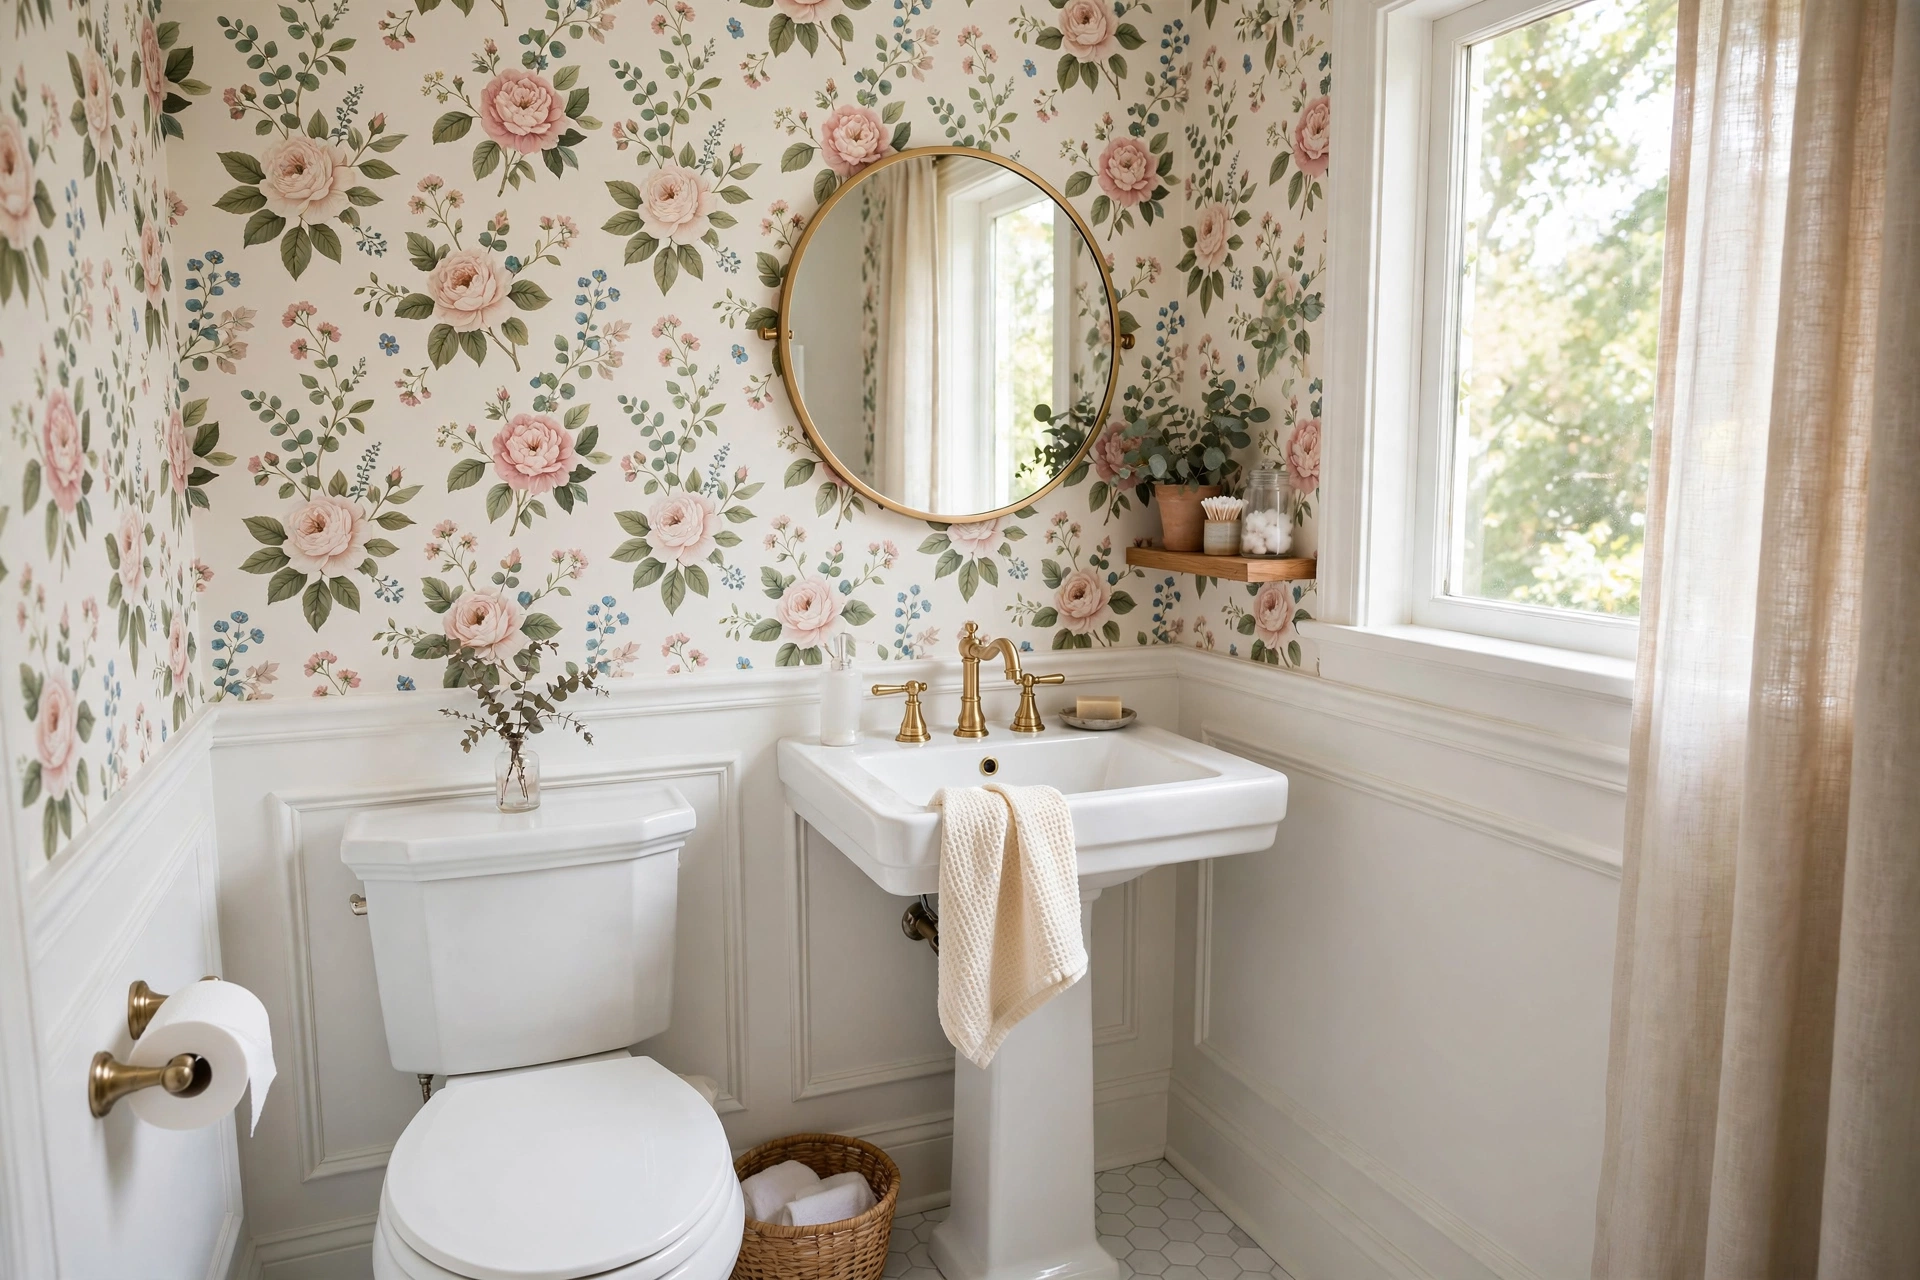
Not all bathrooms punish wallpaper equally, and the distinction matters for product choice. Powder rooms (no shower or tub) are wallpaper’s natural habitat: minimal moisture, small square footage (so even expensive paper is affordable), and high guest visibility (so the design impact per dollar is enormous). In a powder room, you can use almost any wallpaper — including delicate prints and even peel-and-stick — because the moisture load is negligible. This is where the boldest choices belong: dramatic murals, dark moody patterns, metallics. The powder room is the lowest-risk, highest-reward wallpaper room in the house.
Full bathrooms with showers or tubs are a different engineering problem: sustained steam, direct splashing, and constant humidity cycling. Here the rules tighten — vinyl only, paste-the-wall preferred over peel-and-stick, seams sealed, exhaust fan verified strong. Even with the right product, placement strategy matters: the wall containing the shower or tub gets the most exposure, so consider tiling that wall (or at least the surround) and wallpapering the remaining walls. The vanity wall — usually the visual focal point with the mirror — is the prime wallpaper candidate in a full bath. Half-baths with showers used rarely (guest baths) sit in between: vinyl is still the smart choice, but you can be slightly more adventurous with pattern since the moisture load is occasional. Match the product’s moisture tolerance to the room’s actual use, not its label — a “full bath” used twice a year by guests is functionally a powder room.
Wallpaper and Tile Combinations That Work
The most successful bathroom designs combine wallpaper and tile deliberately rather than treating them as competitors. The classic formula: tile where water lives, wallpaper where eyes live. The shower/tub surround gets tile (non-negotiable for waterproofing); the remaining walls — especially the vanity wall with the mirror — get wallpaper for personality. The transition between them needs a clean detail: tile wainscoting capped with a slim trim piece, wallpaper above, is the timeless version.
Coordinating the two is where design skill shows. Pull one color from the wallpaper into the tile (or vice versa): a botanical wallpaper with deep green leaves pairs beautifully with deep green subway tile in the shower; the repetition makes the combination look designed rather than accidental. Scale contrast works well — large-scale wallpaper pattern with small-scale tile (penny tile, small subway) — because the two patterns don’t compete. Avoid pairing two busy patterns at similar scales; the eye can’t rest. Grout color is the quiet mediator: matching grout to the wallpaper’s background color visually extends the wallpaper’s field, while contrasting grout makes the tile a separate statement. When the combination is right, wallpaper-plus-tile bathrooms look custom and considered — the tile handles the engineering, the wallpaper supplies the soul, and neither could do the other’s job.
🛒 Shop This Look:



