
As an Amazon Associate, I earn from qualifying purchases. This means I may earn a commission if you purchase through links on this page — at no extra cost to you.
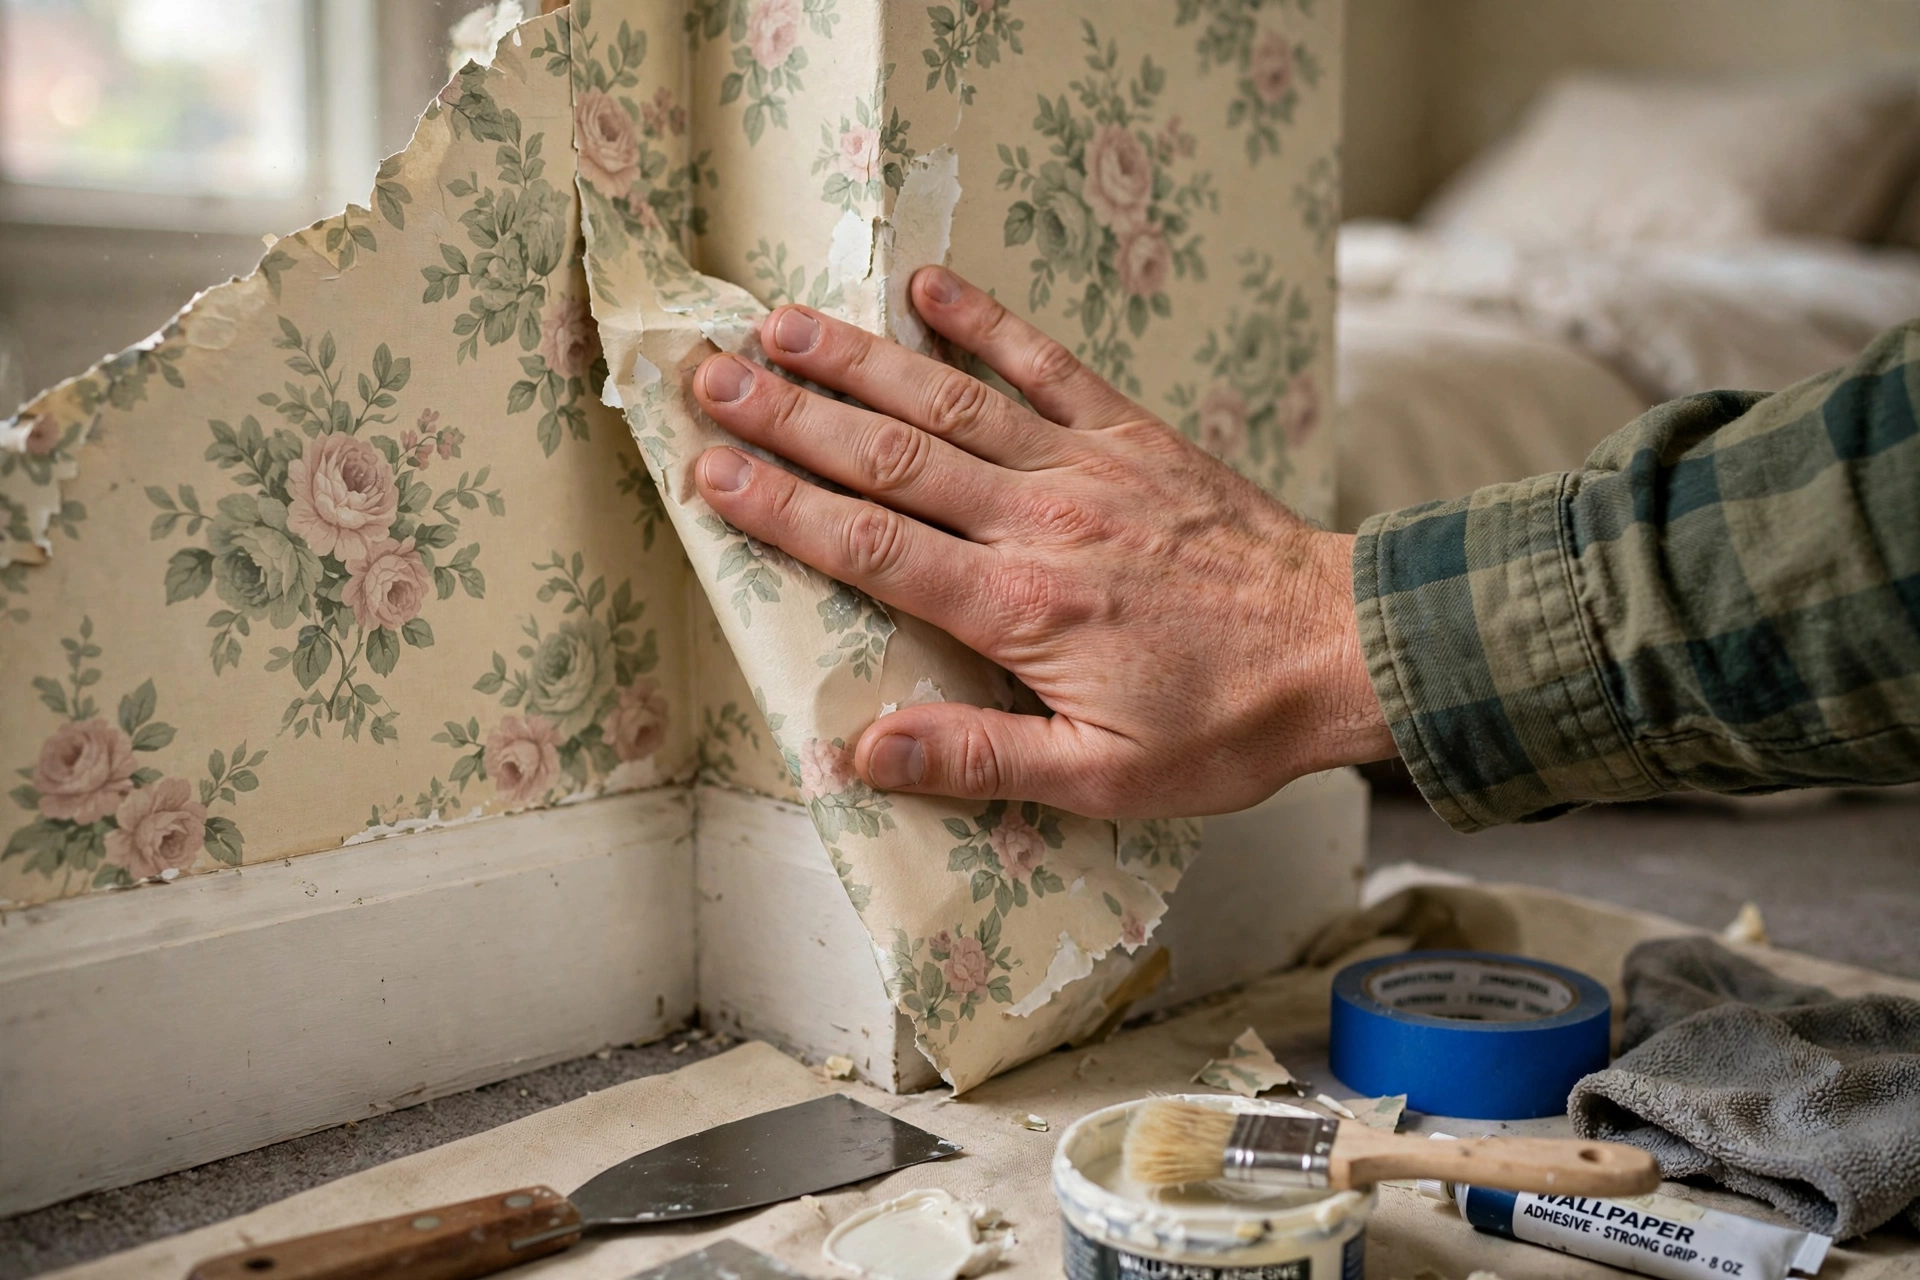
Wallpaper peeling at the edges is usually caused by poor initial adhesion — dust under the edge, stretching during install, or humidity. Fix it by lifting the loose edge, cleaning underneath with a damp cloth, applying a thin line of wallpaper seam adhesive (or PVA glue), pressing firmly with a seam roller, and wiping excess immediately. It takes five minutes per edge.
Why Edges Peel: The Causes
- Dust or grease under the edge prevented bonding.
- Stretching during install — the paper shrank back and released.
- Humidity/steam softened the adhesive (bathrooms, kitchens).
- House settling — minor wall movement stresses seams over years.
- Cheap adhesive on budget peel-and-stick giving up early.
Fix #1: Seam Adhesive (Best for Most Cases)
Buy a tube of wallpaper seam repair adhesive (about $8). Lift the peeling edge gently, squeeze a thin line underneath, press down with a damp sponge, then roll firmly with a seam roller. Wipe excess immediately with a damp cloth — dried adhesive is hard to remove.
Fix #2: Heat Reactivation (Peel-and-Stick)
For peel-and-stick edges, a hairdryer on medium heat for 30 seconds reactivates the pressure-sensitive adhesive. Press firmly while warm and hold for a count of ten. This works surprisingly often with zero products.
Fix #3: PVA Glue for Stubborn Lifts
White PVA (school glue) works in a pinch: thin line under the edge, press, wipe, and hold with painter’s tape for an hour. It’s not archival, but it holds.
Fix #4: Double-Sided Wallpaper Tape
For edges that keep lifting, thin double-sided tape made for wallpaper gives a mechanical bond. Cut narrow strips, tuck under the edge, press firmly.
Fix #5: When to Replace the Strip
If more than 6 inches is peeling, the adhesive has failed comprehensively — patching won’t hold. Order a replacement roll (same dye lot if possible) and redo the strip. This is why the 10–15% overage rule exists.
Prevention
Clean walls before install, don’t stretch the paper, press edges with a seam roller during install (not just your hand), and run the exhaust fan in humid rooms. An extra two minutes per seam during installation saves hours of repairs later.
Diagnosing Why Your Wallpaper Is Peeling
Not all peeling has the same cause, and the right fix depends on the diagnosis. Before you reach for the adhesive, spend two minutes figuring out what’s actually failing — it determines whether a five-minute fix will hold or fail again in a month.
Where the peeling starts tells the story
Peeling at the top edge near the ceiling: Usually heat-related. Warm air rises and collects at the ceiling line, softening adhesive over time — especially above radiators or near HVAC vents. Also check for roof or ceiling leaks; water traveling down inside the wall emerges exactly here.
Peeling at seams in the middle of the wall: Almost always an installation issue — the paper was stretched during hanging and has slowly shrunk back, or the seam wasn’t rolled firmly during install. This is the most common and most fixable type.
🛒 Shop This Look:
Peeling at the bottom near the floor: Often moisture wicking up from the floor — mopping, spills, or dampness in the slab or subfloor. Check whether the wall itself feels cool or damp; if so, you’re treating a symptom and the moisture source needs addressing first.
Peeling everywhere, all at once: Systemic adhesive failure — the paste was wrong for the paper, the wall wasn’t primed, or the paper is simply at end of life. Spot fixes won’t hold; plan for replacement.
The tape test
Press a strip of painter’s tape firmly onto a non-peeling section of the wallpaper and pull it off. If the paper lifts with the tape, adhesion is failing broadly and spot repairs are temporary at best. If the paper holds firm, the problem is localized and your fix will last. This 30-second test saves you from repairing edges on a wall that’s going to need redoing anyway.
Check the wall behind
Gently lift a peeling edge and look at what’s underneath. Powdery or flaking surface? The wall wasn’t sealed before papering — common in older homes where paper went directly over old paint or plaster. Shiny or glossy? The paper was hung over a gloss-painted wall without deglossing, and nothing bonds well to gloss. Dark staining or a musty smell? That’s moisture or mold, and no adhesive fix will hold until it’s resolved. The backing tells you whether you’re doing a repair or planning a replacement.
Room-Specific Peeling Advice
Different rooms attack wallpaper adhesive in different ways. Here’s what to watch for — and how to prevent recurrence — in the usual trouble spots.
Bathrooms: steam is relentless
Bathroom peeling is almost always humidity. Steam from showers penetrates seams and softens both paste and peel-and-stick adhesive, working from the edges inward. The fix that lasts: run the exhaust fan during every shower and for 20 minutes after (a humidity-sensing switch automates this if you forget). For paper near the shower, consider replacing just that section with a moisture-rated wallpaper or switching to tile or paneling in the splash zone. Standard wallpaper in a poorly ventilated bathroom is a maintenance treadmill — the environment, not the adhesive, is the problem.
Kitchens: grease undermines everything
Kitchen wallpaper fails from the combination of heat, steam, and airborne grease, which coats surfaces and prevents re-adhesion. Before repairing a kitchen edge, clean the wall behind the peeling section with a degreaser — new adhesive won’t bond to a greasy film. Wipe down the wallpaper surface near the stove regularly; the grease that dulls the paper is the same grease defeating the adhesive at the edges. Vinyl-coated wallpapers handle kitchens far better than uncoated papers or grasscloth.
Exterior walls: condensation
Walls facing the outside get cold in winter, and warm indoor air condensing on the cold surface behind the wallpaper creates slow, persistent dampness. If peeling concentrates on exterior walls, feel the wall on a cold morning — if it’s noticeably cold or damp, condensation is your culprit. Improving the wall’s insulation or ventilation matters more than any adhesive. In the meantime, a dehumidifier in the room during winter months reduces the moisture load significantly.
Sunny windows: heat cycling
Wallpaper next to south- or west-facing windows endures daily heat cycles — expanding when the sun hits, contracting at night. Over years, this flexing works edges loose. UV also breaks down some adhesives directly. If the peeling is worst near windows, the long-term answer is window film or shades that cut the heat load; the short-term answer is seam adhesive plus accepting that this section may need periodic attention.
When Fixes Fail: Replacing Strips and Preventing Recurrence
Knowing when to stop repairing
Repair has diminishing returns. Redo the strip (or the wall) when: more than a foot of any edge is lifting, the same edge has been repaired twice and failed again, the tape test shows broad adhesion failure, or the paper is discolored, brittle, or pulling away in sheets. Each failed repair makes the eventual replacement harder — dried adhesive buildup has to be scraped off before new paper goes up.
🛒 Shop This Look:
Replacing a single strip
You don’t always need to redo the whole wall. If you have leftover paper from the original install (this is why you keep a roll), cut a new strip to match the pattern at eye level, remove the failed strip completely, clean and prime the bare wall section, and hang the new strip. The critical detail: match the dye lot. If your leftover roll is a different lot than what’s on the wall, the new strip may show a visible tone difference — in that case, replace the full wall rather than living with a mismatched stripe.
Preventing the next round
Every peeling episode is a lesson for the next install: always prime bare drywall and seal glossy surfaces before papering; roll every seam firmly during installation (not just with your hand — use a real seam roller); don’t stretch the paper; run exhaust fans in humid rooms; and keep that 10–15% overage roll stored properly. Wallpaper that goes up on a well-prepared wall, in a well-ventilated room, with seams properly rolled, simply doesn’t peel. The five-minute edge fix is for the exceptions — good installation means you rarely need it.
Wallpaper Repair Kit: What to Keep on Hand
Most peeling edges are five-minute fixes — if you have the right supplies. Assemble this small kit once and keep it with your household tools; you’ll reach for it more than you’d expect.
Seam repair adhesive: A small tube of wallpaper seam adhesive is the single most useful repair supply. It comes with a precision applicator tip for getting under lifting edges without making a mess. One tube handles dozens of repairs and lasts for years if capped tightly.
Seam roller: The small, hard roller that presses repaired edges flat. Don’t substitute your fingers — the roller’s even pressure bonds the full width of the seam, while fingers create pressure points that leave micro-bubbles. They’re inexpensive and last forever.
Glue syringe: For injecting adhesive under bubbles without cutting the paper. Fill with seam adhesive or thinned white glue, insert through a pinhole, squeeze gently, then smooth flat. This is the tool that makes dried-bubble repair actually work instead of making things worse.
Sharp utility knife + fresh blades: For trimming ragged edges before repair and for slitting large bubbles. A dull blade tears wallpaper instead of cutting it — snap off a fresh edge before every repair session.
Damp sponges and clean cloths: For wiping excess adhesive immediately. Dried adhesive on the paper face is far harder to remove than wet adhesive is to wipe — keep a damp sponge within arm’s reach during every repair and wipe as you go, not after.
Painter’s tape: For holding repaired edges in place while adhesive cures. A light strip of tape over a fresh repair for an hour guarantees the bond sets flat. It also marks areas to watch — if you repaired three edges, a small tape flag reminds you to check them in a week.
Color-matched touch-up paint or markers: For disguising the wall visible in seams that won’t fully close. Take a wallpaper sample to the paint store once and have a small pot mixed — it lives in the kit indefinitely and saves a trip every time.
🛒 Shop This Look:



