
As an Amazon Associate, I earn from qualifying purchases. This means I may earn a commission if you purchase through links on this page — at no extra cost to you.
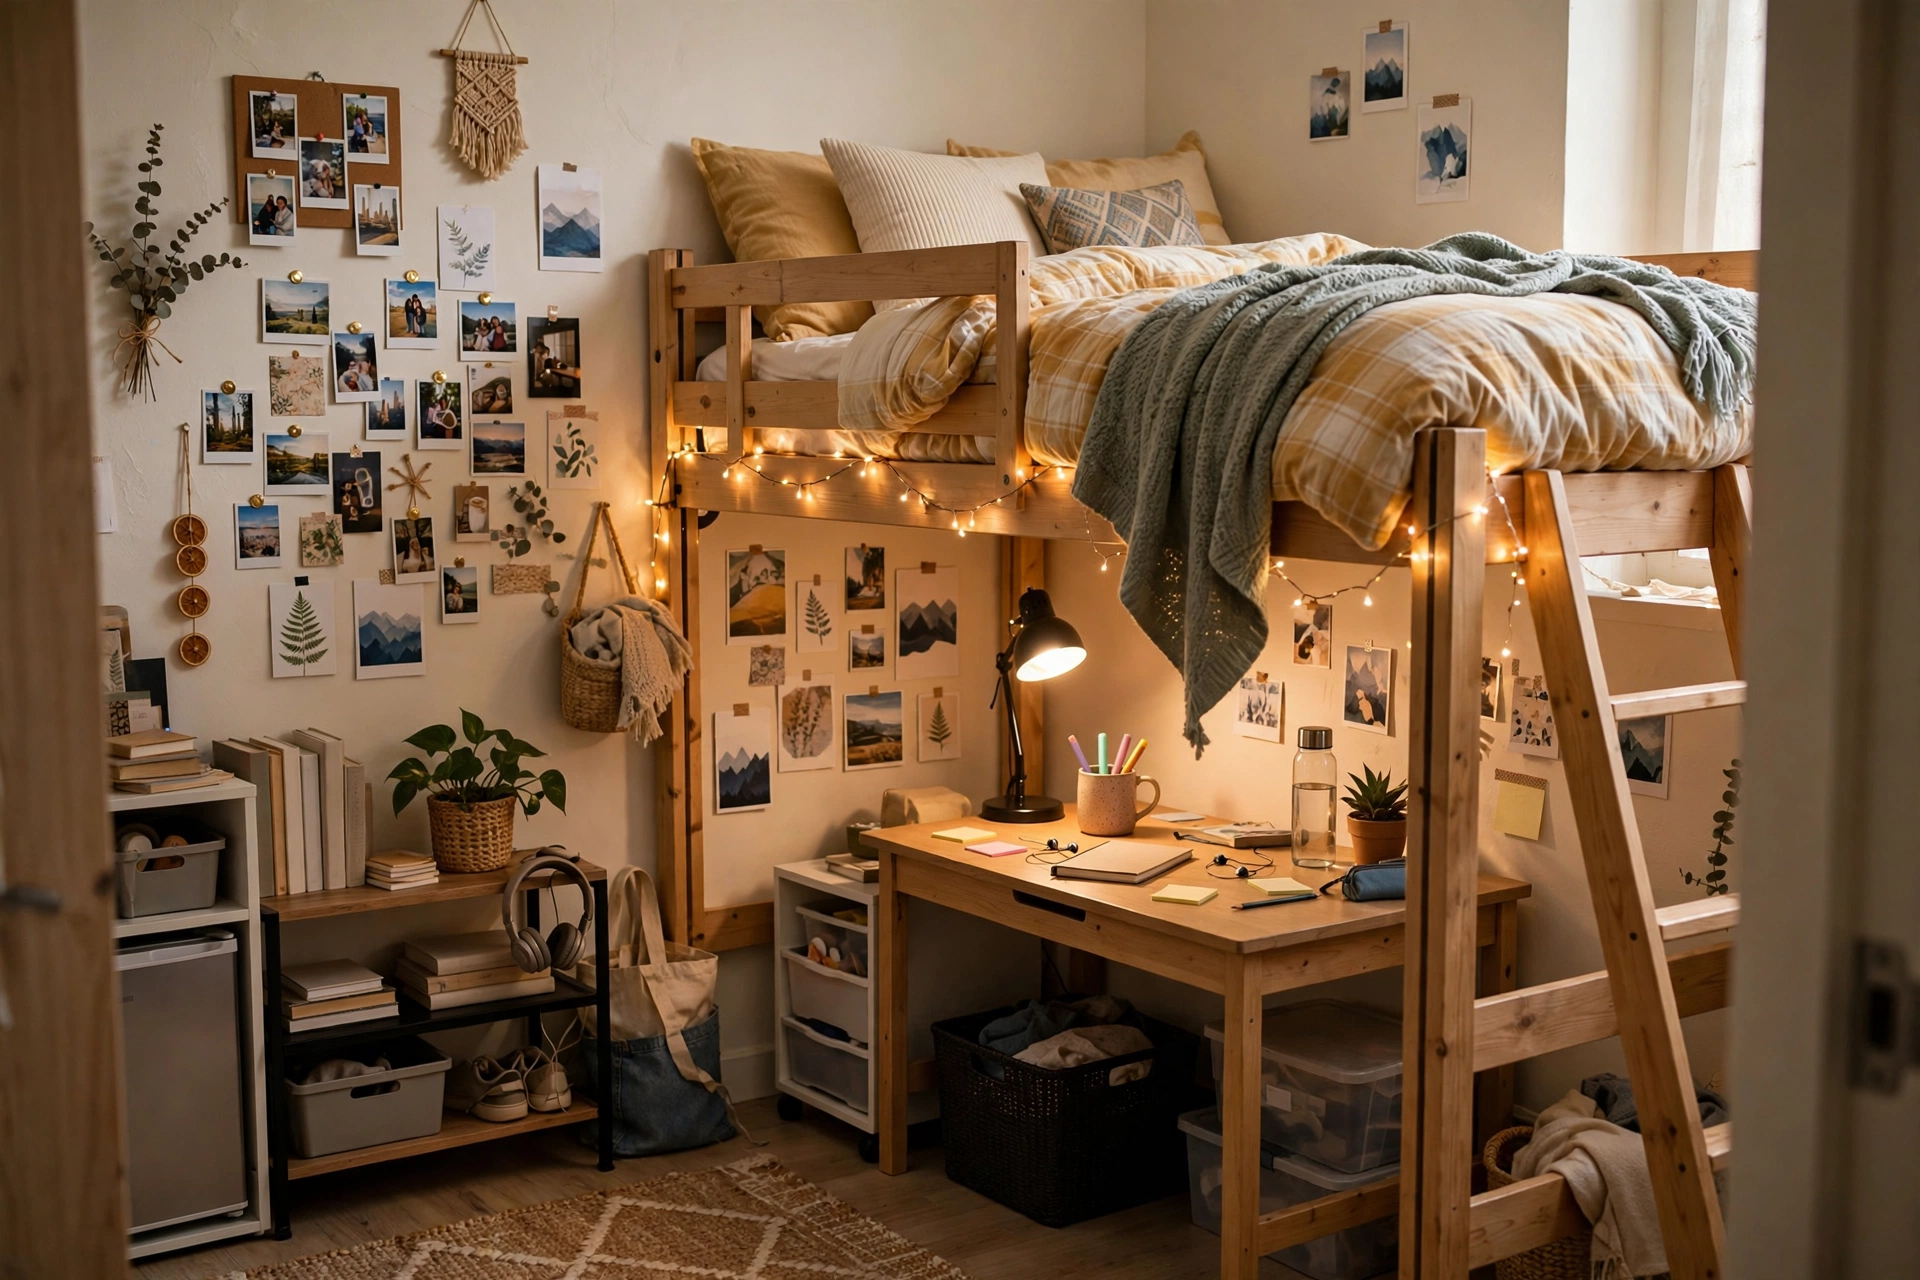
Dorm rooms can look genuinely stylish for under $20 per project with zero damage to the walls. The 15 projects below are all renter- and RA-approved — no nails, no paint, no permanent changes — using removable adhesives, tension rods, and clever styling. Each includes a materials list, cost estimate, and time estimate so you can plan a weekend room makeover.
Wall Decor (No Damage)
1. Washi Tape Gallery Wall
Materials: Printed photos or art prints, washi tape in 2–3 coordinating patterns.
Cost: $8–$12 | Time: 1 hour
Arrange prints in a grid or organic cluster, securing each corner with washi tape. The tape itself becomes part of the design — try crossed corners or full washi frames around each print.
2. Tapestry with Command Hooks
Materials: Lightweight tapestry or flat bedsheet, 4–6 adhesive wall hooks.
Cost: $12–$18 | Time: 30 minutes
Hang hooks in a row and drape the tapestry over them, or clip it with curtain ring clips. One large textile covers a multitude of cinder-block sins.
3. Removable Wall Decals
Materials: Vinyl wall decal set (dots, stars, or botanical prints).
Cost: $8–$15 | Time: 45 minutes
Peel-and-stick decals add pattern without commitment. Geometric dot grids and constellation designs look intentional, not childish.
4. Photo Clip String Lights
Materials: Battery-operated LED string lights with clips, printed photos.
Cost: $10–$15 | Time: 30 minutes
Drape lights along one wall with adhesive hooks and clip photos to the wire. Doubles as ambient lighting and personal gallery.
Bed & Comfort
5. Layered Bedding Refresh
Materials: Throw blanket, 1–2 accent pillow covers (use existing inserts).
Cost: $15–$20 | Time: 20 minutes
Swap pillow covers instead of buying new pillows, and add one textured throw. Coordinated bedding makes the whole room look pulled together since the bed dominates a dorm.
6. Bed Skirt or Under-Bed Curtain
Materials: Tension rod or adhesive Velcro strips, flat sheet or fabric panel.
Cost: $8–$14 | Time: 30 minutes
Hide under-bed storage chaos behind a simple fabric skirt. Use Velcro strips on the bed frame for a no-sew attachment.
7. Headboard Pillow Hack
Materials: Large lumbar or body pillow, 2 adhesive hooks.
🛒 Shop This Look:
Cost: $12–$18 | Time: 15 minutes
Mount two hooks on the wall behind the bed and hang a long pillow as a faux headboard. Instant structure and back support for reading.
Desk & Study Zone
8. Desk Organizer Glow-Up
Materials: Contact paper or washi tape, existing organizers, small tray.
Cost: $5–$10 | Time: 45 minutes
Wrap mismatched organizers in coordinating contact paper. A matching set looks custom even when it started as dollar-store bins.
9. Cork Board Command Center
Materials: Small cork board, adhesive mounting strips, push pins, washi tape border.
Cost: $10–$15 | Time: 30 minutes
Mount with removable strips above the desk for schedules, photos, and reminders. Frame the edge with washi tape for a finished look.
10. Clip-On Desk Lamp + Bulb Swap
Materials: Clip-on lamp, warm-white LED bulb.
Cost: $12–$18 | Time: 10 minutes
Overhead dorm fluorescents are harsh. A clip lamp with a warm bulb transforms the desk into a cozy study nook with zero wiring.
Storage & Small Spaces
11. Over-the-Door Organizer Styling
Materials: Over-the-door shoe or pocket organizer, small labels.
Cost: $8–$12 | Time: 20 minutes
Use it for snacks, toiletries, chargers, or school supplies — not just shoes. Label pockets so it looks intentional rather than cluttered.
12. Stackable Crate Shelving
Materials: 2–3 wooden or plastic crates, zip ties or Velcro straps.
Cost: $10–$18 | Time: 30 minutes
Stack crates on their sides and secure together for instant cubby shelving. Works as a nightstand, bookcase, or pantry.
13. Tension Rod Closet Upgrade
Materials: Spring tension rod, S-hooks or clip rings.
Cost: $8–$12 | Time: 15 minutes
Add a second hanging rod lower in the closet for double the hanging space, or mount one across an alcove for bags and accessories.
Finishing Touches
14. Faux Plant Cluster
Materials: 2–3 small faux plants in coordinating pots.
🛒 Shop This Look:
Cost: $10–$15 | Time: 10 minutes
Greenery makes any room feel alive, and faux plants survive dark dorms and forgotten waterings. Group in odd numbers on the desk, shelf, and windowsill.
15. Scent & Ambience Kit (Flameless)
Materials: Reed diffuser or flameless wax warmer, small tray.
Cost: $10–$18 | Time: 10 minutes
Most dorms ban candles, but reed diffusers and plug-in warmers are usually allowed (check your housing rules). Scent is the fastest way to make a dorm feel like home.
Dorm Decor Rules to Remember
- Check housing rules first. Most dorms prohibit nails, screws, paint, and open flames — everything here avoids all four.
- Use removable adhesives properly. Clean the wall with rubbing alcohol first, press strips firmly for 30 seconds, and wait an hour before hanging weight on them.
- Photograph everything at move-in. Document wall condition so you can prove pre-existing marks at checkout.
- Keep one box for move-out. Save original packaging for decor you will take home; removable products re-stick poorly without it.
- Coordinate with your roommate. Agree on shared-space colors and lighting before buying — two clashing tapestries help nobody.
Start With a Palette, Not a Shopping Cart
The difference between a dorm that looks styled and one that looks like a yard sale is rarely budget — it is coordination. Before buying anything, pick a three-color palette plus one metal finish, and run every purchase through it.
Pick an anchor first. Choose one item you love — a tapestry, a bedding set, a piece of art — and pull your palette from it. If the tapestry has terracotta, cream, and sage, those are your three colors. Everything else you buy should contain at least one of them.
Use the 60-30-10 rule. About 60% of the room should be your dominant neutral (bedding, large textiles), 30% your secondary color (pillows, storage bins, desk accessories), and 10% your accent (washi tape, small decor, one plant pot). This ratio keeps even cheap items looking deliberate.
Coordinate with your roommate early. You do not need matching sides — you need non-clashing sides. Agree on shared neutrals (both use white or cream bedding, for example) and let each person express their accent color. Photograph your palette swatches on your phone so you can check colors while thrifting.
Dorm Lighting: The Single Biggest Upgrade
Dorm overhead lighting is almost universally terrible — harsh, cool fluorescents that make the room feel like a laboratory. Lighting changes mood more than any other single upgrade, and it is entirely renter-safe.
Layer three types. Ambient: a floor lamp with a fabric shade in the corner softens the whole room. Task: the clip-on desk lamp from project 10, with a warm-white 2700K LED bulb, makes studying bearable. Accent: string lights or a small LED strip behind the bed adds the cozy glow that makes a dorm feel like home at night.
Swap the bulb, not the fixture. If your dorm allows it, replacing a cool-white overhead bulb with a warm-white LED instantly de-institutionalizes the room. Keep the original bulb in a drawer for move-out.
Mind the fire code. Most dorms restrict halogen bulbs (fire risk) and real candles. Stick to LEDs, which run cool. Check whether string lights need to be UL-listed — many housing agreements require it.
Move-Out Day: Getting Your Deposit Back
Every removable project in this list comes down eventually. Do it in the right order and you will leave the walls pristine.
- Photograph the finished room first — you will want the memories, and the photos prove the room was in good shape.
- Remove adhesives with heat. Warm Command strips and adhesive hooks with a hair dryer for 30 seconds before pulling the tab. Heat softens the adhesive and dramatically reduces paint pull.
- Pull tabs correctly. Stretch the tab slowly straight down along the wall — never yank outward. If a tab breaks, warm the remainder and roll it off with your thumb.
- Clean residue. Rubbing alcohol removes most adhesive residue; a small amount of cooking oil or commercial adhesive remover handles stubborn spots. Test cleaners on a hidden patch first.
- Do a wall audit. Walk the room with your move-in photos and check every wall. A magic eraser takes scuffs off painted cinder block — use it gently, since aggressive scrubbing dulls the paint sheen.
- Pack decor in its original packaging where possible. Removable products re-stick poorly without it, and you will reuse most of this in your next room.
Dorm Decor FAQs
How do I decorate if my roommate and I have opposite tastes? Divide visually, not emotionally. Each person gets their side and the shared palette keeps it cohesive. Neutral bedding on both beds with personal accent colors is the classic compromise that actually works.
What is worth spending more on? Bedding and lighting — you touch your bedding every day and lighting sets the mood of the whole room. Save on wall decor, where washi tape and printouts look as good as expensive art at dorm viewing distance.
Can I loft or raise my bed? Most dorms allow bed risers or university-provided lofting kits; some forbid them. Check before buying risers — and never DIY-loft with cinder blocks, which most schools ban as a safety hazard.
How do I make a cinder-block wall look good? Texture is your friend: a tapestry, a fabric wall hanging, or even a flat bedsheet softens the institutional feel. Paint is off-limits, but large textiles cover the most wall for the least money.
What should I buy first if I can only do three things? Bedding refresh, one lighting upgrade, and one wall treatment. Those three change the look and feel of the room more than everything else combined.
Total for all 15 projects: roughly $150–$220 if you did everything — but most dorms need only 5–6 of these to feel completely transformed. Start with bedding, lighting, and one wall treatment, then add storage and finishing touches as the semester settles in.
🛒 Shop This Look:



