
As an Amazon Associate, I earn from qualifying purchases. This means I may earn a commission if you purchase through links on this page — at no extra cost to you.
Decorating a small kitchen on a budget is absolutely doable with 15 proven strategies: paint cabinets or walls in light colors ($30–$50), add peel-and-stick backsplash ($40–$80), install under-cabinet LED lighting ($15), swap cabinet hardware ($25–$40), use open shelving for display, add a washable runner rug ($30), incorporate vertical storage, declutter counters, and bring in greenery and textiles for warmth. Most transformations cost under $200 total.
Your Small Kitchen Has Potential — Here’s How to Unlock It
If you’re working with a galley kitchen, a tiny apartment kitchen, or just a space that feels cramped and dated, this guide is for you. Every tip below costs under $50 (most under $25), requires no professional help, and can be done in a weekend.
Color & Paint (Tips 1–3)
1. Paint Walls a Light, Bright Color
A gallon of paint ($30–$50) is the cheapest square-foot transformation. Stick to warm whites, pale sage, or light greige. Avoid stark white if you have minimal natural light — it can feel cold.
2. Paint Lower Cabinets a Bold Color
Two-tone kitchens are trending and budget-friendly. Paint just the lower cabinets navy, forest green, or charcoal while keeping uppers white. One quart ($15–$20) usually covers lower cabinets in a small kitchen.
3. Use Removable Wallpaper for an Accent Wall
One wall of peel-and-stick wallpaper ($30–$60) adds pattern and personality without commitment. Try it on the wall behind open shelves or the breakfast nook.
Backsplash & Surfaces (Tips 4–5)
4. Install Peel-and-Stick Backsplash Tile
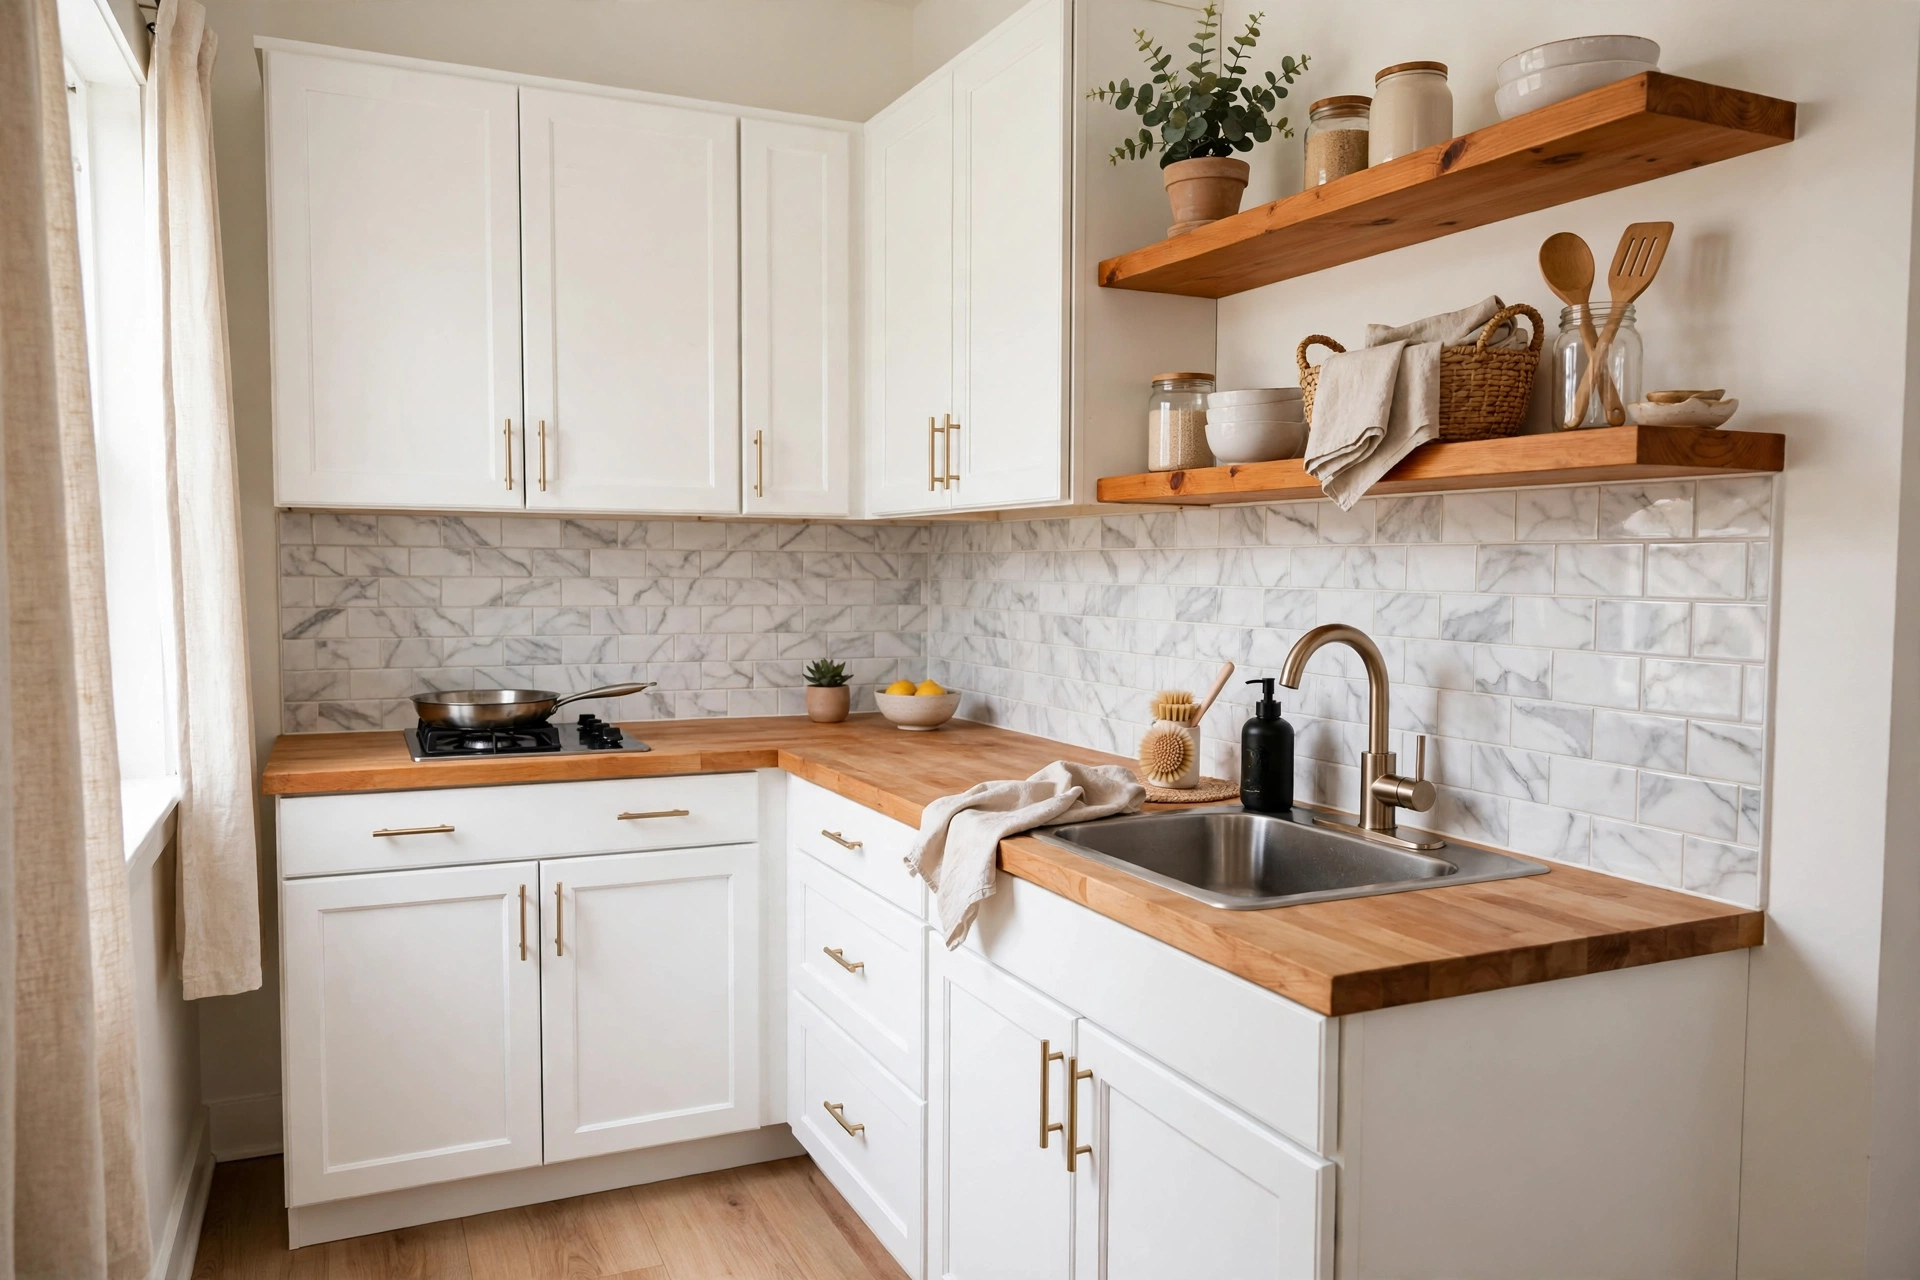
The highest-impact budget upgrade. Modern peel-and-stick tiles convincingly mimic subway tile, marble, or Moroccan patterns. Budget $40–$80 for a small kitchen. Installation takes 1–2 hours.
5. Refresh Countertops with Contact Paper
Marble-look or butcher-block contact paper ($15–$25 per roll) can cover dated laminate counters. It’s not permanent, but it buys you 1–2 years of improved looks while you save for the real thing.
Lighting (Tips 6–7)
6. Add Under-Cabinet LED Strips
Battery-operated LEDs ($12–$20) eliminate the cave-like feeling under upper cabinets. The warm glow makes the kitchen feel larger and more expensive. This is the best $15 you’ll spend.
7. Swap the Overhead Fixture
A dated flush-mount fixture drags down the whole room. A rattan pendant, glass globe, or matte black semi-flush mount ($25–$60) changes the room’s character instantly.
🛒 Shop This Look:
Storage & Organization (Tips 8–10)
8. Install a Floating Shelf
One 36-inch floating shelf ($20–$30) on an empty wall provides display space and draws the eye up. Style it with 3–5 items: stacked bowls, a small plant, and a cookbook.
9. Use the Inside of Cabinet Doors
Adhesive hooks and slim organizers ($8–$15) on cabinet door interiors create hidden storage for spices, wraps, and cleaning supplies. Frees up shelf space instantly.
10. Add a Magnetic Knife Strip
Mount a magnetic strip ($12–$18) on the wall or side of a cabinet. Frees up counter and drawer space while looking professional.
Textiles & Soft Touches (Tips 11–12)
11. Lay Down a Washable Runner
A colorful runner ($25–$40) in front of the sink adds warmth, pattern, and comfort. Machine-washable is non-negotiable in kitchens.
12. Upgrade Dish Towels and Pot Holders
Matching, attractive textiles ($15–$25 for a set) make the kitchen look intentional. Choose colors that complement your palette.
Finishing Touches (Tips 13–15)
13. Swap Cabinet Hardware
New pulls and knobs ($2–$4 each, $25–$40 total) are like jewelry for cabinets. Brushed brass, matte black, or polished nickel instantly modernize dated cabinets.
14. Add Greenery
A pothos on top of cabinets, herbs on the windowsill, or a small succulent by the sink ($10–$20 total) brings life to sterile spaces.
15. Curate Your Counters
Remove everything, then add back only 3–5 beautiful, functional items. A cutting board, utensil holder, and small plant is plenty. Clear counters = bigger-feeling kitchen.
Total Budget: Under $200
Doing all 15 tips costs roughly $180–$220. But you don’t need to do everything — even 3–4 changes (paint, backsplash, lighting, hardware) create a dramatic transformation for under $150.
Weekend Game Plans: Which Tips to Combine
Fifteen tips is a menu, not a to-do list. Here are three ready-made weekend plans depending on your time and energy.
🛒 Shop This Look:
The one-afternoon refresh (4–5 hours): Swap the cabinet hardware (tip 13), install under-cabinet LED strips (tip 6), curate the counters (tip 15), and add greenery (tip 14). Cost: roughly $60–$100. This combination works because every change is visible from the doorway — hardware, light, clear counters, and life — so the kitchen reads as transformed even though the walls and surfaces are untouched.
The full weekend makeover (10–12 hours over two days): Saturday: paint the walls (tip 1) and install the peel-and-stick backsplash (tip 4). Sunday: swap the overhead fixture (tip 7), lay the runner (tip 11), upgrade textiles (tip 12), and style the floating shelf (tip 8). Cost: roughly $150–$200. Do the messy work (paint, backsplash) first so Sunday’s finishing touches go onto clean, dry surfaces.
The slow-burn plan (one tip per weekend): Start with whatever bothers you most when you walk in. There’s no wrong order, but a sensible sequence is: declutter counters first (free and instant), then lighting, then hardware, then paint, then backsplash. Each change builds on the last, and spreading the cost over a month or two keeps it painless.
Small Kitchen Mistakes to Avoid
- Dark colors on every surface. One dark element — lower cabinets, an accent wall — adds depth. Dark walls plus dark cabinets plus dark counters in a small kitchen absorbs all the light and makes the space feel smaller. Keep at least two-thirds of the surfaces light.
- Oversized decor. A huge fruit bowl, an oversized pendant, or a bulky paper towel holder eats counter and visual space. Scale everything down: a small pendant instead of a large one, a slim runner instead of a wide rug.
- Open shelving everywhere. One floating shelf styled with 3–5 items looks airy and intentional. Replacing all upper cabinets with open shelves in a small kitchen just moves the clutter into public view. Keep most storage behind closed doors.
- Ignoring the vertical space. The wall above the backsplash, the sides of cabinets, and the area above the fridge are all usable. A magnetic strip, hanging rail, or slim shelf in these dead zones adds storage without touching the floor plan.
- Mixing too many finishes. Brushed brass hardware, chrome faucet, black light fixture, and copper pots is four metals too many for a small space. Pick two finishes maximum and repeat them — repetition reads as intentional, variety reads as chaotic.
- Skipping the declutter step. Every tip on the list works half as well in a cluttered kitchen. Before spending a dollar, remove everything from the counters and only put back what you use weekly. This free step often delivers the biggest visual change.
Renter-Friendly Adaptations
Renters can use nearly every tip on this list with small adjustments. Stick to reversible changes and keep the original hardware and fixtures in a labeled bag so you can restore everything at move-out.
- Paint: Only with written landlord permission — but many landlords approve a fresh coat of neutral paint because it saves them the turnover repaint. Get it in writing.
- Backsplash and counters: Peel-and-stick tile and contact paper are the renter’s best friends. They remove cleanly from smooth surfaces. Test a small piece behind the fridge first.
- Lighting: Battery-operated LED strips need no wiring and leave no holes. For the overhead fixture, swap it and store the original — just photograph the wiring before disconnecting anything, and flip the breaker first.
- Hardware: Save every original knob and screw. Fill nothing, drill nothing new — use the existing holes.
- Storage: Adhesive hooks, over-the-door organizers, and tension rods add storage without a single hole in the wall.
Keeping It Looking Good: Simple Maintenance
Budget updates need a little upkeep to keep looking intentional rather than temporary.
- Peel-and-stick backsplash: Wipe with a damp cloth, not abrasive cleaners, which can dull the finish. Check edges every few months — if a corner lifts, a dot of clear silicone adhesive behind it re-secures it invisibly.
- Contact paper counters: Use cutting boards religiously — knives slice right through it. Wipe spills promptly; standing water at the seams eventually loosens the adhesive. Expect to replace high-wear sections yearly.
- Painted cabinets: Clean with a soft damp cloth and mild soap. Touch up chips promptly with leftover paint before moisture gets underneath — a small chip becomes a peeling patch if ignored.
- Textiles: Wash the runner and dish towels on a schedule, not when they look dirty. Kitchens soil textiles faster than you think, and fresh textiles are half the “styled” effect.
Frequently Asked Questions
What’s the single highest-impact change for under $50?
Under-cabinet LED lighting. For roughly $15–$30 it eliminates the dark cave under your upper cabinets, makes the kitchen feel larger, and improves task lighting — and it takes under an hour to install.
Should I paint my small kitchen cabinets white?
White cabinets reflect the most light and make small kitchens feel bigger, but they show every mark. Warm white or light greige is more forgiving than stark white. If your cabinets are wood in decent shape, consider just painting the uppers white and leaving wood lowers, or vice versa — two-tone kitchens hide wear better than all-white.
How do I make a galley kitchen feel wider?
Run the eye horizontally: a runner rug that spans the length, a backsplash with horizontal lines (like subway tile), and under-cabinet lighting that washes the full counter run. Keep the floor visible — clear floor space reads as width. And mount the curtain or blind inside the window frame rather than adding bulky treatments that narrow the view.
Can I really transform a kitchen for under $200?
Yes, if you focus on surface-level changes: paint, peel-and-stick backsplash, lighting, hardware, and textiles. What $200 doesn’t cover is layout changes, new cabinets, stone counters, or appliance swaps. The transformation is visual, not structural — but visual is what you see every day.
— Ella Knight
🛒 Shop This Look:



