
As an Amazon Associate, I earn from qualifying purchases. This means I may earn a commission if you purchase through links on this page — at no extra cost to you.
A kitchen layout planner helps you visualize furniture placement, work zones, and traffic flow before making changes. The best free approach: measure your kitchen (length x width), note door/window/utility positions, then use graph paper (1 square = 6 inches) or a free online tool to experiment with layouts. Key measurements to plan for: 36-inch counters, 42–48 inch walkways, and the work triangle (sink-stove-fridge) totaling 13–26 feet. Related: Free Bedroom Layout Planner.
Why Plan Your Layout First?
Moving a fridge or rethinking cabinet placement on paper is free. Discovering your new layout doesn’t work after installation costs thousands. A layout planner helps you:
- Test multiple configurations without commitment
- Ensure adequate clearance for doors and drawers
- Optimize the work triangle for your cooking style
- Plan electrical and plumbing before walls close
- Communicate clearly with contractors
Step 1: Measure Everything
Get accurate measurements:
- Room dimensions: Length and width, wall to wall
- Ceiling height: Affects cabinet and lighting choices
- Doors: Width and swing direction (measure the arc)
- Windows: Width, height from floor, and position on wall
- Utilities: Location of plumbing, gas lines, and electrical outlets
- Existing fixtures: Note what must stay vs. what can move
Step 2: Choose Your Layout Type
Galley (Two Walls)
Best for: Narrow kitchens, efficiency. Keep 4–6 feet between counters. Avoid if: You want an island or have multiple cooks.
L-Shape
Best for: Medium kitchens, open plans. Provides good counter space and natural work triangle. Add an island if room allows.
U-Shape
Best for: Maximum storage and counter space. Ensure 8+ feet width for comfortable movement. Can feel enclosed in small spaces.
Island Layout
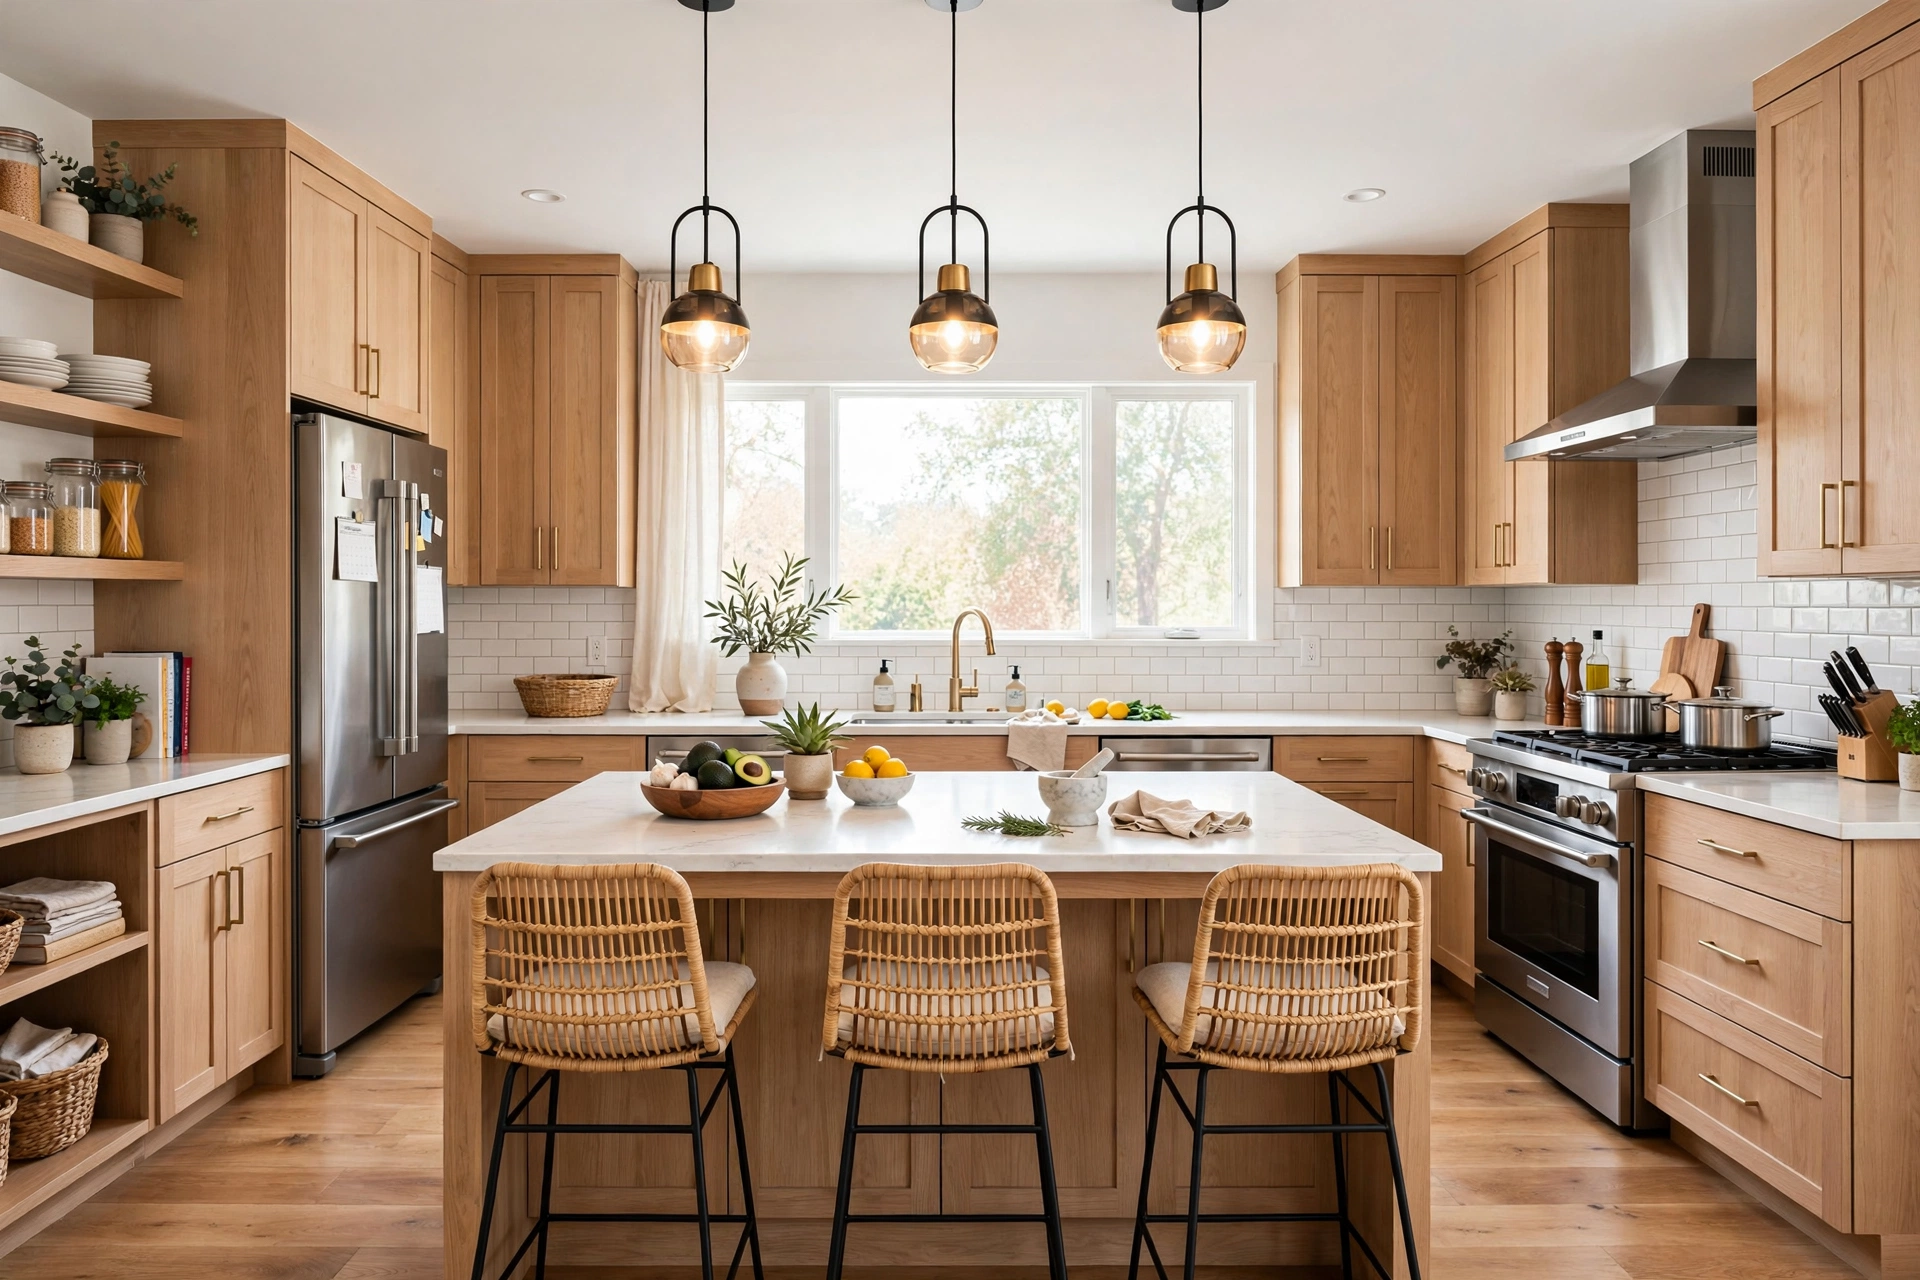
Best for: Large kitchens (12×12+ feet). Island needs 42–48 inches clearance on all sides. Combines prep space, storage, and seating.
Peninsula
Best for: Medium kitchens wanting island benefits without space for a full island. Attached on one end, open on three sides.
Step 3: Plan Your Zones
Divide your kitchen into functional zones:
- Prep zone: Near sink, with cutting boards and knives
- Cooking zone: Around stove, with pots, pans, and oils
- Storage zone: Pantry and fridge area
- Cleanup zone: Sink, dishwasher, and trash
Arrange zones to minimize steps. The prep and cooking zones should be adjacent.
Step 4: Check Clearances
Critical measurements that are often overlooked:
- Walkways: 42–48 inches for one cook, 48+ for two
- Work aisles: 42 inches minimum between counters
- Dishwasher clearance: 21 inches in front when door is open
- Refrigerator doors: Ensure full swing without hitting islands
- Oven door: 15 inches landing space on at least one side
Free Planning Tools
- Graph paper: 1 square = 6 inches. Cut out furniture to scale and move around.
- IKEA Kitchen Planner: Free, 3D, includes IKEA cabinets (but useful for any layout).
- SketchUp Free: More advanced 3D modeling for detailed plans.
- RoomSketcher: Browser-based, intuitive drag-and-drop.
Printable Planning Worksheet
Use this checklist when planning:
- ☐ Room measured (L x W x H)
- ☐ Doors/windows/utilities marked
- ☐ Layout type chosen
- ☐ Work triangle measured (13–26 ft total)
- ☐ Clearances verified (42″+ walkways)
- ☐ Zones defined (prep, cook, store, clean)
- ☐ Electrical outlets planned
- ☐ Lighting plan (3 layers minimum)
— Ella Knight
The 5 Kitchen Layouts, Explained
1. Galley (Corridor)
Two parallel counter runs with a walkway between. The most efficient layout per square foot — everything is within a step or two. Needs 4–5 feet between counters (minimum 3.5 feet if one cook, and one side must be clear of protruding handles). Best for: small kitchens, single cooks, apartments. Watch out for: the corridor feeling; break it with good lighting and keep one end open if possible.
2. L-Shape
Counters on two adjacent walls forming an L. The most versatile layout — works in small and large kitchens, leaves room for a table or island, and naturally creates a work triangle. Best for: most kitchens, open plans. The corner is the challenge: use a lazy Susan, blind-corner pullout, or dead-corner wisely so it doesn’t become a black hole.
3. U-Shape
Counters on three walls. Maximum counter and storage — the cook’s dream. Needs enough width (8+ feet) so the U doesn’t feel like a cage. Best for: serious cooks, larger kitchens. Watch out for: two cooks colliding in the U; and the closed end can feel dark without good lighting.
4. Island / Peninsula
An L or one-wall layout plus a freestanding island (or attached peninsula). The island adds prep space, seating, and storage — the modern kitchen centerpiece. Needs 42–48 inches of clearance on all working sides (36 minimum on non-working sides). Best for: open plans, entertaining, families. The island is not free space — it’s the most expensive square footage in the kitchen, so plan its function (prep? seating? storage? cooking?) before its size.
5. One-Wall (Single Line)
Everything on one wall. The ultimate small-space layout — common in studios and apartments. Lives or dies on vertical storage and keeping the counter clear. Best for: micro kitchens, minimalists. Maximize it with: tall cabinets, wall-mounted storage, and a strict one-in-one-out rule for gadgets.
The Work Triangle, Refined
The classic rule: sink, stove, and refrigerator should form a triangle with each leg 4–9 feet and the total 13–26 feet. Still useful, but modern kitchens have evolved past the pure triangle:
- Think in zones, not just a triangle: prep zone (counter + sink), cooking zone (stove + oven), storage zone (fridge + pantry), cleaning zone (sink + dishwasher). Each zone needs landing space — 15+ inches of counter beside the fridge, stove, and sink.
- The dishwasher belongs in the cleaning zone: next to the sink, obviously — but also consider: which side? Right-handed people generally prefer it on the right of the sink (scrape with left, load with right). It matters more than you’d think.
- Two-cook kitchens need two triangles: or at least duplicated landing zones. The classic triangle assumes one cook; with two, you need a second prep area (often the island) so nobody’s reaching across anyone.
- Don’t cross the triangle with traffic: the path from the kitchen entry to the rest of the house shouldn’t cut through the work triangle. If it does, the cook gets bumped constantly. In open plans, orient the island to shield the work zone from the traffic path.
Clearance Standards for Kitchens
- Walkways: 42–48 inches for main work aisles (two cooks passing), 36 inches minimum for single-cook paths
- Island clearance: 42–48 inches on working sides, 36 minimum where no work happens
- Counter depth: 25–26 inches standard (24″ cabinet + overhang)
- Counter height: 36 inches standard; 30–32 for baking centers, 42 for bar seating
- Upper cabinet height: bottom of uppers 18 inches above counter (15 for shorter users); uppers 12–13 inches deep
- Range to hood: 30–36 inches above the cooktop (check hood specs)
- Landing space: 15+ inches beside the fridge handle side, 15+ inches beside the stove, 24+ inches on one side of the sink and 18+ on the other
- Dishwasher to sink: within 36 inches
- Seating overhang: 12 inches knee space for counter seating (15 for comfort), 24 inches width per stool
Zone Planning: Design Around How You Cook
Before placing a single cabinet, answer: how do you actually cook? The zones:
- Prep zone: the largest continuous counter run, near the sink. This is where 70% of kitchen time happens. Protect it — don’t let the coffee station or the mail pile colonize the prep zone.
- Cooking zone: stove/oven with landing space on at least one side, oils and utensils within arm’s reach, ventilation above.
- Cleaning zone: sink, dishwasher, trash/recycling. These three must be adjacent — the scrape-rinse-load-toss workflow falls apart if they’re scattered.
- Storage zone: fridge, pantry, everyday dishes. Dishes should live near the dishwasher (unload path) and near the dining area (table-setting path).
- Beverage/snack zone (optional): coffee station, kids’ snacks — placed at the kitchen’s edge so grazers don’t cross the cook’s triangle. This zone prevents 90% of kitchen traffic collisions.
Appliance Placement Rules
- Refrigerator: at the kitchen’s edge, near the entry — the most-accessed appliance shouldn’t require crossing the work zone. Door swing must clear (measure!). French-door models need less swing clearance than single-door.
- Range/cooktop: on an exterior wall when possible (easier, cheaper venting). Never under a window (curtains + flame) or in a traffic path.
- Sink: under a window if you have the choice — the view makes dishwashing measurably less miserable. Otherwise centered on the main counter run.
- Dishwasher: immediately adjacent to the sink, on the dominant-hand side if possible.
- Microwave: near the fridge (reheat path) or in the snack zone — not over the range unless ventilation is handled separately. Countertop microwaves eat prime counter; consider a shelf, pantry, or drawer microwave.
- Trash: in the prep/cleaning zone — you generate waste while prepping and cleaning, not while cooking. A pull-out near the sink beats a freestanding can across the room.
Common Planning Mistakes
- Island too big for the room: the number one layout error. An island that leaves 32-inch clearances creates a daily obstacle course. When in doubt, shrink the island — a smaller island with proper clearance beats a grand one you can’t walk around.
- No landing space: beautiful kitchens with nowhere to set down a hot pan or a grocery bag. Every major appliance needs adjacent counter.
- The fridge in the corner: corner fridges often can’t open fully (the door hits the adjacent wall), blocking crisper drawers. Leave filler space or choose the placement carefully.
- Forgetting the trash: planned last, regretted daily. Integrate it into the cabinet plan from the start.
- Lighting as an afterthought: plan lighting with the layout — under-cabinet strips, pendant positions, recessed zones. Retrofitting after cabinets are in is expensive.
- Designing for the dinner party: plan for the 360 daily days, not the 5 party days. A layout optimized for entertaining but annoying for Tuesday dinner is the wrong layout.
Frequently Asked Questions
What is the best kitchen layout for a small kitchen?
Galley or L-shape. Galley is the most efficient per square foot; L-shape is more versatile and leaves room for a small table. Both keep everything within easy reach. Avoid islands in small kitchens unless you have a genuine 42+ inches of clearance on working sides.
How much space do I need for a kitchen island?
The room needs to accommodate the island plus 42–48 inches of clearance on each working side. For a 36-inch-deep island, that’s a room at least 11–12 feet wide. Anything less and the island becomes an obstacle.
Where should the refrigerator go in a kitchen layout?
At the edge of the kitchen near the entry, so snack-grabbers don’t cross the cook’s work zone. Keep it near the prep zone (you pull ingredients from fridge to prep counter constantly) with 15+ inches of landing space beside the handle side.
🛒 Shop This Look:
🛒 Shop This Look:
🛒 Shop This Look:



