
As an Amazon Associate, I earn from qualifying purchases. This means I may earn a commission if you purchase through links on this page — at no extra cost to you.
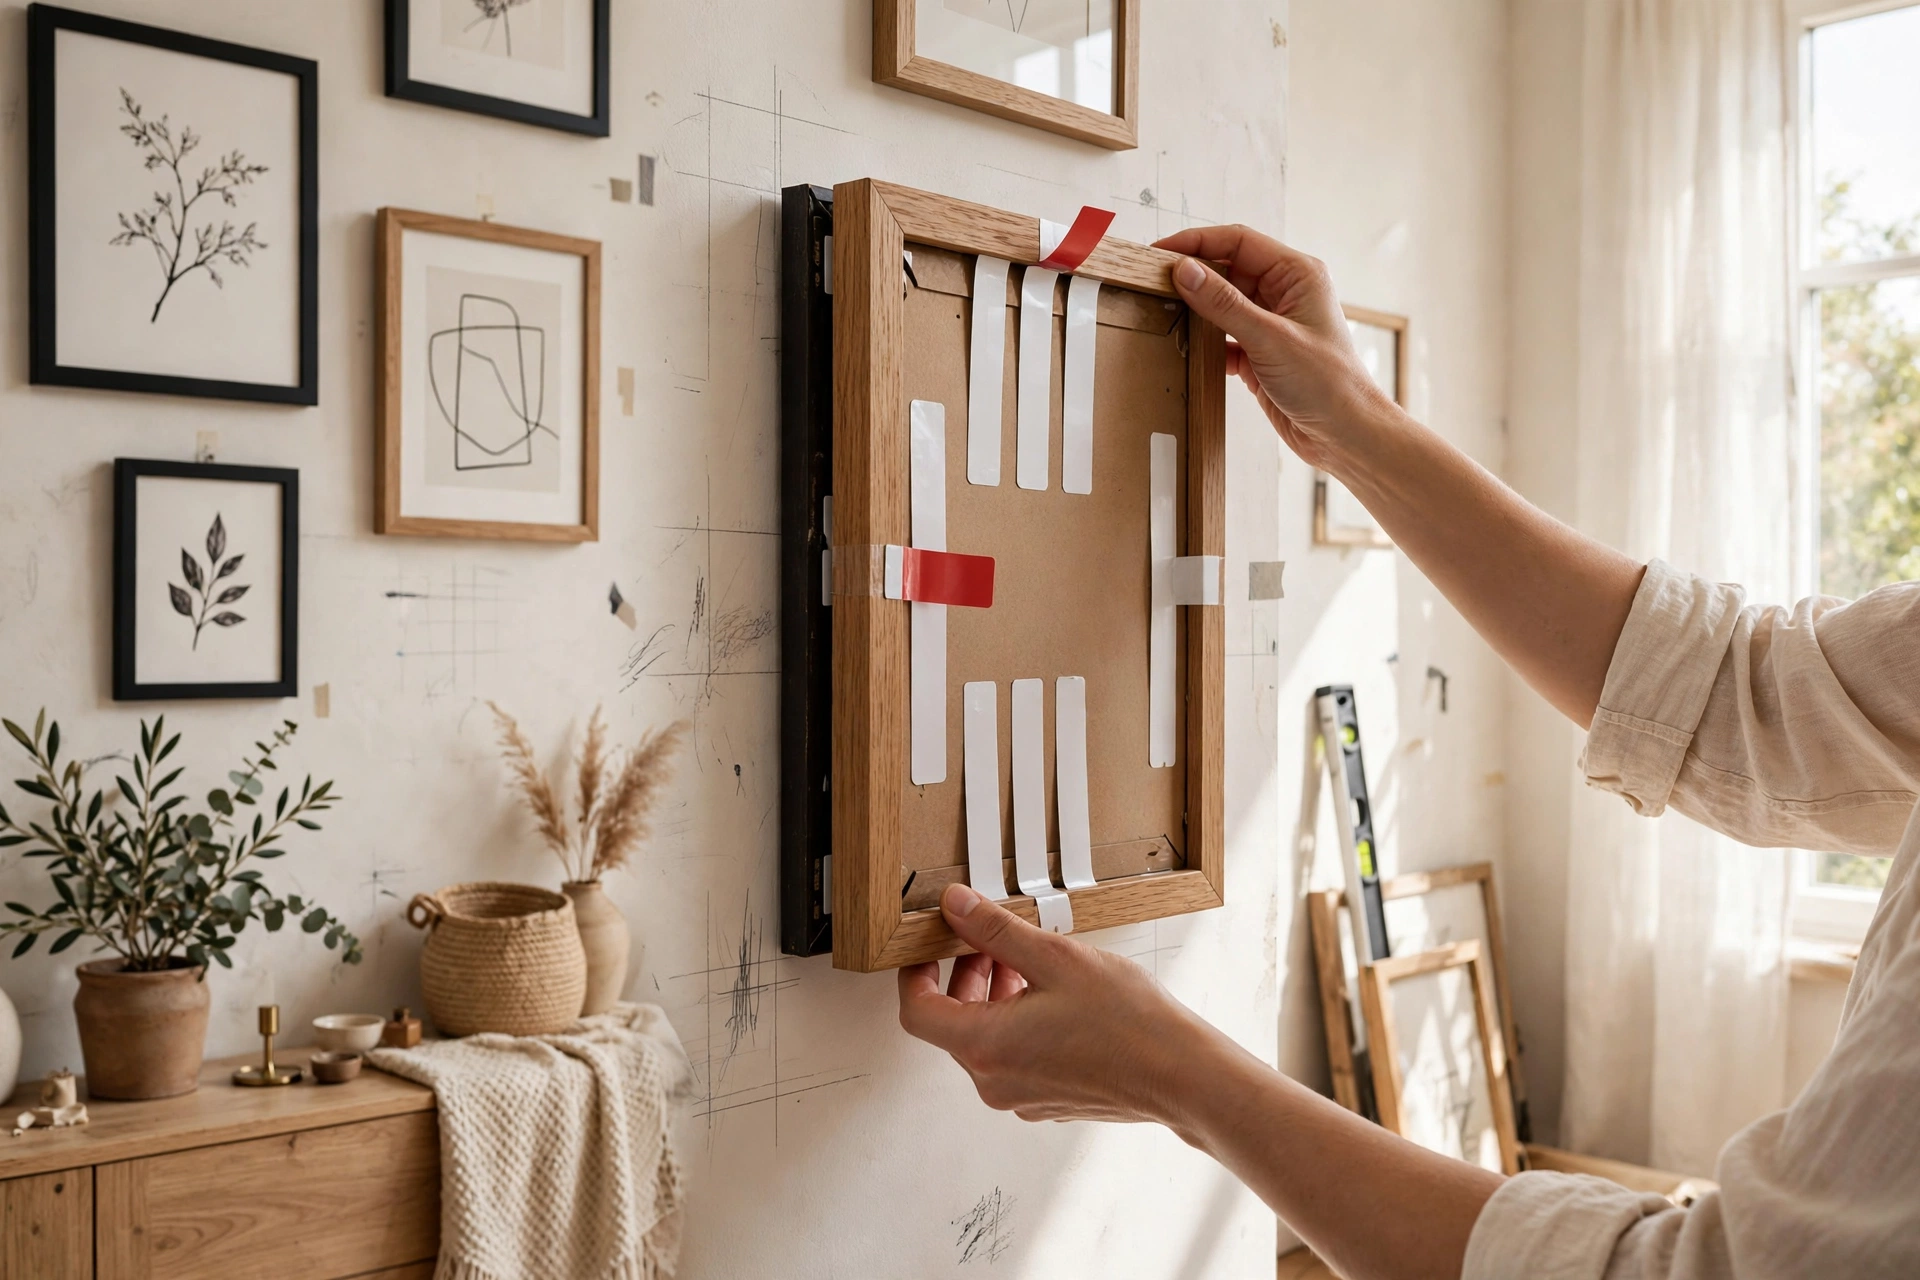
You can hang wall art without nails using adhesive strips (best for frames up to 16 lbs), adhesive hooks, washi tape, leaning frames against walls, picture ledges with adhesive brackets, magnetic poster hangers, or tension rods with curtains. We tested all 7 methods for hold strength, wall damage, and ease of removal.
Method 1: Adhesive Strips (Best Overall)
Hold tested: Up to 16 lbs (Command large strips)
Wall damage: None when removed properly
How to: Clean wall with alcohol, apply strips to frame, press to wall for 30 seconds, wait 1 hour before hanging.
Best for: Framed prints, canvases, most wall art.
Method 2: Adhesive Hooks
Hold tested: Up to 7.5 lbs per hook
How to: Stick hook to wall, hang frame’s wire or sawtooth on hook.
Best for: Lighter frames, single pieces.
Method 3: Washi Tape Gallery
Hold tested: Paper prints only
How to: Create geometric borders with decorative tape.
Best for: Posters, kids’ art, temporary displays.
Method 4: Lean Against Wall
Hold tested: Unlimited (gravity does the work)
How to: Place large frames on floor or furniture leaning against wall.
Best for: Oversized art, casual styling.
Method 5: Picture Ledge with Adhesive Brackets
Hold tested: Up to 10 lbs per bracket pair
How to: Mount small brackets with heavy-duty adhesive, rest ledge on top.
Best for: Rotating art displays.
Method 6: Magnetic Poster Hangers
Hold tested: Posters up to 24×36
How to: Wooden magnetic bars clamp top and bottom of poster, hang from adhesive hook.
Best for: Posters, prints, minimalist look.
Method 7: Tension Rod Display
Hold tested: Lightweight art only
How to: Install tension rod in alcove or between furniture, hang art with clips.
Best for: Small prints, creative displays.
Removal Tips
Always pull adhesive strips straight DOWN (not outward). Use dental floss to slice through stubborn adhesive. Clean residue with Goo Gone or rubbing alcohol.
🛒 Shop This Look:
Choosing the Right Method for Your Wall Type
The wall itself determines which no-nail methods will actually hold, and ignoring this is the top reason adhesive solutions fail. Standard painted drywall is the ideal surface — smooth, sealed, and strong enough for adhesive strips and hooks at their rated weights. But even drywall has caveats: freshly painted walls need at least a week (ideally a month) of curing before adhesives are applied, because the bond forms with paint that has not fully hardened and can peel away with the strip. Flat and matte paints also grip adhesives less reliably than eggshell or satin finishes.
Plaster walls (common in pre-1960s homes) are trickier. Old plaster is often uneven, dusty, or coated in layers of old paint that adhesives bond to instead of the wall — the strip holds, but the paint layer lets go. Test in an inconspicuous spot first and use more strips than the weight rating suggests. Textured walls (orange peel, knockdown) are the enemy of all adhesive methods: strips need full flat contact, and texture reduces the contact area dramatically. On heavy texture, skip adhesives entirely and go with leaning, ledges, or tension displays.
Brick, concrete, and tile need different thinking. Adhesives rarely bond well to porous brick or dusty concrete — the surface sheds before the adhesive fails. For brick, leaning large art is the classic solution, or use brick clips that grip the mortar joints without drilling. Tile (kitchen backsplashes, bathroom walls) actually takes suction or specialty tile adhesive hooks well since the surface is non-porous, but check that the tile is firmly set first. Wallpapered walls are a hard no for adhesives: strips will peel the wallpaper right off the wall on removal, which defeats the entire damage-free purpose. On wallpaper, lean frames or use freestanding displays.
When in doubt, match the method to the surface honestly rather than forcing your favorite method onto an unsuitable wall. A method that works perfectly on smooth drywall can fail catastrophically on textured plaster — and the failure usually happens at 2 AM, not during installation.
Weight Limits and Safety: When to Give Up on No-Nail Methods
Every no-nail method has a real weight ceiling, and respecting it is a safety issue, not just a decor concern. Adhesive strips top out around 16 pounds per set of large strips, and that rating assumes ideal conditions: smooth sealed drywall, proper surface prep, full cure time, and room temperature. In practice, treat 12 pounds as the comfortable maximum for anything you value. Combining multiple strip sets increases capacity, but with diminishing returns — four sets do not reliably hold four times the weight because load distribution is never perfectly even.
Heavy mirrors, large gallery-wrapped canvases over 40 inches, and anything with real glass in a solid wood frame often exceed safe adhesive limits. A falling mirror is genuinely dangerous — glass shards, damaged floors, injured feet. For anything over 15 pounds, or anything hung above a bed, sofa, or doorway where a fall could hurt someone, use proper wall anchors or a stud-mounted hook. This is not a failure of renter-friendliness; it is basic safety. Many leases allow small nail holes (they are considered normal wear), and a single well-placed anchor is infinitely better than a concussion.
Environmental factors quietly reduce holding power over time. Heat softens adhesives — art hung near radiators, in sun-baked rooms, or above fireplaces loses grip faster. Humidity is worse: bathroom-adjacent walls and un-air-conditioned spaces in humid climates can halve adhesive life. Cold has the opposite effect, making some adhesives brittle. If your climate is extreme, inspect adhesive-mounted art seasonally — a gentle tug test reveals loosening long before failure. And replace adhesive strips every year or two in challenging conditions rather than trusting multi-year-old bonds with heavy frames.
The honest rule: no-nail methods are excellent for light to medium art in stable indoor conditions. They are not a substitute for proper mounting of heavy, valuable, or overhead pieces. Knowing where that line sits — roughly 12 to 15 pounds, or anything above a sleeping or seating area — keeps both your art and your household safe.
Adhesive Strip Best Practices Most People Skip
Most adhesive failures are installation errors, not product defects. Surface prep is the step everyone rushes: clean the wall with isopropyl alcohol (not household cleaners, which leave residue) and let it dry completely. Then clean the back of the frame too — dust and manufacturing oils on the frame side cause as many failures as dirty walls. Apply strips to the frame first, press firmly for a full 30 seconds each, then press the whole assembly to the wall for another 30 seconds.
The cure time is the step almost everyone skips. Adhesive bonds strengthen over hours, not seconds — waiting the recommended hour (longer is better; overnight is ideal) before hanging the art dramatically increases hold. Hanging immediately after pressing is the single most common cause of next-day failures. Temperature matters as well: apply strips at room temperature (ideally 60-80°F). Cold walls in winter or hot walls in direct sun both compromise the initial bond — if the wall is cold to the touch, warm the area gently first.
🛒 Shop This Look:
Placement strategy extends hold life. Use more strips than the minimum — distributing load across four corner sets instead of two center sets resists the peeling forces that start failures. For wide frames, add a center set to prevent bowing. Keep strips away from frame edges where leverage works against them, and never reuse strips — once removed, the adhesive is spent. On removal, the technique matters as much as the product: pull the tab slowly straight down along the wall, never outward, stretching the strip until it releases. Pulling outward or fast tears paint. In humid climates or on older paint, warm the strip with a hair dryer for 30 seconds before pulling — heat softens the adhesive and reduces paint damage dramatically.
Finally, calendar your replacements. Adhesive bonds degrade over years even in perfect conditions. For anything you care about, replace strips every 12 to 18 months — a five-minute job that resets the clock. Think of it as maintenance, like changing smoke detector batteries, not as a product failure.
Renter-Friendly Gallery Wall Planning
Gallery walls and no-nail methods are a natural pair, but planning matters more when every piece depends on adhesive. Start on the floor: lay out your full arrangement and live with it for a day before anything touches the wall. Photograph the layout from straight above — the photo reveals imbalances your eyes miss in person. Aim for 2 to 3 inches of consistent spacing between frames; tighter looks intentional, wider looks scattered. Keep the outer boundary of the grouping roughly rectangular or oval — arrangements with random protruding pieces look accidental.
Transfer the layout to the wall with painter’s tape templates. Trace each frame onto kraft paper or newspaper, cut out the templates, and tape them to the wall. This lets you adjust spacing, check alignment from across the room, and confirm the arrangement works with furniture and light switches before committing adhesive. Mark the exact strip positions on the templates so installation is mechanical rather than guesswork. Step back frequently — gallery walls are viewed from across the room, not from six inches away.
Weight distribution across a gallery wall deserves thought. Place the heaviest pieces lowest and closest to the arrangement’s center, where the visual weight anchors the composition and the physical mounting is most secure. Reserve the highest positions for the lightest pieces. Mix frame sizes deliberately — one large anchor, several mediums, a few smalls — rather than defaulting to all-identical frames, which can read as monotonous. And build in an exit strategy: because every piece is adhesive-mounted, you can evolve the wall over time, swapping seasonal pieces without new holes. That flexibility is the real luxury of the no-nail gallery wall.
Document your lease terms before you start. Most leases permit small nail holes as normal wear and tear, which means you have a fallback for the one heavy piece adhesives cannot safely hold. Knowing exactly what your lease allows removes the anxiety that leads people to dangerously overload adhesive strips. When in doubt, ask the landlord — many are far more flexible than renters assume, especially when asked upfront rather than discovered at move-out.
Damage-Free Alternatives Beyond Adhesives
Adhesives get all the attention, but several no-nail approaches avoid sticky products entirely. Leaning is the simplest: large frames, canvases, and mirrors rest directly on the floor or on furniture against the wall. It suits casual, layered interiors and oversized pieces that would be terrifying on adhesives. Use small adhesive bumper pads behind the top edge to prevent wall scuffs, and on hard floors, add non-slip pads under the frame’s bottom edge. Leaning works on literally any wall type — brick, plaster, wallpaper, concrete — because the wall bears almost no load.
Picture ledges (narrow floating shelves) turn any wall into a changeable gallery. One ledge holds five or six overlapping frames; two staggered ledges create a full gallery wall with zero wall damage beyond the ledge mounts themselves — and ledges can be mounted with heavy-duty adhesive brackets or simply rested on furniture. The overlapping, casual arrangement suits eclectic and modern interiors, and swapping art takes seconds. Plate rails, originally for dishes, work identically for small art.
Easels — tabletop and floor-standing — display single statement pieces beautifully and suit traditional and artistic interiors. A large canvas on a studio easel becomes a sculptural moment, not just wall decor. Tension rods wedged in alcoves, between bookcases, or inside deep window frames create hanging lines for lightweight art on clips or rings — no wall contact at all. And over-door hooks or standing screens offer display space in rooms where walls are entirely off-limits. The no-nail toolkit is much bigger than adhesive strips; the best solution is the one matched to your wall, your art’s weight, and how often you like to change things.
🛒 Shop This Look:



