
As an Amazon Associate, I earn from qualifying purchases. This means I may earn a commission if you purchase through links on this page — at no extra cost to you.
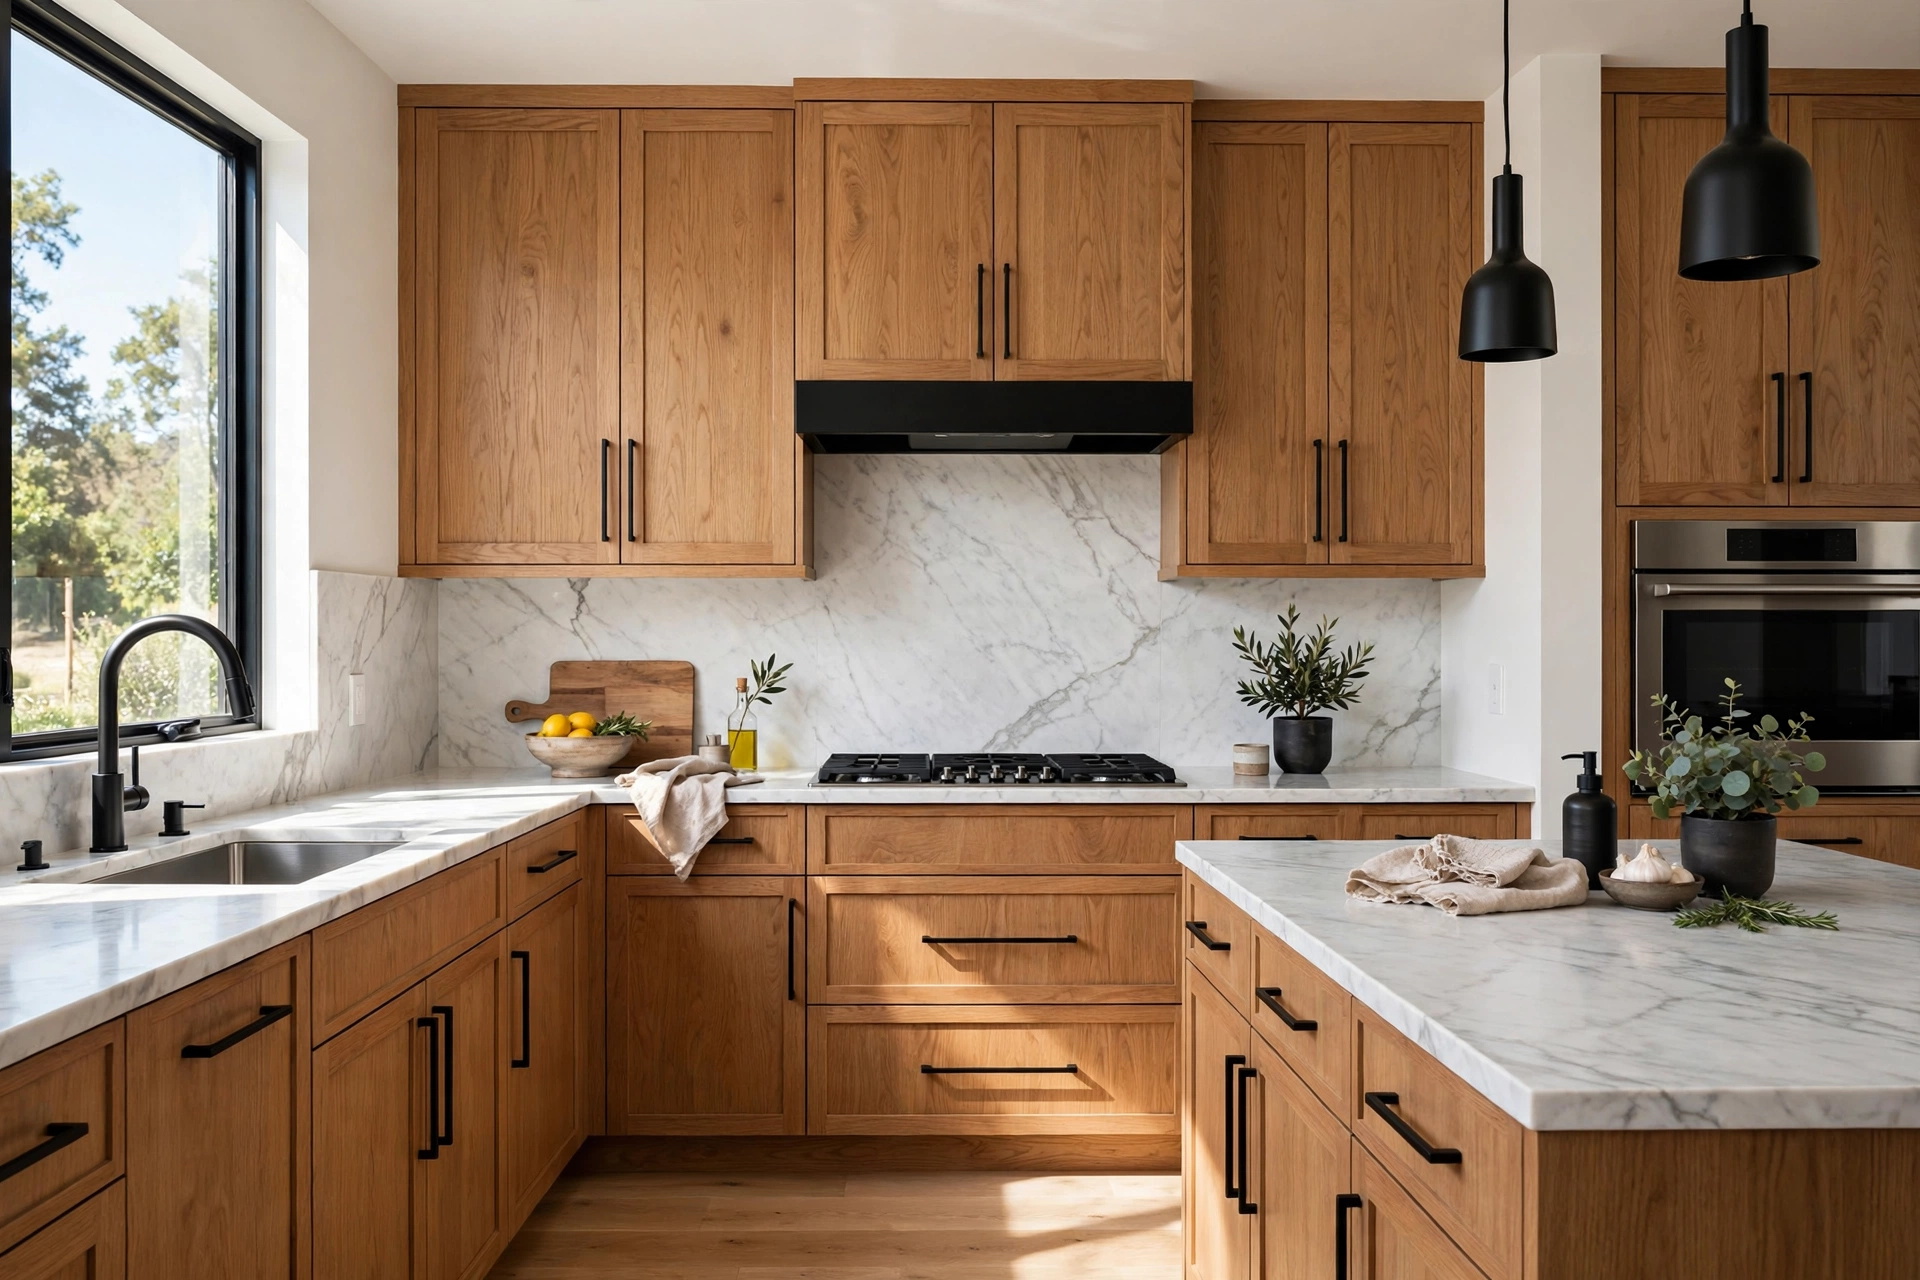
You can modernize oak cabinets without painting by updating the hardware, adding new lighting, changing the backsplash, and applying a gel stain to tone down the orange. Swapping dated brass knobs for matte black bar pulls alone transforms the look for under $100. If the orange tone bothers you, a walnut gel stain applied over the existing finish mutes it without stripping.
1. Change the Hardware (Biggest Impact, Lowest Cost)
Those 1990s brass knobs are dating your kitchen. Replace with matte black or brushed nickel bar pulls. Cost: $2-5 per piece. Instant modernization.
2. Update the Backsplash
A dated backsplash makes oak look older. White subway tile or a simple quartz slab backsplash freshens the entire kitchen and complements wood tones.
3. Tone Down Orange with Gel Stain
General Finishes gel stain in Antique Walnut or Java, applied directly over cleaned (not stripped) oak, neutralizes orange undertones. Two thin coats, no sanding to bare wood required.
4. Add Under-Cabinet Lighting
LED strip lights under uppers make oak glow warmly instead of looking flat. They also improve task lighting dramatically.
5. Refresh the Countertops (If Budget Allows)
Busy granite patterns fight with oak grain. A quiet quartz or butcher block lets the wood be the star.
6. Style the Space
Remove clutter from counters. Add a runner rug, fresh hardware on the pantry, and updated light fixtures. Styling alone can shift perception from “dated” to “intentional.”
🛒 Shop This Look:
Materials and Tools You’ll Need
The beauty of updating oak cabinets without painting is that most of these projects need only basic supplies. Gather everything before you start so you’re not mid-project without a key item.
- For a hardware swap: new pulls and knobs, a cabinet hardware jig or cardboard template, a drill or screwdriver, and a tape measure. If you’re changing hole spacing (for example, from a single knob to a bar pull with two holes), you’ll also need wood filler, a putty knife, and touch-up stain or a matching marker to hide the old holes.
- For gel stain toning: gel stain in a walnut or java tone, a degreasing cleaner, 220-grit sandpaper or a sanding sponge, lint-free rags or foam brushes, painter’s tape, drop cloths, and nitrile gloves. Gel stain is thick, so cheap foam brushes and old t-shirts work better than expensive bristle brushes.
- For lighting: LED strip lights (plug-in or battery-operated), a tape measure, and mounting clips or adhesive backing. Warm white (2700K–3000K) flatters oak far better than cool white.
- For a backsplash: your chosen tile or panels, tile spacers if applicable, adhesive or thinset rated for your tile, a notched trowel, a tile cutter or wet saw for real tile, grout, and a grout float. Peel-and-stick options need only a utility knife, a straightedge, and a level.
How to Tone Down Orange Oak With Gel Stain: Step by Step
Gel stain is the single most effective way to neutralize the orange cast of 1990s oak without the mess of stripping. Unlike traditional stain, gel stain sits on top of the existing finish, so you don’t need to sand to bare wood. Here’s the full process.
Step 1: Remove Doors, Drawers, and Hardware
Take all doors and drawer fronts off their hinges and remove every knob and pull. Label each door on the back with painter’s tape and a number so everything goes back in the right place. Working on a flat surface — sawhorses or a table covered with a drop cloth — gives you a far more even result than staining vertically.
Step 2: Clean Thoroughly
Cabinet doors near the stove collect a film of cooking grease that will prevent gel stain from bonding evenly. Wash every surface with a degreasing cleaner, rinse with clean water, and let dry completely. If you skip this step, the stain will look blotchy where grease remains.
Step 3: Lightly Scuff the Finish
Go over every surface with 220-grit sandpaper or a sanding sponge, just enough to dull the shine. You are not removing the finish — you’re creating microscopic texture for the gel stain to grip. Wipe all dust away with a damp cloth afterward; trapped dust becomes permanent texture under the stain.
Step 4: Apply the First Thin Coat
Stir the gel stain well (never shake it, which introduces bubbles). Brush or wipe on a thin, even coat following the wood grain. Work one door at a time. Gel stain starts to set within minutes, so don’t go back and rework areas you’ve already covered — you’ll leave marks. Thin coats are the key: a thick coat looks muddy and takes far longer to dry.
Step 5: Let It Dry, Then Apply the Second Coat
Allow 24 hours of drying time between coats in normal conditions (longer in humidity). The first coat alone often looks streaky — that’s normal. The second thin coat evens everything out and deepens the tone. Most oak cabinets need two coats; very orange wood sometimes benefits from a third.
Step 6: Seal With a Clear Topcoat
Once the stain has cured for 48–72 hours, apply two coats of a water-based polyurethane in satin or matte sheen, sanding lightly with 220-grit between coats. The topcoat protects the stain from moisture, cleaning products, and daily wear. Without it, the gel stain will wear through on high-touch edges within a year or two.
🛒 Shop This Look:
Troubleshooting Common Problems
- The stain looks streaky or blotchy: Almost always caused by uneven cleaning (grease residue) or applying too thick. Scuff-sand the uneven areas with 220-grit, wipe clean, and apply another thin coat.
- The orange still shows through: You likely need a darker gel stain or an additional coat. Moving from Antique Walnut to Java adds significantly more pigment. Don’t try to fix it with one heavy coat — heavy coats dry unevenly.
- The finish feels sticky after 24 hours: Too thick an application, or high humidity. Give it more time in a ventilated space. In very humid conditions, wait up to 48 hours between coats.
- New hardware holes don’t line up: Fill old holes with stainable wood filler, let it dry, sand flush, and touch up with a stain marker close to your cabinet tone before drilling new holes. A hardware jig keeps spacing consistent across all doors.
- Under-cabinet lights create hot spots: Place the LED strip toward the front edge of the cabinet bottom rather than against the wall, and use a diffuser channel if the individual diodes are visible on the countertop.
Frequently Asked Questions
Will gel stain work on varnished oak cabinets?
Yes — that’s exactly what gel stain is designed for. It adheres to sealed and varnished surfaces as long as you clean and lightly scuff first. The exception is wax-finished wood, where the wax must be fully removed with mineral spirits before the stain will bond.
How long does a gel stain cabinet update last?
With a proper polyurethane topcoat, expect 5–8 years of good-looking wear in a normal kitchen. High-touch areas around handles may show wear sooner; the fix is a light scuff and a fresh topcoat, not a full redo.
Can I combine gel stain with new hardware?
Absolutely, and you should — the combination is greater than the sum of its parts. Stain first (before drilling new hardware holes), then fill, touch up, and install the new pulls. This order keeps your new hardware free of stain drips.
Is updating oak cabinets cheaper than replacing them?
Dramatically so. A full gel stain update with new hardware typically runs $150–$400 in materials for an average kitchen. Refacing costs roughly $4,000–$9,000, and full replacement starts around $12,000 and climbs quickly.
Will my kitchen still look dated if I keep the oak?
Oak itself isn’t dated — the orange finish, dated hardware, and busy surroundings are. Toned-down oak with modern pulls, updated lighting, and a simple backsplash reads as warm and intentional, similar to the white oak finishes featured in current kitchen design.
Budget Breakdown: What Each Update Costs
Here’s what to expect for an average kitchen (roughly 20–30 linear feet of cabinets). Costs are approximate and vary by region and kitchen size.
- Hardware swap: $2–$5 per pull or knob. An average kitchen needs 25–40 pieces, so budget roughly $75–$200. A hardware jig ($10–$15) pays for itself in saved time and consistent placement.
- Gel stain toning: One quart of gel stain ($20–$30) covers most kitchens for two coats. Add sandpaper, cleaner, and a quart of polyurethane topcoat, and the full job runs roughly $60–$100 in materials.
- Under-cabinet lighting: Battery-operated LED strips run $15–$30 per set; plug-in or hardwired options with better brightness run $40–$100. Measure your cabinet runs before buying so you order the right lengths.
- Backsplash: Peel-and-stick panels run $30–$80 for a small kitchen. Real tile with professional installation runs $800–$2,000+, which is why peel-and-stick is the budget pick here.
- Countertop refresh: Contact paper costs $15–$25 per roll (most small kitchens need 2–3 rolls). A quartz slab backsplash-to-counter upgrade is a bigger investment, roughly $60–$100 per square foot installed.
The highest-value combination: gel stain + new hardware + under-cabinet lighting. For roughly $200–$350 in materials and two weekends of work, you get a kitchen that reads as thoughtfully updated rather than stuck in the 90s.
One final tip: photograph your kitchen before you start and after each change. Oak updates are incremental — hardware one weekend, lighting the next — and photos help you see the cumulative transformation that’s easy to miss when you look at the room every day. They’re also useful if you ever sell: before-and-after photos of thoughtful updates reassure buyers that the kitchen was cared for.
🛒 Shop This Look:



