
As an Amazon Associate, I earn from qualifying purchases. This means I may earn a commission if you purchase through links on this page — at no extra cost to you.
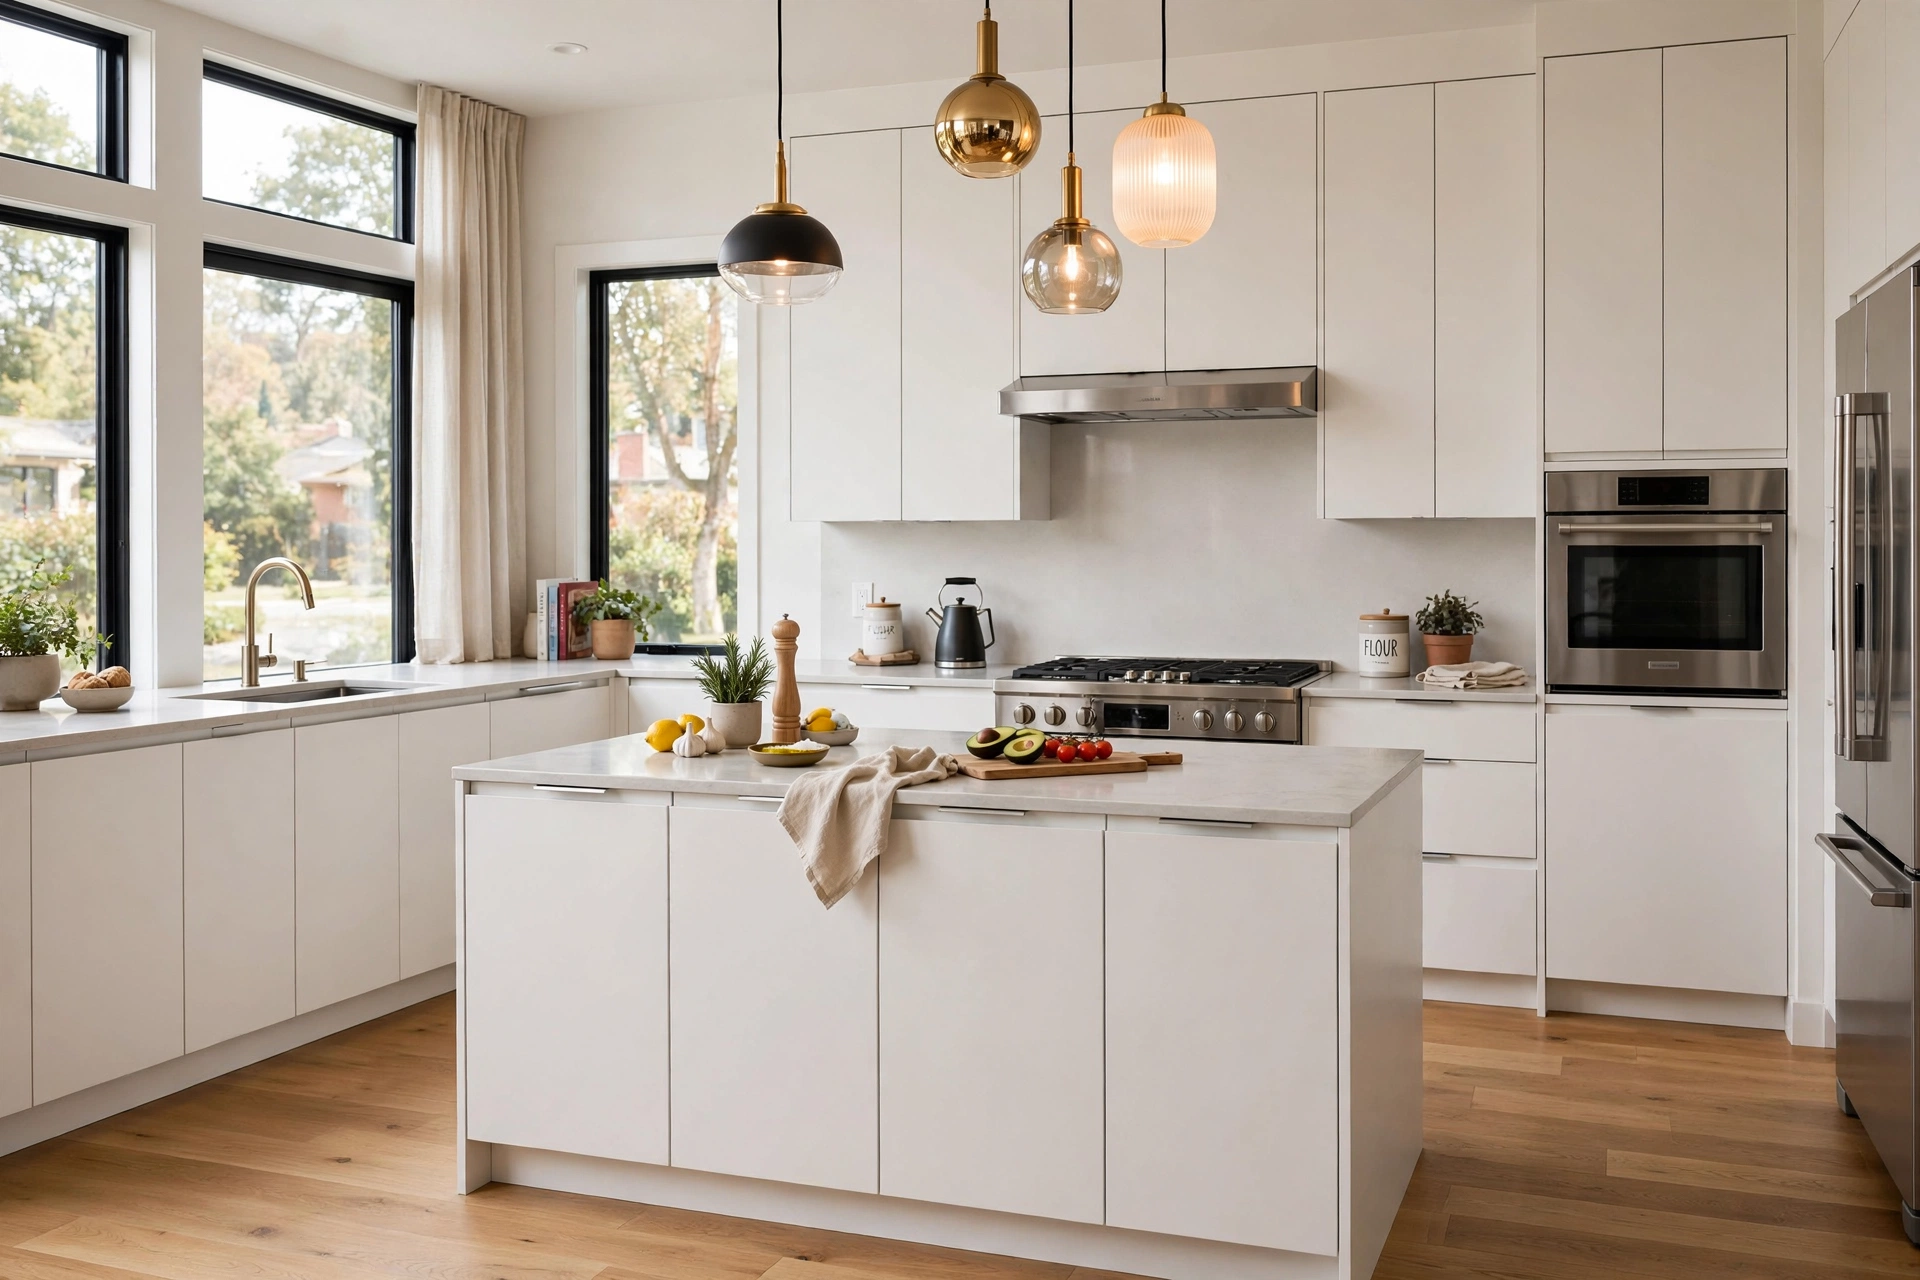
Thermofoil cabinets are made by heat-sealing a thin vinyl film over MDF (medium-density fiberboard) to create a smooth, uniform surface. They’re among the most affordable cabinet options, offer a flawless factory finish in white and solid colors, and resist moisture well. However, the vinyl can peel or bubble near heat sources like ovens and dishwashers, and they can’t be easily refinished — once damaged, replacement is usually the fix.
How Thermofoil Is Made
A sheet of vinyl is heated and vacuum-pressed onto shaped MDF, wrapping the door’s face and edges in one seamless piece. There are no paint brush marks, no grain — just a perfectly smooth surface.
Pros of Thermofoil
- Affordable: Often 30-40% less than painted wood cabinets
- Consistent finish: Factory-perfect, no variation
- Moisture resistant: Vinyl repels water better than paint
- Easy to clean: Smooth surface wipes down effortlessly
Cons of Thermofoil
- Heat damage: Can peel, bubble, or yellow near ovens, toasters, and dishwashers
- Not refinishable: Can’t be sanded and repainted like wood
- Limited styles: Mostly solid colors and simple profiles
- Feels less premium: Lacks the depth of real wood or quality paint
How to Prevent Peeling
Install heat shields near ovens. Keep small appliances away from cabinet faces. Ensure proper ventilation. If peeling starts at edges, heat-activated adhesive can sometimes re-stick small areas — but widespread peeling means replacement.
DEGEOBERLIN Adhesive Backed Aluminized Heat Shield Mat (12″ x 12″)
Best for protecting thermofoil cabinets near ovens from heat damage.
Thermofoil vs Painted Wood vs Laminate: Honest Comparison
Thermofoil sits in a crowded field of affordable cabinet finishes, and understanding the neighbors clarifies its position. Painted wood (or painted MDF) is the step-up alternative: real paint over a wood or engineered substrate, offering richer color depth, refinishability, and a more premium feel. Painted cabinets cost notably more — the labor of priming, spraying multiple coats, and curing adds up — but they can be touched up, repainted, and repaired in ways thermofoil cannot. If your budget stretches, painted is the longer-lived choice.
Laminate (high-pressure laminate like Wilsonart or Formica on cabinet doors) is thermofoil’s closest cousin. Both are plastic surfaces over engineered substrates, but laminate is applied as a flat sheet (great for slab doors, poor for detailed profiles) while thermofoil is vacuum-formed over shaped profiles (great for raised-panel and Shaker looks). Laminate is generally tougher — more heat-resistant, more impact-resistant, harder to peel — but limited to flat or simple door styles. Thermofoil offers more style options at a similar price with less durability. Melamine (thermally fused laminate on particleboard) is the budget basement: fine for closet and laundry cabinetry, too fragile-looking for most kitchens.
The decision matrix: choose thermofoil when you want a shaped door profile (Shaker, raised panel) at the lowest price and the kitchen is low-heat (no range directly under wall cabinets without a proper hood, no toaster oven blasting cabinet faces). Choose laminate when you want maximum durability at a budget price and accept slab or simple profiles. Choose painted wood when the budget allows and you want longevity, repairability, and premium feel. There is no universally “best” — only best for your kitchen, budget, and timeline.
One more consideration: resale perception. Informed buyers recognize thermofoil as the budget option, and peeling thermofoil is a visible red flag in listings. Painted wood reads as quality even to untrained eyes. If you will sell within a few years, the upgrade from thermofoil to painted often pays back in perceived kitchen value — not always in dollars, but in days-on-market and buyer enthusiasm, which have real financial value.
Signs of Quality in Thermofoil Cabinets
Not all thermofoil is equal, and the differences hide behind the identical-looking white doors. The vinyl film itself varies: thicker films resist punctures and peeling better; premium thermofoil uses higher-grade vinyl with better heat resistance. You cannot measure film thickness in a showroom, but you can ask the manufacturer for specs — reputable makers publish them. Press firmly on a sample door’s edge; cheap thermofoil feels papery and flexes, quality film feels substantial.
Box construction matters more than the door finish for longevity. Plywood boxes outlast particleboard in every moisture scenario — and kitchens are moisture scenarios. Check drawer boxes (solid wood dovetailed is the quality marker), drawer glides (full-extension soft-close versus basic side-mount), and hinge quality (soft-close, adjustable, from a recognized hardware maker). A thermofoil kitchen with plywood boxes and premium hardware will outlive a painted-wood kitchen with particleboard boxes and cheap hinges. The finish gets the attention; the construction does the work.
Warranty terms reveal manufacturer confidence. Look for at least a 5-year warranty covering delamination and peeling under normal use — and read the exclusions, because “normal use” definitions vary. Warranties that exclude heat damage entirely are a warning: the maker knows heat is the failure mode and is preemptively disclaiming it. Ask specifically about the heat rating: at what temperature and distance does the maker certify the foil? Vague answers suggest vague engineering.
In the showroom, inspect with raking light and your hands. Run your fingers along door edges feeling for lifting or bubbles — early delamination is tactile before it is visible. Look at the back of doors and inside cabinets; quality makers finish interior surfaces decently, while cost-cutters leave rough interiors. Check that doors hang straight and close evenly — poor factory drilling shows up as misaligned doors that no amount of hinge adjustment fully fixes. And ask for a sample door to take home: live with it near your actual range for a week and see how the finish responds to your real cooking heat.
Repairing Minor Thermofoil Damage
Small thermofoil problems are fixable; the key is catching them early before peeling spreads. For edges just starting to lift, the heat-reactivation method often works: warm the loose area with a hair dryer or heat gun on low (keep it moving — concentrated heat melts the vinyl), press the foil firmly back onto the substrate, and hold with painter’s tape until cool. The original heat-activated adhesive re-bonds when warmed. This works best on small areas (under a few inches); widespread peeling means the adhesive has failed comprehensively and re-sticking is temporary at best.
Wagner Spraytech HT1000 Heat Gun Kit, 2 Temp Settings 750°F & 1000°F, 3 Nozzles Included
Best for re-bonding lifting thermofoil edges with gentle, controlled heat.
ScotchBlue Original Multi-Surface Painter’s Tape, 1.41 Inches x 60 Yards, 1 Roll
Best for holding re-bonded thermofoil edges in place until cool.
For slightly larger peels, contact cement provides a stronger re-bond. Apply a thin coat to both the substrate and the foil’s back, let both dry to tacky per the product instructions, then press together firmly — contact cement bonds on contact, so alignment must be right the first time. Use a J-roller or the back of a spoon to press out air bubbles, working from the attached edge outward. Wipe excess immediately with mineral spirits. This repair is nearly invisible on white thermofoil; on colors or wood-grains, slight sheen differences may show at the repair boundary.
DAP Weldwood Original Contact Cement, Tan, 3 Oz
Best for re-bonding slightly larger thermofoil peels.
POWERTEC 14″ Curved Handle J Roller, 1-1/2″ Diameter, 3″ Wide
Best for pressing out air bubbles and bonding re-glued thermofoil firmly.
Bubbles (as opposed to edge lifting) need a different approach: slit the bubble with a sharp utility knife, inject a tiny amount of adhesive with a syringe, press flat, and wipe clean. Do not just press bubbles down without adhesive — they return within days. Small punctures or chips in the foil can be filled with color-matched vinyl repair compound (sold for countertop and cabinet repair), though the repair will always be slightly visible on close inspection. These are triage measures, not restorations — they buy time, not decades.
Ganbaro Leather/Vinyl Repair Kit (7 Color)
Best for filling small punctures and chips in vinyl thermofoil.
Know when to stop repairing and start replacing. If peeling affects multiple doors, if the foil is yellowing broadly (UV and heat degradation that no repair reverses), or if repairs keep failing in the same spots, the finish has reached end of life. The good news: replacement thermofoil doors in standard sizes are widely available, and swapping doors while keeping boxes is far cheaper than new cabinets. Order one test door first to confirm the color match — whites vary between manufacturers and fade differently with age.
Where Thermofoil Makes Sense (and Where It Doesn’t)
Thermofoil is not a universally bad choice — it is a situationally excellent one. Rental properties are the classic case: landlords need affordable, uniform, easy-clean kitchens that photograph well and survive tenant turnover. Thermofoil delivers exactly that at the lowest cost per linear foot of any shaped-door option. The 10-to-15-year lifespan aligns perfectly with typical rental renovation cycles, and replacement doors are cheap when tenants damage them.
Laundry rooms, mudrooms, and home offices are thermofoil’s other sweet spots. These spaces want clean, bright, low-maintenance cabinetry without the premium price of a kitchen — and they lack the heat sources that destroy thermofoil. A thermofoil laundry room looks crisp and intentional for a fraction of painted-wood cost. Basement bars and secondary kitchens (pool houses, in-law suites) follow the same logic: moderate use, no extreme heat, budget priorities.
Where thermofoil struggles: the primary kitchen’s heat zones. Wall cabinets directly above ranges (without a high-CFM hood venting properly), cabinets flanking ovens with poor insulation, and anywhere a toaster oven, air fryer, or kettle directs heat at a door face. Dishwasher-adjacent cabinets take steam blasts every cycle — over years, this delaminates thermofoil at the edges nearest the dishwasher. Small, poorly ventilated kitchens concentrate all these stresses. If your cooking style involves high-heat roasting, frequent oven use, and countertop appliances crowded under wall cabinets, thermofoil will age visibly faster than its rated lifespan.
The forever kitchen — the one you will cook in for 20 years — deserves better than thermofoil’s limitations. Not because thermofoil is “cheap” in a snobbish sense, but because its failure modes (peeling, yellowing, non-refinishability) compound over long timelines while its price advantage amortizes to pennies per day. Match the cabinet to the timeline: under 10 years or secondary spaces, thermofoil is smart money; the decades-long primary kitchen, invest in painted wood or quality laminate.
Buying Guide: Questions to Ask Before Ordering
Thermofoil’s low price tempts quick decisions, but a few questions prevent expensive regrets. First: “What is the box construction?” — plywood boxes with thermofoil doors beat particleboard boxes with painted doors for longevity. Do not let the pretty door distract from the structural question. Second: “What is the heat rating, and what are the warranty exclusions around heat?” — get the numbers, not reassurances. If the seller cannot cite a temperature rating, they have not engineered for heat.
Third: “Are replacement doors available separately, and for how long?” — the ability to replace a single damaged door in five years (with a reasonable color match) is thermofoil’s safety net; confirm it exists before you need it. Fourth: “What is the finish warranty, specifically covering delamination?” — five years minimum, and read whether heat-adjacent installations void it. Fifth: “Can I take a sample door home?” — test it near your range, in your light, against your counters. A week with a sample prevents years of regret.
Sixth, for the installation: “Who measures, and who is responsible for measurement errors?” Seventh: “What heat shields or ventilation do you recommend for my layout?” — a good seller proactively addresses the range and dishwasher zones; a bad one pretends heat is not an issue. Eighth: “What does the quote exclude?” — hardware, installation, crown molding, and light rails are commonly excluded, and thermofoil quotes are often stripped to the bone to hit a price point. Ninth: “What is the lead time, and what happens with damaged pieces?” — freight damage is common with flat-packed cabinets, and slow replacement parts stall entire projects.
Finally, do the total-cost math honestly. Thermofoil’s upfront savings are real, but factor in likely door replacements at year 10-12, the inability to refinish (repainting is not an option — replacement is), and the heat-management accessories (heat shields, better ventilation) that protect the investment. Sometimes the “budget” option with all lifetime costs included is closer to mid-range than it first appears — which does not make it wrong, just worth calculating with eyes open.
Are Thermofoil Cabinets Worth It?
For budget kitchens, rentals, or laundry rooms, thermofoil is a smart value choice. For a forever kitchen where you want premium feel and longevity, invest in painted wood or plywood construction instead.
🛒 Shop This Look:
🛒 Shop This Look:
🛒 Shop This Look:



