
As an Amazon Associate, I earn from qualifying purchases. This means I may earn a commission if you purchase through links on this page — at no extra cost to you.
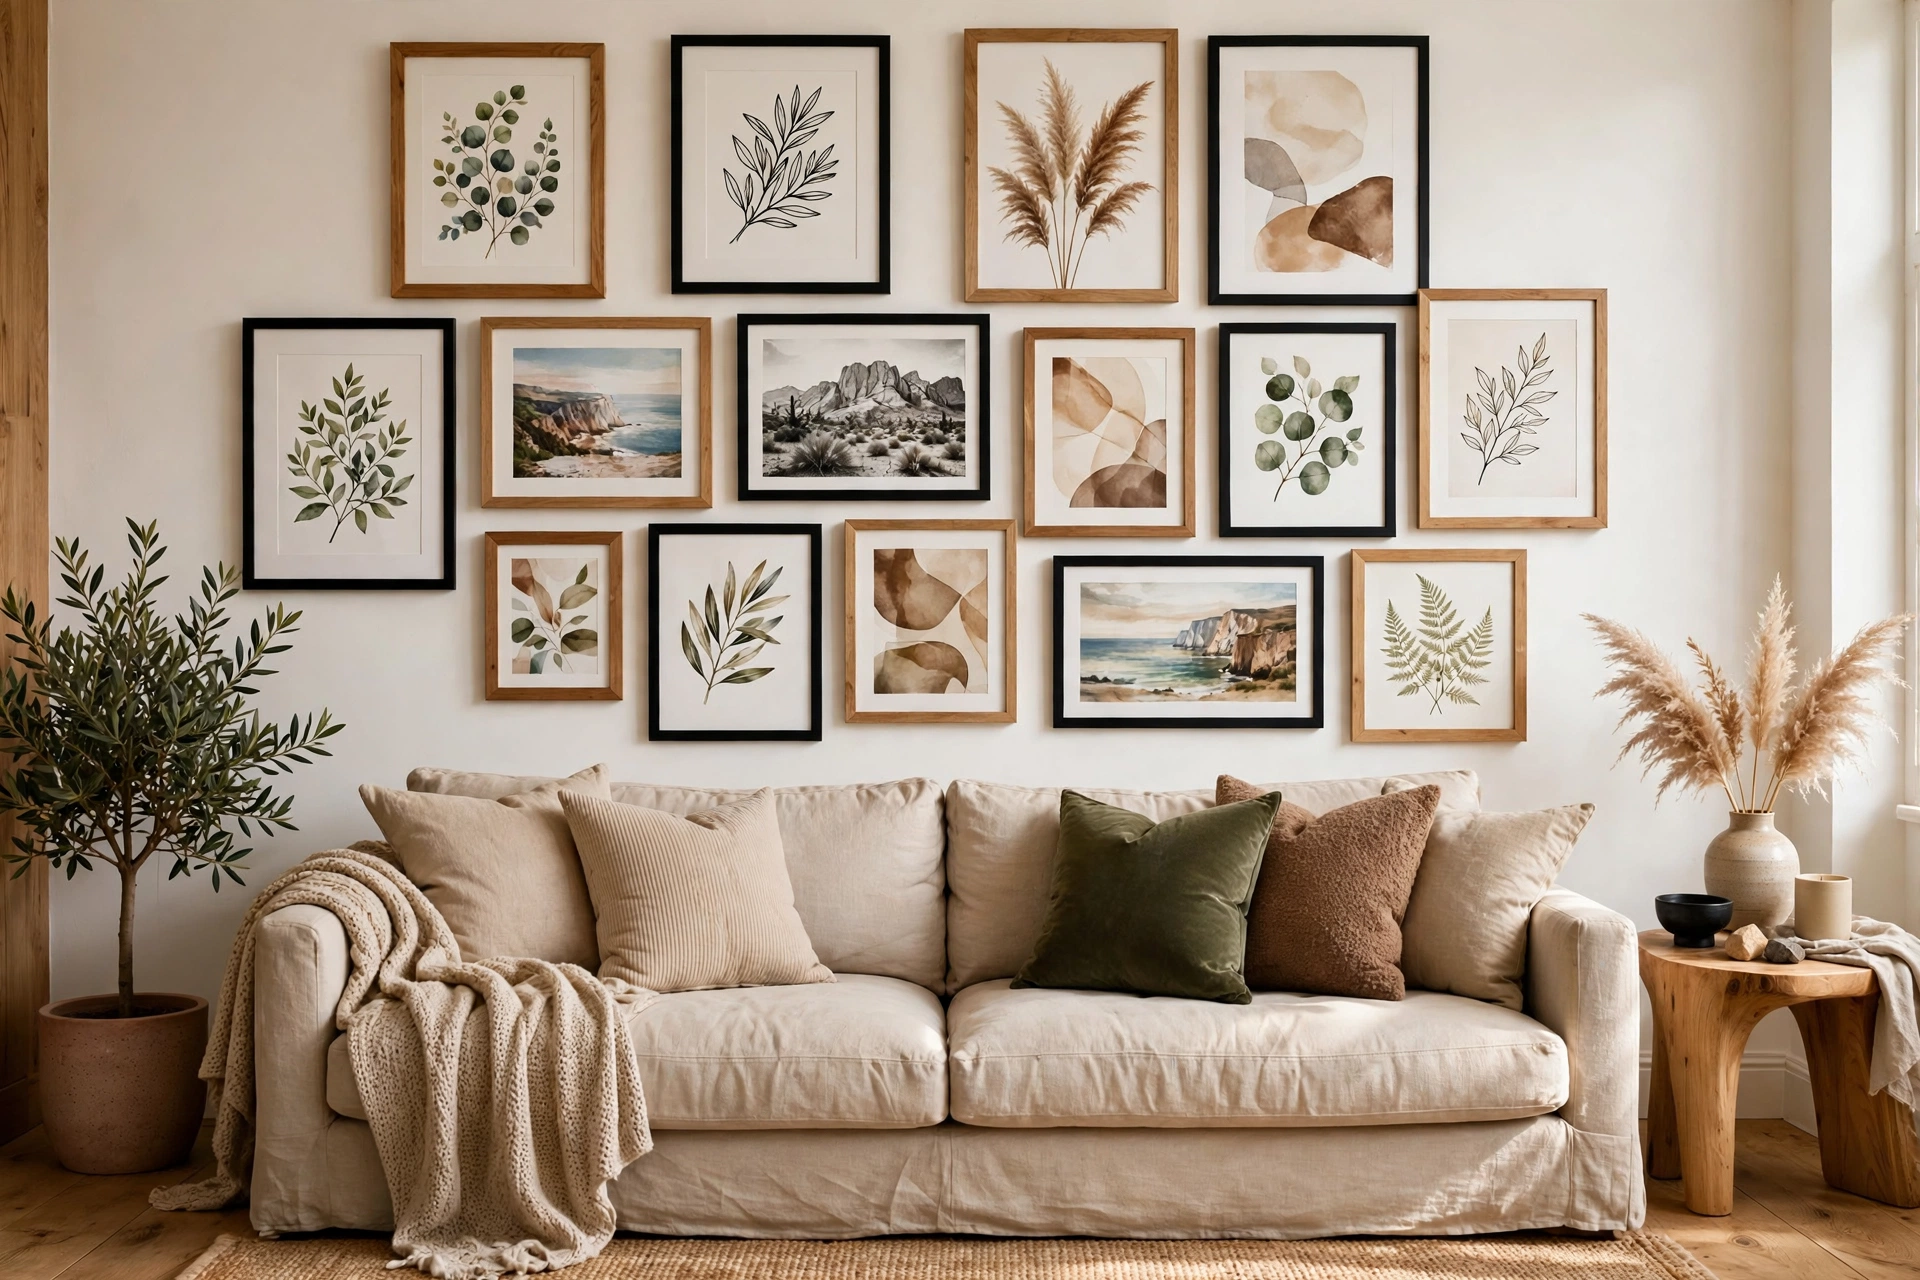
You can build a beautiful gallery wall for under $50 by combining thrift-store frames ($1–3 each), free printable art, and a planned layout that mixes sizes for a designer look. The secret isn’t spending more — it’s sourcing smart, sticking to a cohesive color scheme, and mapping your arrangement on the wall before you hammer a single nail.
The $50 Budget Plan
Here’s an itemized plan for a 9-piece gallery wall covering roughly a 4×5 foot area — a typical size for above a sofa or console table.
| Item | Source | Est. Cost |
|---|---|---|
| 5 thrift-store frames (mixed sizes) | Thrift / charity shops | $5–15 |
| 2 new 8×10″ frames | Discount or dollar store | $6–10 |
| 2 new 5×7″ frames | Discount or dollar store | $4–8 |
| Printable art (3–4 downloads) | Digital download shops | $5–12 |
| Printing (4 prints, 8×10″ and 5×7″) | Drugstore / print kiosk | $4–8 |
| Spray paint (1 can, for unifying frames) | Hardware store | $5–7 |
| Hanging hardware (nails, hooks, strips) | Hardware store | $5–8 |
| Total | $34–68 |
Aim for the low end of each range and you’ll land comfortably under $50. Already own frames or a printer? Your cost drops to $20–30. The remaining pieces of art can be your own photos, pages from old books, or fabric scraps — all free.
Where to Source Cheap Frames and Prints
Frames
- Thrift and charity shops: The #1 source. Frames run $1–3, and you’ll find solid wood and interesting shapes. Ignore ugly art — you’re buying the frame. Check the back for intact hanging hardware and glass without cracks.
- Dollar and discount stores: Best for new, matching frames in standard sizes. Quality is basic but fine behind glass at a normal viewing distance.
- Garage sales and estate sales: Often sell frames in lots — five frames for $5 is common at the end of a sale day.
- Your own home: Raid closets and storage for frames from old posters, diplomas, or gifts. A coat of spray paint makes mismatched frames look like a deliberate set.
Art and prints
- Digital downloads: A few dollars per print from independent artist shops, printable at home or at a kiosk. Stick to one shop or artist for a cohesive style.
- Your own photos: Free, personal, and — printed in black and white with a consistent filter — genuinely gallery-worthy.
- Book and calendar pages: Vintage illustrations, botanical prints, and maps from old books or wall calendars make beautiful large-scale art. Thrift stores sell old books for $1.
- Fabric and wallpaper samples: Bold patterns framed simply look like expensive textile art. Ask at fabric stores for remnant bins.
- Kids’ artwork: Framed properly (with a mat and a real frame), children’s drawings look charming and intentional rather than refrigerator-cluttered.
Planning Your Layout
Layout planning is what separates a gallery wall that looks designed from one that looks random. Do this work on the floor and the wall before hanging anything.
Step 1: Choose your arrangement style
- Grid: Identical frames in perfect rows. Clean, modern, foolproof — but requires matching frames.
- Salon style: Mixed sizes in an organic cluster. The most forgiving and characterful option, and ideal for thrifted mismatched frames.
- Linear: A single row or column of frames. Great for hallways and narrow walls.
- Anchored cluster: One large central piece with smaller frames arranged around it. The easiest salon-style layout to get right.
Step 2: Establish cohesion
Pick two of these unifying rules (all three is even better):
🛒 Shop This Look:
- Consistent frame color: Spray-paint all thrift frames the same color — matte black, white, or gold unify anything.
- Consistent mat color: White or cream mats make diverse art look like a collection.
- Consistent art palette: All black-and-white photos, all botanical prints, or all pieces sharing two or three colors.
Step 3: Map it with paper templates
- Trace each frame onto kraft paper, newspaper, or wrapping paper and cut out the shapes.
- Tape the templates to the wall with painter’s tape. Start with the center piece at eye level — about 57 inches from the floor to the center, the gallery standard.
- Arrange outward, keeping 2–3 inches between frames. Step back across the room frequently to check the overall shape — aim for a roughly rectangular or oval outer boundary.
- Live with the templates for a day if you can. You’ll notice spacing issues fresh eyes catch.
- Mark nail positions right through the paper, then hang each frame and remove its template.
Hanging Methods
Traditional nails and hooks
The cheapest and most secure option. Use small nails for frames under 5 lbs; for heavier pieces, use picture-hanging hooks rated for the weight, anchored into studs where possible. The paper-template method above makes nail placement nearly foolproof.
Adhesive strips
Damage-free hanging strips are ideal for renters and lightweight frames. Follow the weight ratings strictly, press firmly for 30 seconds, and wait an hour before hanging the frame. They struggle with textured walls and very heavy frames — know their limits.
Picture ledges
One or two narrow ledge shelves let you lean frames instead of hanging them — no measuring, no holes beyond the shelf brackets, and you can rearrange endlessly. A basic ledge costs $10–15 and holds 4–6 frames. This is the most forgiving option for commitment-phobes.
Wire and clips
String a wire or mount a curtain rod and hang art with clips or clothespins for a casual, changeable display. Great for kids’ art rotations, seasonal prints, or renters who want zero wall damage.
Common Mistakes to Avoid
- Hanging too high. The center of the arrangement should sit at eye level (~57″). Above a sofa, leave 6–8 inches between the sofa back and the bottom frame.
- Spacing too wide. More than 3–4 inches between frames makes the wall look scattered. Tight groupings read as one intentional piece.
- Skipping the planning step. Random nailing leads to a wall full of patched holes. Paper templates take 20 minutes and save hours of regret.
- Too many styles at once. A gallery wall can handle variety, but without at least two unifying elements (frame color, mat color, palette), it reads as clutter.
- Tiny art on a big wall. Scale matters — a 2-foot-wide cluster on a 10-foot wall looks lost. Measure your wall and size the arrangement to fill roughly two-thirds of the available width.
Making Thrift-Store Frames Look Expensive
Thrifted frames are the backbone of a $50 gallery wall, but they arrive dusty, scratched, and full of someone else’s art. An hour of refurbishment turns castoffs into frames that look deliberate — here’s the process.
Inspect before you buy
Check the corners first: tight, square joints mean a solid frame; gaps or wobbles mean it’s firewood. Look at the back — intact dust covers, working hanging hardware, and flat backing boards are all good signs. Glass should be crack-free (light scratches are fine; cracks aren’t). Ignore the art inside completely; you’re buying the frame. Solid wood frames are the prize — they’re heavier, take paint beautifully, and last forever. Pressed-board frames with peeling foil finishes are harder to rescue; skip those unless the shape is extraordinary.
Clean thoroughly
Remove the art, glass, and backing. Wipe wood frames with a damp cloth and mild soap, then dry immediately — don’t soak them. For grimy crevices in ornate frames, an old toothbrush works wonders. Clean glass on both sides with glass cleaner; decades of haze come off with a second pass. If the backing board is stained or warped, replace it with a fresh piece of foam board cut to size — it costs very little and gives the art a flat, professional mount.
🛒 Shop This Look:
Spray-paint for unity
This is the transformation step. Lightly sand glossy finishes with fine sandpaper so the paint adheres, wipe away dust, and apply two thin coats of spray paint rather than one thick coat — thin coats don’t drip or obscure detail. Matte black is the most forgiving choice (it hides imperfections and suits almost any art); satin white feels fresh and modern; metallic gold adds instant glamour but shows flaws more readily, so reserve it for frames in good condition. Paint in a ventilated space, keep the can 8–10 inches from the surface, and let frames cure a full 24 hours before reassembling — fingerprints in tacky paint are permanent.
Cut your own mats
Pre-cut mats don’t always fit thrifted odd-size frames, but cutting your own is straightforward: buy a sheet of mat board, measure the frame’s opening, and cut with a sharp utility knife and a metal straightedge. A simple trick for perfect bevels isn’t necessary — straight cuts look clean and modern. Even a plain white mat board from a craft store, cut to fit, elevates thrifted art enormously. For a set of mismatched frames, identical mat color is the unifying element that makes them read as a collection.
Replace what’s broken, keep what’s charming
Replace cracked glass, missing backing, and broken hanging wire — these are functional, not aesthetic, and replacements are cheap. But keep the charming imperfections: a slightly worn gilt edge, an interesting shape, an unusual profile. The goal isn’t to make thrifted frames look new — it’s to make them look chosen. A gallery wall where every frame is visibly from the same discount multipack looks cheaper than a well-curated mix of refurbished vintage frames, even though the vintage mix cost less.
The 10-minute frame audit
Before hanging, lay out all your refurbished frames and audit: does every frame look intentional? Are finishes consistent (all matte black, all gold, or a deliberate mix of no more than two finishes)? Is the glass clean? Do the mats match? This final check catches the one tired frame that would drag down the whole wall — and it’s much easier to repaint one frame now than to notice it every day for a year.
Your Weekend Game Plan
Saturday morning: Thrift-store run for frames (30–45 min). Saturday afternoon: Clean frames, spray-paint for unity, print your art (1–2 hours including drying). Sunday morning: Cut paper templates and arrange on the wall (30–45 min). Sunday afternoon: Hang everything, step back, and adjust (1 hour).
Total weekend investment: about 4–5 hours and under $50 — for a focal point that looks like you hired a designer. That’s the real power of the gallery wall: it’s the highest visual impact per dollar in all of DIY decorating.
🛒 Shop This Look:



