
As an Amazon Associate, I earn from qualifying purchases. This means I may earn a commission if you purchase through links on this page — at no extra cost to you.
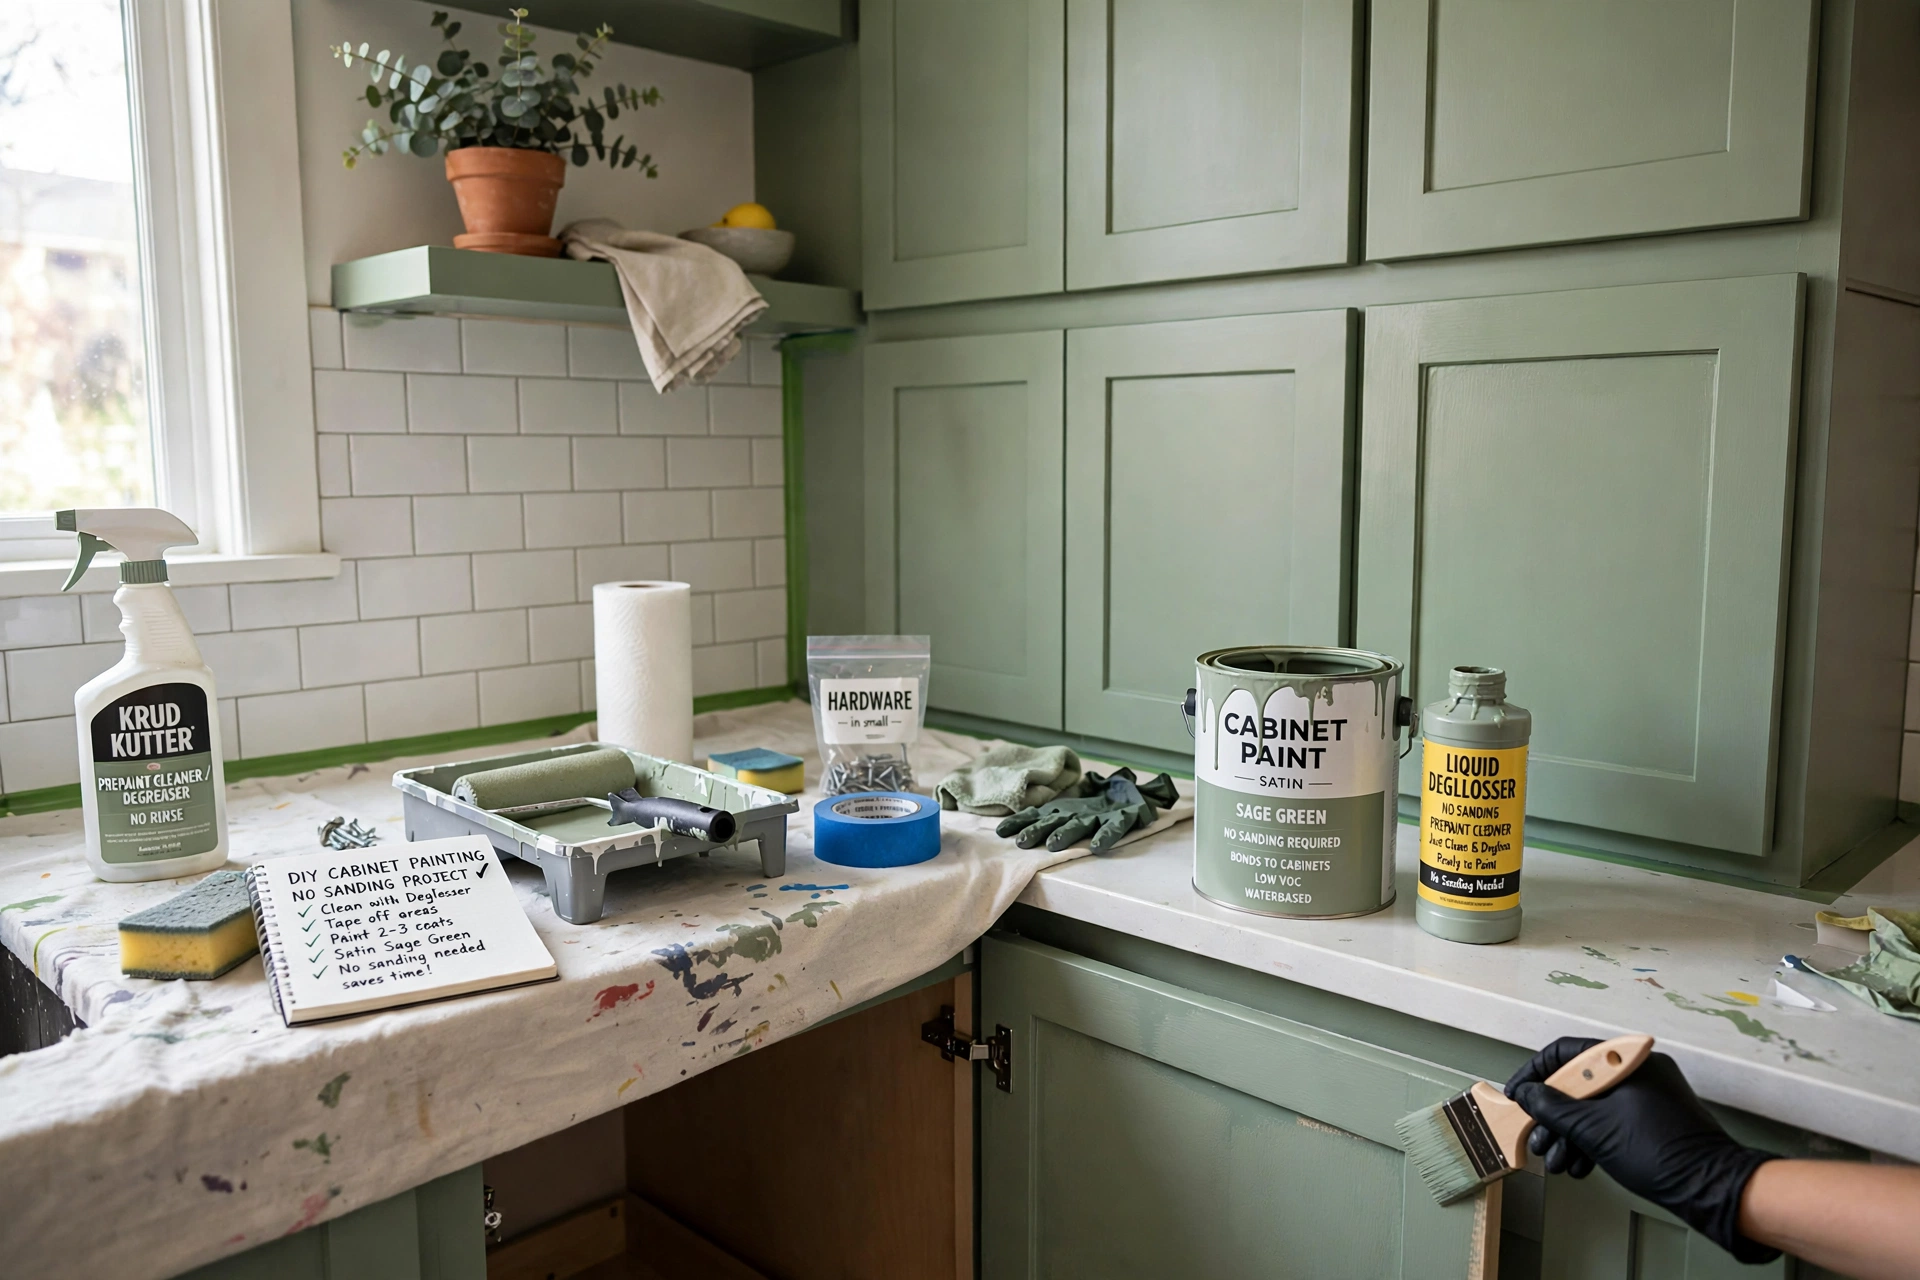
Yes, you can paint kitchen cabinets without sanding by using a high-adhesion bonding primer. The key steps: thoroughly degrease with TSP substitute, apply one coat of BIN Shellac primer or STIX bonding primer, then two coats of cabinet-grade paint like Benjamin Moore Advance or Sherwin-Williams Emerald Urethane. Proper prep — not sanding — is what makes paint stick. Expect the project to take a weekend for an average kitchen. Related: What Are Thermofoil Cabinets.
What You’ll Need
- TSP substitute or degreaser
- Bonding primer (BIN Shellac or STIX)
- Cabinet-grade paint (Advance or Emerald Urethane)
- High-quality synthetic brush and foam roller
- Painter’s tape, drop cloths, screwdriver
Step-by-Step Process
1. Remove Doors and Hardware
Label every door and its location with painter’s tape. Remove hinges, handles, and knobs. This takes time but gives professional results.
2. Deep Clean and Degrease
Kitchen cabinets accumulate years of grease. Scrub every surface with TSP substitute and a scouring pad. Rinse and let dry completely. This step replaces sanding — don’t skip it. Related: Put on Top of Kitchen Cabinets? 12 Ideas That Work.
Savogran 10632 Liquid TSP Substitute Cleaner, Quart
Best for degreasing kitchen cabinets before painting without sanding.
3. Apply Bonding Primer
Brush or roll one thin, even coat of bonding primer. BIN Shellac dries in 45 minutes; STIX takes 4 hours. The primer creates the adhesion that sanding normally provides.
Zinsser B-I-N Shellac-Base Primer, 1-Gallon, White
Best for bonding primer that helps paint stick to cabinets without sanding.
INSL-X Stix Acrylic Waterborne Bonding Primer, 1 Gallon, White
Best for waterborne bonding primer for cabinets painted without sanding.
4. Paint Two Coats
Apply thin coats — thick coats drip and take forever to cure. Wait the full recoat time between coats (check the can). Lightly scuff with 220-grit between coats only if you see imperfections.
5. Let Them Cure
Rehang doors after 48 hours but treat gently for 30 days. Full hardness takes a month. Avoid slamming and harsh cleaners during cure time.
When You SHOULD Sand
Skip the no-sand method if cabinets have peeling paint, deep scratches, or glossy lacquer. In those cases, a quick scuff-sand ensures adhesion. But for cabinets in good condition, bonding primer is enough.
Choosing the Right Paint and Sheen for Cabinets
Cabinet paint is not wall paint, and using the wrong product is the most common cause of no-sand failures. Cabinet-grade paints are formulated harder and more chemical-resistant than wall paints — they need to survive daily touching, cleaning, moisture, and the occasional bumped pot. The two most recommended products exist for good reason: Benjamin Moore Advance is an alkyd-modified acrylic that levels beautifully (brush marks flow out) and cures to a hard, furniture-like finish; Sherwin-Williams Emerald Urethane Trim Enamel offers exceptional hardness and block resistance (doors will not stick to frames). Both outperform wall paint dramatically on cabinets.
Sheen selection is a durability decision disguised as an aesthetic one. Satin is the most popular cabinet sheen — it looks sophisticated, hides minor imperfections, and cleans well. Semi-gloss is tougher and more moisture-resistant, making it the practical choice for kitchens with heavy cooking, but it highlights every brush mark and surface flaw, demanding better technique. Matte cabinet finishes look stunning in showrooms but mark easily and are difficult to clean — a poor choice for working kitchens. Whatever sheen you choose, use the same one on all cabinets for consistency; mixed sheens read as a mistake.
Color selection deserves the same seriousness as product selection. Sample on an actual door, not a swatch — remove one door, paint it fully, and live with it in the kitchen for several days. Check it in morning, noon, and evening light; undertones shift dramatically. White cabinets show every scuff but brighten kitchens and have the broadest appeal; dark cabinets (navy, green, black) hide grime better but show dust and demand excellent lighting. Mid-tone colors (greige, sage) split the difference. And remember that cabinet color interacts with countertops, backsplash, and flooring — photograph the sample door in place to evaluate the full composition, because the camera reveals clashes the eye rationalizes.
Buy enough paint and buy it all at once. Cabinets need two full coats minimum over primer, and running out mid-project risks batch color variation. A standard 10×10 kitchen typically needs a gallon of primer and a gallon to a gallon-and-a-half of topcoat, but buy per your kitchen’s actual door count — count doors and drawer fronts, estimate coverage, and add 20%. Unopened cans return; mismatched batches do not forgive.
Spraying vs Brushing and Rolling
The application method determines the finish quality more than any other variable, and each approach has honest tradeoffs. Spraying (with an HVLP or airless sprayer) produces the smoothest, most professional finish — no brush marks, no roller stipple, glass-smooth surfaces that look factory-finished. It is the method professionals use, and the results are visibly superior. The costs: equipment (a decent HVLP sprayer is a real investment, though rentals exist), extensive masking (every surface not being painted must be protected from overspray), ventilation requirements, and a learning curve — spraying has technique (distance, speed, overlap) that takes practice, and beginners get runs, dry spray, and uneven coverage.
Brushing and rolling is the accessible method most DIYers use, and it produces excellent results with the right technique and products. The key is using self-leveling paint (like Advance) that flows out brush marks as it dries, combined with quality tools: a high-end synthetic sash brush for details and frames, and a high-density foam or microfiber mini roller for flat door surfaces. The technique: brush the detailed areas first, then roll the flats, always maintaining a wet edge and never overworking the paint. Thin coats are essential — thick coats show every tool mark and take forever to cure.
Purdy 144152325 XL Glide Paint Brush, 2-1/2 in.
Best for brushing cabinet details and frames when painting without sanding.
PinStone 11 Pack 4" High Density Foam Paint Roller Kit (10 rollers + frame)
Best for rolling flat cabinet door surfaces for a smooth finish.
The hybrid approach suits most DIYers: spray the doors and drawer fronts (removed and laid flat on sawhorses in a garage or outdoor spray area) and brush-and-roll the cabinet frames in place. Doors are the visible surfaces where spraying’s smoothness matters most; frames are less scrutinized and harder to spray in place without masking the entire kitchen. This split delivers 90% of the sprayed look with 50% of the hassle.
Safety is non-negotiable with spraying: organic vapor respirator (not a dust mask), eye protection, and serious ventilation — atomized paint is a genuine health hazard, not just an unpleasant smell. Even with brushing, ventilate well and wear a respirator when using shellac primer. And whichever method you choose, practice first: spray a piece of cardboard, brush a closet door. The learning curve exists either way; better to climb it on scrap than on your kitchen.
3M P95/OV Paint Project Reusable Respirator 6211, Medium Size
Best for organic vapor protection when spraying cabinets or using shellac primer.
Troubleshooting Common No-Sand Problems
Drips and sags are the most visible beginner problem, caused by applying paint too thickly or overworking vertical surfaces. Fix them while wet by lightly brushing out with an almost-dry brush; once dry, sand the drip flat with 220-grit, spot-prime, and recoat thinly. Prevention is technique: thin coats, and on vertical surfaces, brush from dry into wet (not wet into dry) to avoid pushing excess paint downhill. A paint additive that improves flow (added per manufacturer directions) helps paint self-level before it sets.
Brush marks that do not level out usually mean the wrong paint, too-thick application, or working the paint too long after it starts setting. Cabinet paints have an open time — the window during which they flow and level — and brushing after it closes leaves permanent marks. Work in small sections, lay the paint on, smooth it once or twice, and leave it alone. If brush marks persist after curing, the paint choice is likely at fault; wall paint and cheap trim paint simply do not level like cabinet-grade products.
Paint that chips or peels after curing points to prep failure, not paint failure. The usual culprits: inadequate degreasing (kitchen grease is invisible but absolute in its bond-breaking power), skipping the bonding primer, or painting over a glossy existing finish the primer could not grip. There is no easy fix for adhesion failure — the failing paint must be stripped and the job redone with proper prep. This is why the degreasing step deserves paranoia-level thoroughness: two passes with TSP substitute, a rinse, and a white-glove test (wipe with a clean white cloth; any gray or yellow means keep cleaning).
Tannin bleed — yellow-brown stains migrating through the paint weeks after the job looks perfect — strikes oak, cherry, and mahogany cabinets. It is not a no-sand-specific problem, but no-sand painters encounter it because they skip the sanding that would have revealed the wood’s bleed tendency. Prevention is shellac-based primer (BIN), which blocks tannins completely; standard bonding primers do not. If bleed appears after topcoating, spot-prime the stains with shellac primer and recoat — the stains will not return once properly sealed. Grain showing through the paint on oak is a related cosmetic issue: open oak grain telegraphs through paint as texture. Fill it with grain filler before priming if you want glass-smooth results, or accept the subtle texture as character — many do.
Color Selection Tips That Prevent Regret
Cabinet color regret is expensive — repainting cabinets costs nearly as much as the first paint job. The sampling discipline that prevents it: paint a full door (not a swatch card) and observe it for a full week in the kitchen’s real light. Morning daylight, afternoon sun, evening warm bulbs — the same color is three different colors across the day. Pay special attention to undertones: grays go blue, lavender, or green depending on undertone and light; whites go yellow, pink, or blue. The undertone that looks neutral in the store often declares itself loudly in your kitchen.
Coordinate with fixed elements first. Countertops, backsplash, and flooring are harder to change than cabinet color, so the cabinet color must serve them — not the other way around. Bring samples of all fixed elements to the paint store and evaluate combinations there, then confirm at home. The 60-30-10 guideline helps: 60% dominant color (usually walls/cabinets), 30% secondary (counters or island), 10% accent (hardware, decor). Cabinet color should occupy its role comfortably without fighting the other players.
Consider the kitchen’s light honestly. North-facing and small kitchens with limited natural light need light, reflective cabinet colors — dark cabinets in dim kitchens feel oppressive regardless of how stunning they looked in the bright showroom. South-facing bright kitchens can carry dark or saturated colors beautifully. And think about the long term: the colors with the best decade-long track records are white, warm white, greige, and natural wood tones. Bold colors are wonderful when deeply loved and regrettable when chosen from a trend — ask whether you would still choose it if you never saw another kitchen photo again.
Two-tone strategies hedge color risk elegantly: neutral perimeter cabinets with a bold island (or vice versa) deliver personality with an easy exit — repainting an island is a weekend project, repainting a whole kitchen is not. This approach also photographs beautifully and suits resale, since buyers see the bold element as a feature rather than a commitment they must undo.
Long-Term Durability: What to Realistically Expect
Set honest expectations: a no-sand paint job with proper prep and quality products lasts 8 to 12 years in a typical family kitchen before needing refresh — comparable to a sanded job, because adhesion comes from the bonding primer, not the sanding. What wears first is predictable: edges and corners (where paint is thinnest and impact is frequent), areas around handles (hand oils and friction), and the doors nearest the range and dishwasher (heat and steam). Annual touch-ups on these zones extend the job’s life dramatically; neglect them and wear spreads.
The cure timeline governs early durability. Latex-based cabinet paints feel dry in hours but take 30 days to reach full hardness — during this month, the finish is vulnerable. Treat cabinets gently: no harsh cleaners, no slamming, no scrubbing, add felt bumper pads to door corners. After full cure, the finish is remarkably tough — resistant to normal cleaning, moisture, and daily use. Most “my paint failed in six months” stories trace to abuse during the cure window or prep shortcuts, not product defects.
Maintenance is simple but non-negotiable. Clean with mild dish soap and a damp microfiber cloth; avoid abrasive cleaners, scouring pads, ammonia, and bleach, which degrade the finish over time. Wipe up cooking grease near the range regularly — polymerized grease requires harsh cleaners that damage paint, so preventing buildup beats removing it. Tighten hardware annually; loose handles wallow out holes and chip paint around them. Keep touch-up paint labeled and stored; small chips repaired promptly never become big problems.
Know the end-of-life signs: widespread chipping that touch-ups cannot keep up with, yellowing that cleaning does not remove (some whites yellow with age and UV, especially oil-based products), and finish softening or stickiness (indicating the paint never fully cured or is breaking down). When refresh time comes, the existing paint is an ideal base — clean, scuff-sand lightly, prime any bare spots, and recoat. The second paint job is easier than the first, and a well-maintained cabinet paint job can cycle through several refreshes before replacement ever enters the conversation.
🛒 Shop This Look:
🛒 Shop This Look:
🛒 Shop This Look:



