
As an Amazon Associate, I earn from qualifying purchases. This means I may earn a commission if you purchase through links on this page — at no extra cost to you.
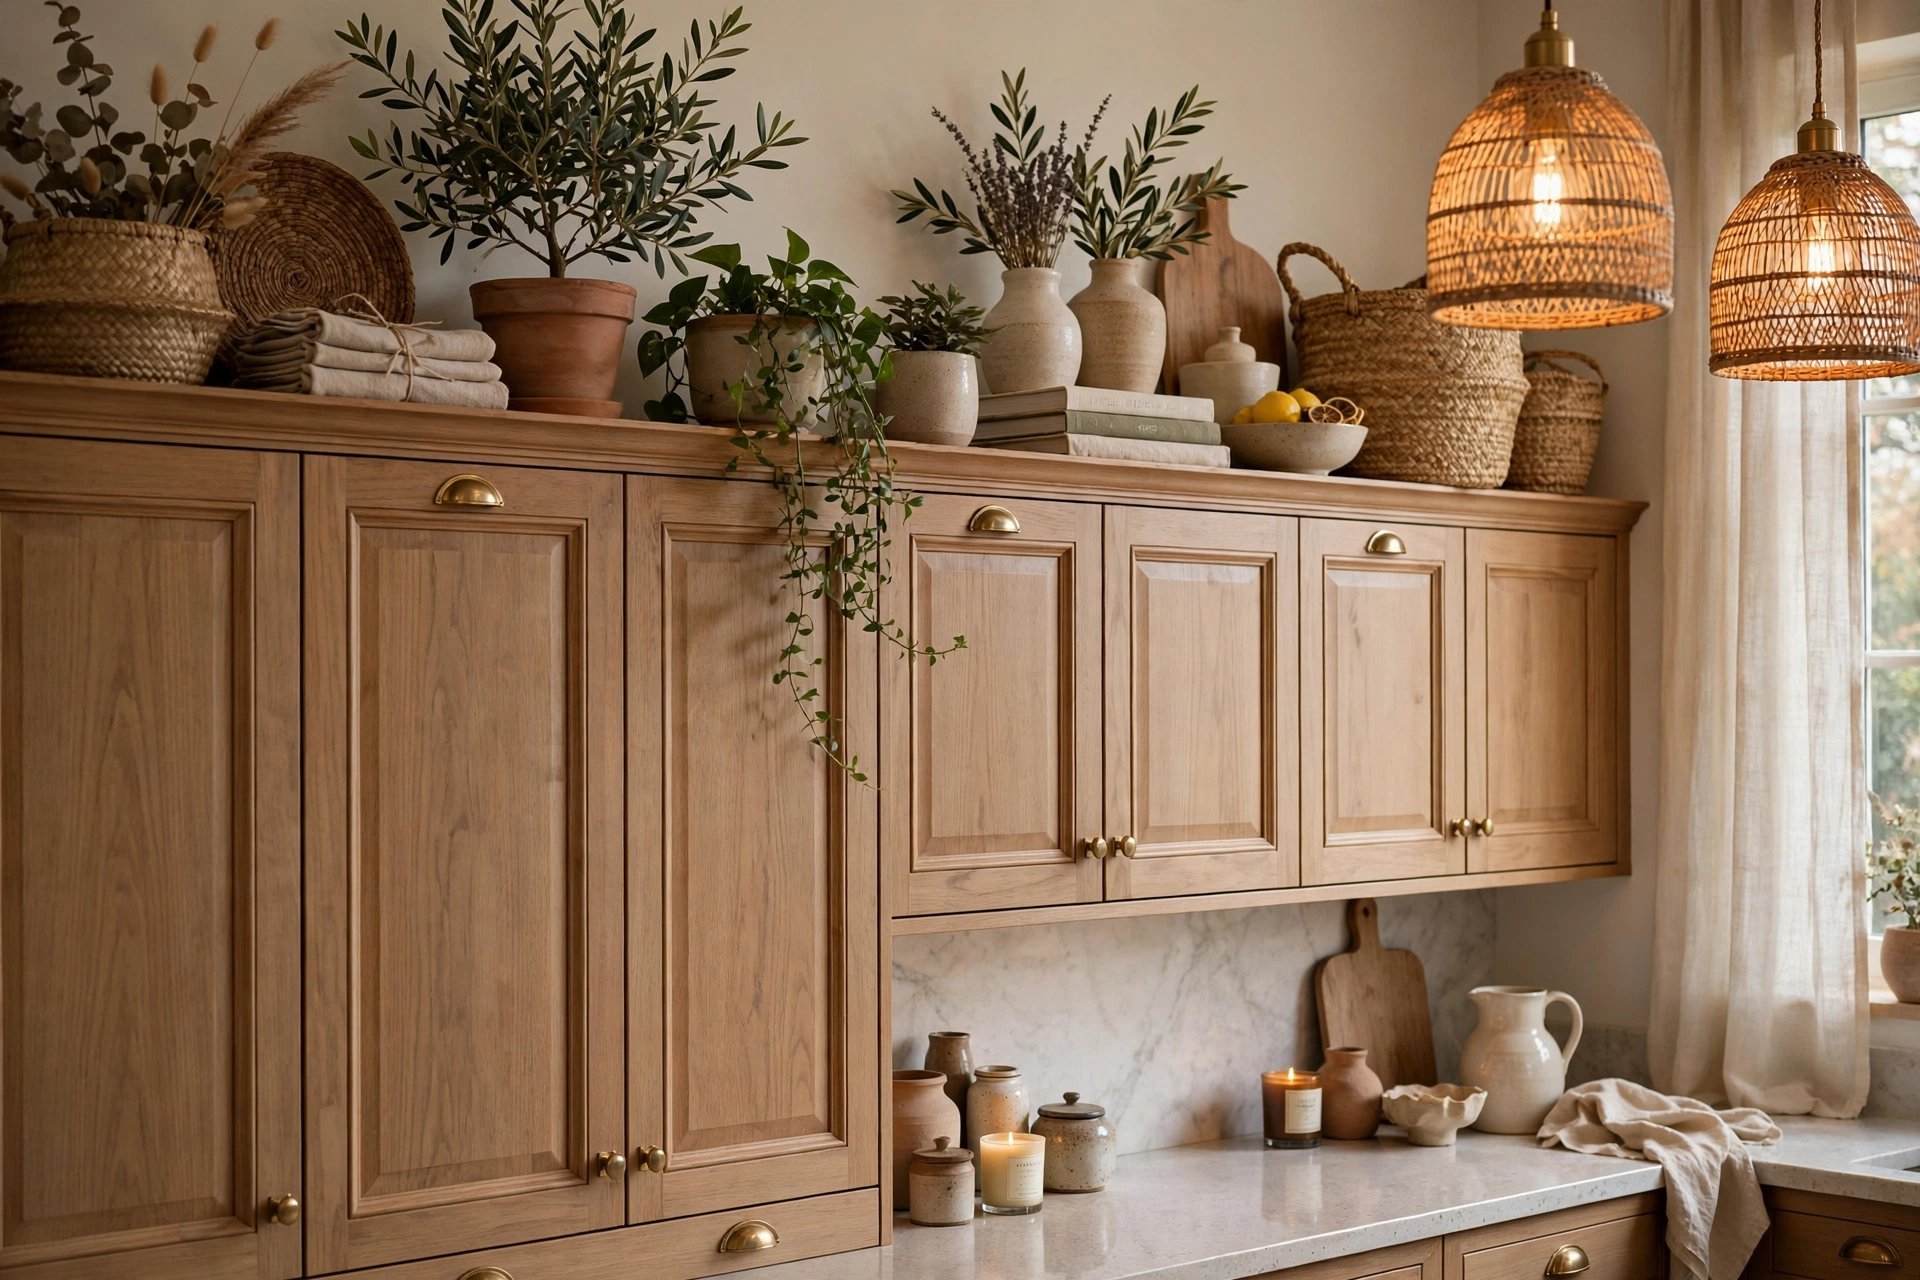
Decorate above kitchen cabinets by using large-scale items (not small knick-knacks), sticking to 3–5 pieces per section, choosing easy-to-clean materials, and creating visual balance with varying heights. The best options include large baskets, oversized pottery, framed art leaned against the wall, and trailing plants. Avoid tiny items that look cluttered and collect grease — bigger is always better up high.
The Golden Rules for Above-Cabinet Decor
- Go big or go home: Small items look like clutter from below. Choose pieces at least 12 inches tall.
- Odd numbers: Groups of 3 or 5 look intentional; even numbers look staged.
- Leave breathing room: Don’t fill every inch. Negative space is your friend.
- Consider cleaning: Everything up there collects grease and dust. Choose wipeable surfaces.
Best Items for Above Cabinets
Large Baskets
Woven seagrass or wicker baskets add texture and warmth. They’re lightweight, easy to dust, and look intentional in groups. Budget $15–$30 each.
Oversized Pottery and Vases
Large ceramic vases, pitchers, or bowls in complementary colors create a collected look. Thrift stores are goldmines — often $5–$15 for substantial pieces.
Framed Art (Leaned, Not Hung)
Lean large framed prints or canvases against the wall above cabinets. This adds color and personality at eye-catching height. Use lightweight frames for safety.
Trailing Plants (Faux or Low-Maintenance Real)
Pothos or faux trailing plants cascading over the cabinet edge soften the hard line. If using real plants, choose varieties that tolerate low light and infrequent watering.
Vintage or Decorative Dishes
Large platters, chargers, or decorative plates on plate stands add charm. Stick to a color family for cohesion.
What to Avoid
- Tiny figurines: Invisible from below, dust magnets, look cluttered
- Silk flowers: Collect grease and look dated quickly
- Anything fragile: Vibration from cabinet doors can cause falls
- Word signs: The “EAT” and “KITCHEN” signs are overdone
- Mismatched clutter: Random items with no color or theme connection
Styling Formulas
The Minimalist
Three large baskets, evenly spaced. Nothing else. Clean and calm.
The Collector
Mix of pottery, baskets, and one framed piece per section. Stick to 2–3 colors maximum.
The Naturalist
Trailing plants + woven baskets + wooden bowls. All natural materials, earthy tones.
Dealing with Dust and Grease
The #1 complaint about above-cabinet decor is cleaning. Solutions:
- Line the cabinet tops with wax paper or newspaper — replace every 6 months instead of scrubbing
- Choose smooth, wipeable surfaces over textured ones
- Dust with a microfiber cloth on an extendable pole monthly
- Run the range hood whenever cooking to reduce grease buildup
When to Leave It Empty
Sometimes the best decor is no decor. If your cabinets go nearly to the ceiling (less than 12 inches of space), or if your kitchen is very modern and minimal, leaving the tops clear looks intentional and clean. Don’t force decor where it doesn’t fit.
Measuring and Planning Your Display
Above-cabinet styling fails most often on proportion, not taste. Run these numbers before buying or arranging anything:
- Height clearance: you need at least 12 inches between cabinet top and ceiling for decor to read; 18–24 inches is ideal. Less than 12 inches — leave it empty, always.
- Piece height: items should be at least half the height of the gap. In an 18-inch gap, pieces 9–14 inches tall work; anything under 6 inches disappears from floor level.
- Sight angle test: stand at the room’s main entry and sightline — that is the only view that matters. Arrange from that vantage point, not from a step stool with your face in the display.
- Section breaks: treat each cabinet run as its own section with 3–5 pieces. A single unbroken 12-foot run of decor reads as a shelf at a flea market; broken into sections with breathing room between, it reads as styled.
- Depth: most cabinet tops are 12–14 inches deep. Keep pieces 2–3 inches from the front edge (vibration from door-slamming migrates objects forward over time) and leave the back inches empty for the liner paper.
Safety: The Part Nobody Talks About
- Weight limits: cabinet tops are not shelves — they are the cabinet’s roof, typically 3/4-inch material. A few baskets and vases are fine; a collection of cast-iron cookware is not. If a piece needs two hands to lift, it does not belong up there.
- Earthquake and kid zones: in seismic areas, use museum putty under every piece. Anywhere, keep heavy or breakable items away from sections above the stove or main prep zone where a fall would be catastrophic.
- Heat: the air above the range runs hot. Keep plants (real or faux), candles, and anything meltable at least 3 feet from the range’s vertical column. Faux greenery near heat can off-gas and discolor.
- Stability: lean art at a slight angle with the bottom edge forward, secured with a small adhesive bumper. Test by gently shaking the cabinet below — if the piece wobbles, it needs putty or a different spot.
Lighting the Display
Above-cabinet decor that is not lit disappears after dark — and kitchens are used heavily in the evening. Options:
- LED strip above the cabinets, aimed up at the ceiling, creates a warm glow that silhouettes the display and makes the ceiling feel higher. Battery-operated strips with remotes avoid wiring entirely.
- Small picture lights or puck lights aimed at the display itself turn the arrangement into a featured vignette. Puck lights with timers automate the effect.
- Keep it warm (2700K): cool light on above-cabinet decor looks like a display case at a dentist’s office; warm light looks like a home.
- What not to do: do not rely on the range hood light or under-cabinet strips to illuminate the tops — they are aimed down and will leave the display in shadow.
Real Plants That Survive Up There
The top of the cabinets is hot, dry, dim, and hard to reach — brutal conditions. If you want real plants, these tolerate it:
- Pothos: the champion. Tolerates low light, forgives missed waterings, and trails beautifully over the edge. Water when the top inch of soil is dry — up there, that is roughly every 10–14 days.
- Snake plant (sansevieria): upright architectural shape, nearly indestructible, needs water only every 2–3 weeks. Best for the “tall piece” slot in the arrangement.
- ZZ plant: glossy, sculptural, thrives on neglect. Slow-growing, so buy the size you want to display.
- Watering logistics: use a long-spout watering can or a squeeze bottle, and put every plant on a saucer or in a cachepot — water running down the cabinet face ruins finishes. Better yet, take plants down to the sink for watering day.
- When to go faux: if the gap is over the stove, if you cannot comfortably reach it with a step stool, or if you travel often. Modern faux trailing plants are convincing at 8+ feet of viewing distance — which is exactly the viewing distance here.
Seasonal Swaps Without the Hassle
Above-cabinet displays are ideal for seasonal rotation because the swap is contained and high-impact:
- Keep a permanent base — the baskets or large vases that stay year-round — and swap only 1–2 accent pieces per season. A full redecoration every season is unsustainable; a two-piece swap takes ten minutes.
- Fall: add a garland of faux autumn leaves woven through the base pieces, or swap one vase for a pumpkin-cluster arrangement.
- Winter: evergreen sprigs (faux is fine and fire-safe) tucked among the baskets, warm-white fairy lights on a timer.
- Spring: a trailing faux floral garland, lighter textiles in the baskets.
- Store off-season accents in one labeled bin — if the seasonal decor does not fit in a single bin, you own too much of it.
The Renter’s Approach
Everything above applies doubly in rentals, with one addition: document the cabinet tops with photos at move-in. Grease and dust accumulation over years can mark surfaces, and the wax-paper liner trick (mentioned above) is not optional for renters — it is deposit protection. Museum putty instead of any adhesive, and nothing that requires mounting into the cabinet or wall.
Sourcing Above-Cabinet Decor on a Budget
Above-cabinet pieces are seen from 8+ feet below, which means texture and silhouette matter more than fine detail — perfect for budget sourcing:
- Thrift stores: large baskets, ceramic vases, wooden bowls, and platters for a few dollars each. Shop for shape and scale, not perfection — chips invisible from below do not matter.
- Your own home: the large vase in the closet, the platter from the wedding registry, the basket holding junk in the laundry room. Shop your house first — above-cabinet display is the ideal second life for big beautiful things with no other home.
- Natural and free: interesting driftwood, large pinecones in a basket, dried branches in a tall vase. Seal natural items and check for pests before installing.
- One splurge, rest budget: if one piece will anchor the display (a great large vase, a real art print), spend there and go thrifted for the supporting pieces. The eye lands on the anchor; the rest is texture.
What to Do When There Is No Gap
Cabinets that run to the ceiling (or have less than 8 inches of clearance) cannot take above-cabinet decor — and that is fine. Redirect the styling energy:
- Crown molding as the feature: substantial crown where cabinet meets ceiling gives the finished, intentional look that above-cabinet decor provides in gappier kitchens.
- Under-cabinet lighting aimed up washes the ceiling with warm light, creating the glow effect without any objects.
- Style the tops of tall furniture instead: the armoire, the fridge surround, the pantry cabinet — one styled top elsewhere in or near the kitchen satisfies the display urge.
- Invest in the backsplash or pendant lights as the kitchen’s decorative moment. Every kitchen needs one focal feature; it does not have to be above the cabinets.
— Ella Knight
🛒 Shop This Look:
🛒 Shop This Look:
🛒 Shop This Look:




2 thoughts on “How to Decorate Above Kitchen Cabinets (Without Collecting Dust)”
Comments are closed.