
As an Amazon Associate, I earn from qualifying purchases. This means I may earn a commission if you purchase through links on this page — at no extra cost to you.
Wallpaper costs more upfront but lasts 10–15 years; paint costs less but needs redoing every 3–5 years. Over a decade, quality wallpaper often wins on cost-per-year, while paint wins on flexibility — repainting is cheap and fast when tastes change. For durability, wallpaper (especially vinyl) beats paint in high-traffic areas; for style churn, paint is unbeatable. Related: We Lived With 5 Wallpaper Types for 6 Months: Durability.
Cost Comparison: The Real Numbers
- Paint (DIY): $100–$300 per room (paint + supplies). Professional: $300–$800 per room.
- Peel-and-stick wallpaper (DIY): $150–$500 per accent wall, depending on pattern price.
- Traditional wallpaper (DIY): $300–$800 per room (materials + paste + tools).
- Traditional wallpaper (pro install): $800–$2,500+ per room including labor.
Over 10 years: paint the room three times ($300–$900 DIY) vs wallpaper once ($300–$800 DIY). Wallpaper frequently wins the long game — if you love the pattern that long.
Durability: Which Survives Real Life?
Vinyl wallpaper shrugs off scuffs, kids, and pets; a magic eraser handles most marks. Paint — even scrubbable finishes — shows wear faster in hallways and kids’ rooms. In bathrooms, vinyl wallpaper outperforms paint against steam. Paint’s advantage: touch-ups take minutes, while damaged wallpaper needs patching or panel replacement.
Style & Flexibility
Wallpaper delivers pattern, texture, and depth that paint simply can’t — murals, grasscloth, metallics. Paint delivers infinite color precision and easy change: a weekend and $150 reinvents the room. If you redecorate often, paint’s flexibility is worth more than wallpaper’s longevity.
The Smart Compromise
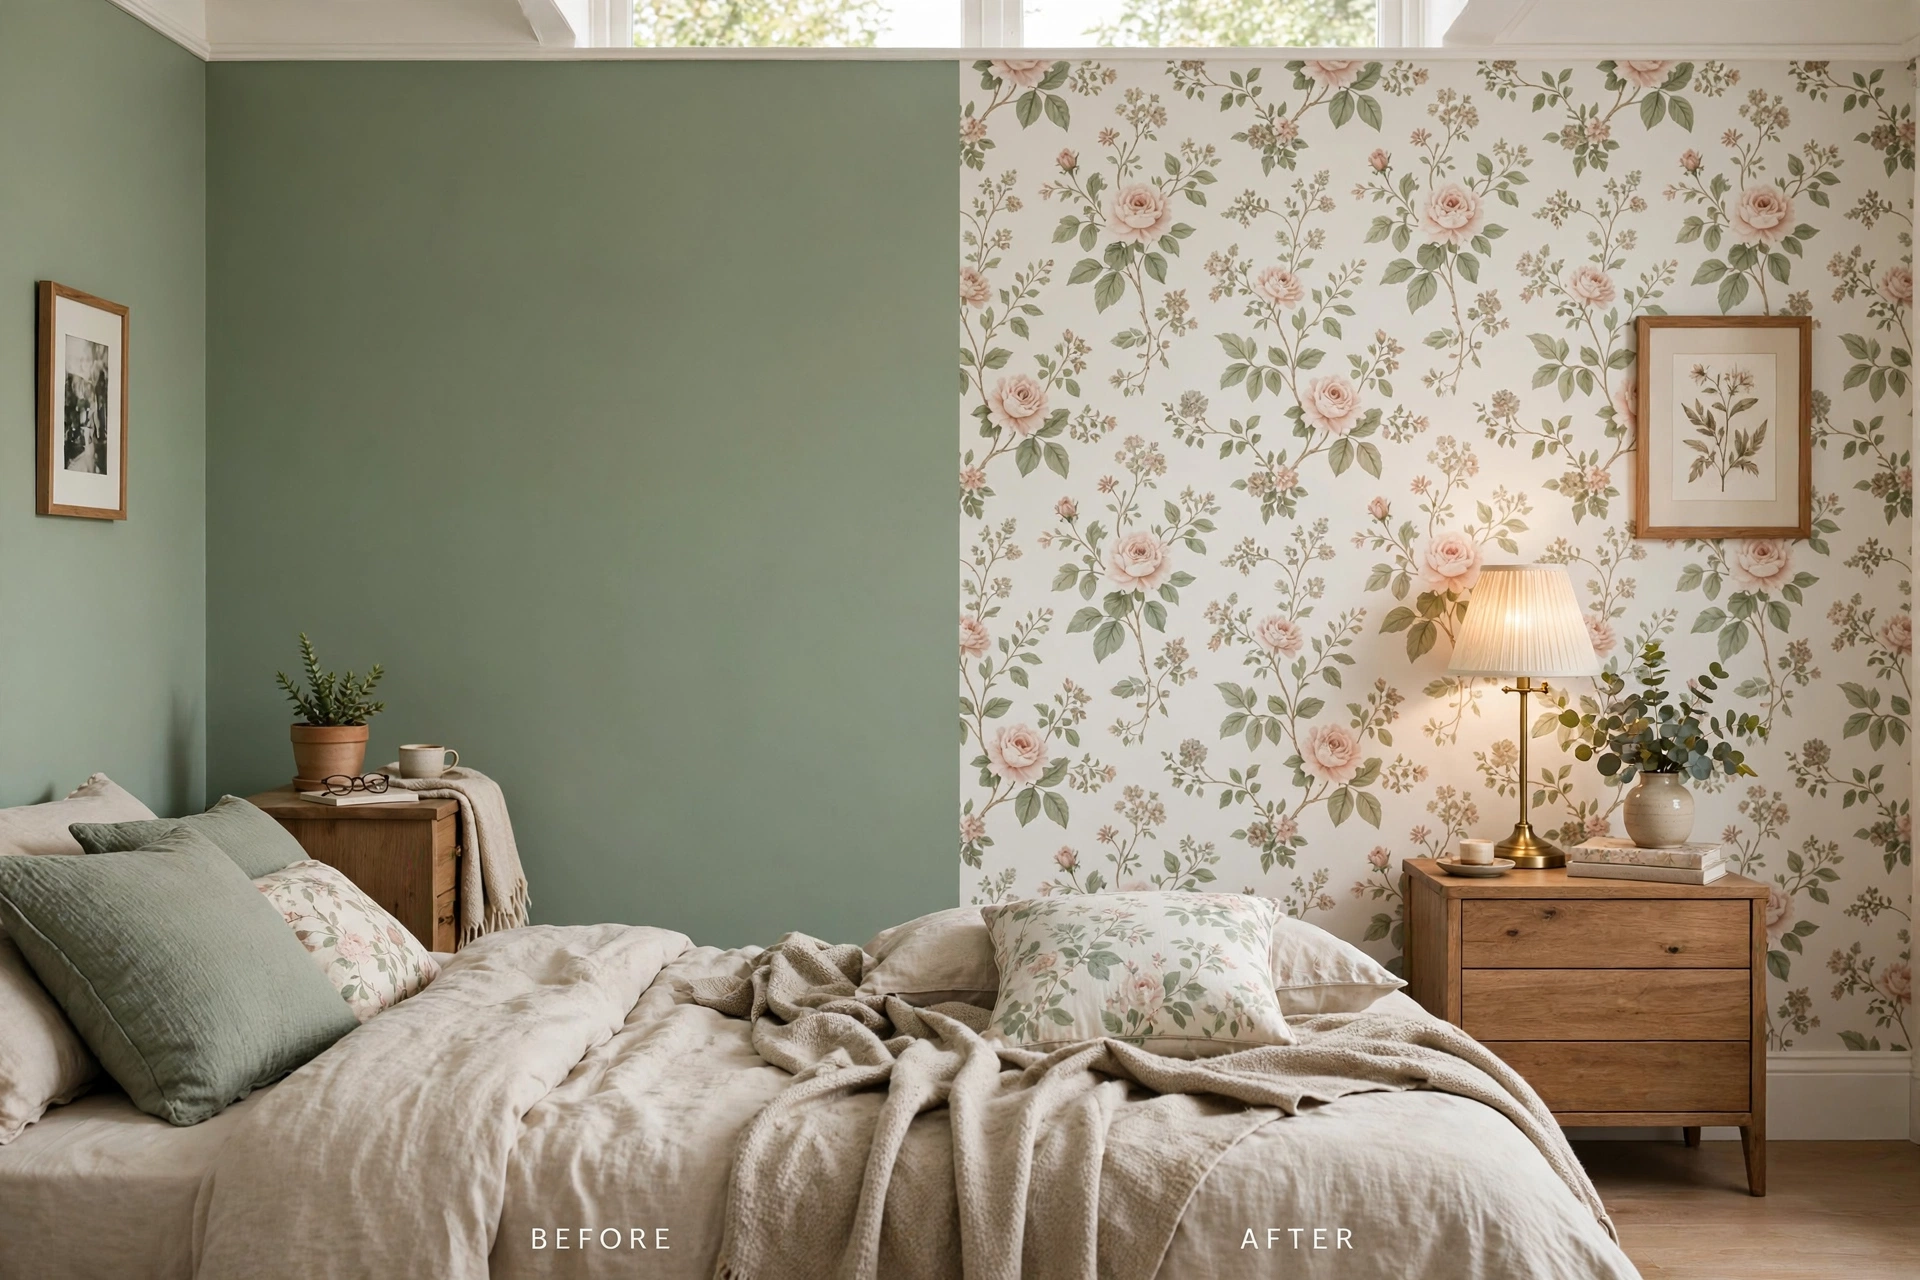
Most designers in 2026 recommend both: wallpaper the statement wall (dining room, bedroom focal wall, powder room) and paint the rest. You get the wow factor where it counts and cheap flexibility everywhere else.
Which Adds More Home Value?
Neutral paint is the safe resale choice. Bold wallpaper is polarizing — but removable peel-and-stick sidesteps the issue entirely since you can strip it before listing. For forever homes, choose what you love; for soon-to-sell, keep it neutral or removable.
Room-by-Room Winner: Where Each One Makes Sense
The wallpaper-versus-paint debate has no universal winner, but most rooms have a clear one. Here’s the honest breakdown.
Bedrooms: paint wins (usually). Bedrooms want calm, and paint’s infinite color precision delivers exactly the right restful shade. Bedrooms also change most with life stages — nursery to kid room to teen room to guest room — and repainting between stages is cheap and fast. The exception: a wallpapered headboard accent wall in a primary bedroom, where the pattern adds luxury that paint can’t match.
Powder rooms: wallpaper wins decisively. Small space, huge impact, minimal material cost — powder rooms are wallpaper’s natural habitat. A bold pattern that would overwhelm a living room feels perfect in a jewel-box powder room, and guests actually notice. Use vinyl for moisture resistance.
Full bathrooms: paint wins (with caveats). Steam is wallpaper’s enemy, and full baths generate plenty. Moisture-rated vinyl wallpaper can work in well-ventilated bathrooms, but quality bathroom paint (satin or semi-gloss, mildew-resistant) is the safer, lower-maintenance choice. If you must have pattern, limit wallpaper to the wall farthest from the shower.
🛒 Shop This Look:
Kitchens: split decision. Paint for the main walls — washable, easy to touch up, handles cooking grease with a wipe. Wallpaper (vinyl only) for the dining nook or a single accent wall away from the stove. Never paper the backsplash zone with anything but purpose-made peel-and-stick tile products.
Hallways and stairs: wallpaper wins. These high-traffic zones punish paint — scuffs, handprints, and dings accumulate fast. Vinyl wallpaper shrugs off the abuse and wipes clean, and the pattern adds interest to spaces that are otherwise just passages. This is where wallpaper’s durability advantage pays off most visibly.
Kids’ rooms: paint wins. Kids’ tastes change yearly, walls take damage, and repainting is a $40 weekend project. Save the wallpaper for their later years — or use removable peel-and-stick that you can strip when the dinosaur phase ends.
Dining rooms: wallpaper wins. Formal dining rooms benefit most from wallpaper’s texture and pattern — grasscloth, damask, mural — because these rooms are about atmosphere. Dining rooms also see less daily wear than family spaces, so the investment lasts.
The Environmental and Health Angle
Wall finishes affect your home’s air quality and environmental footprint more than most people realize. Here’s what matters.
Paint and VOCs: Traditional paints release volatile organic compounds — the “new paint smell” — which can irritate eyes and airways. The solution is simple: choose paints labeled low-VOC or zero-VOC, now widely available at every price point. Zero-VOC paint performs as well as conventional paint for interior walls; there’s no longer a quality trade-off. Always ventilate during and after painting regardless of VOC claims.
Wallpaper materials: Vinyl wallpaper (PVC) is durable but petroleum-based and not recyclable in most areas — it’s the least eco-friendly option. Non-woven and paper wallpapers have a smaller footprint but less durability. Grasscloth and other natural-fiber wallpapers are the greenest choice: renewable, biodegradable, and beautiful — though expensive and harder to install. If sustainability is a priority, natural-fiber wallpaper or zero-VOC paint are your best options.
Adhesives: Traditional wallpaper paste is generally non-toxic (it’s essentially starch), but some contain fungicides — look for paste labeled non-toxic if this concerns you. Peel-and-stick’s pressure-sensitive adhesives are inert once applied but are petroleum-derived. Neither poses meaningful risk in normal use.
Lifespan and waste: Here’s where wallpaper claws back ground: a wallpapered wall lasting 15 years generates less waste than three paint jobs over the same period (paint cans, rollers, trays, tape, drop cloths). The greenest wall finish is the one you don’t redo — so choose patterns and colors you’ll love for a decade, whichever material you pick.
Disposal: Donate leftover paint to community programs rather than trashing it; dried latex paint can go in regular trash in most areas, but never pour it down drains. Old wallpaper goes to landfill in most cases — another argument for choosing something you’ll keep.
🛒 Shop This Look:
DIY Difficulty: An Honest Assessment
Both projects are DIY-able, but they demand different skills and patience. Here’s the realistic picture for a first-timer.
Painting: easy to start, hard to perfect. A beginner can paint a room acceptably in a weekend. The learning curve is gentle: cutting in (painting clean edges) is the only real skill, and painter’s tape forgives most sins. Time estimate for a 12×12 room: 4–6 hours including prep and two coats. Tools cost roughly $30–50 if starting from nothing (roller, brushes, tray, tape, drop cloth). The most common beginner mistakes — skipping prep, painting over dirty walls, using cheap brushes that shed bristles — are all easily avoided once you know about them.
Peel-and-stick wallpaper: moderate. Easier than traditional wallpaper, harder than painting. The skills are measuring, smoothing without bubbles, and trimming cleanly — all learnable in an afternoon, but the first panel will be rough. Time estimate for one accent wall: 3–5 hours for a beginner. Tools cost under $20. The repositionable adhesive is wonderfully forgiving of mistakes, which is why beginners succeed far more often with peel-and-stick than with traditional paper.
Traditional wallpaper: hard. This is a genuine craft: pasting, booking (folding pasted panels to activate the adhesive), hanging heavy wet panels plumb, trimming, and pattern matching — all against the clock before the paste dries. Beginners can do it, but expect the first wall to take twice as long as tutorials suggest and to include at least one panel you’ll redo. Time estimate for one room: a full weekend. Consider hiring a professional for expensive paper; the installer’s fee is cheap insurance against ruining $500 of grasscloth.
The frustration factor: Painting frustrations are minor (drips, uneven coverage — fixable with another coat). Wallpaper frustrations are existential (a crooked panel means peeling and redoing). If you’re DIY-ing primarily to save money, paint is the safer bet. If you’re DIY-ing for the satisfaction and the result, peel-and-stick offers the best effort-to-reward ratio in home decor.
What About Limewash and Other Specialty Finishes?
The wallpaper-versus-paint framing misses a third category that’s exploded in popularity: specialty paint finishes that deliver wallpaper-like texture and depth with paint’s simplicity. They’re worth knowing about before you decide.
Limewash: This ancient finish (crushed limestone paint) creates soft, cloudy movement on walls — a mottled, Old World texture that’s deeply trendy and genuinely beautiful. It applies like paint (brush in random crisscross strokes) but looks like plaster. Cost is higher than regular paint (roughly $50–80 per gallon) and it needs a specific primer, but one weekend and two coats transform a room. It’s the best option for people who want wallpaper’s depth without wallpaper’s commitment.
Roman clay: Similar to limewash but thicker and more textured — troweled on for a polished plaster look. More labor-intensive (it’s a putty-knife application), but the result is stunning: walls that look like Venetian plaster at a fraction of the cost. Best for accent walls rather than whole rooms, given the effort involved.
Color-drenched matte paint: Not a specialty product, just a technique: paint walls, trim, and ceiling all in one matte color. The enveloping effect gives flat paint surprising depth and sophistication. It’s the cheapest way to make paint feel like a design choice rather than a default.
When specialty finishes make sense: when you want texture and movement but rent (limewash over existing paint is removable with effort — check your lease), when wallpaper feels too busy but flat paint feels too plain, or when you’re selling soon and want the “designer” look without polarizing buyers. They’re the compromise candidate the original debate overlooked — and for many rooms, they’re the actual right answer.
🛒 Shop This Look:



